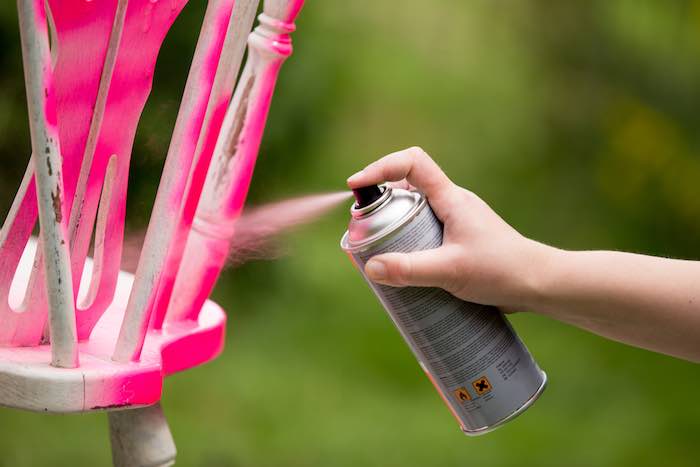
Achieving a smooth, even finish with spray paint can be challenging, and even those with a steady hand may occasionally encounter a patchy or blotchy appearance in their painted surfaces.
Keep reading to learn more about how to fix blotchy spray paint!
Key Takeaways
- A blotchy spray paint finish is usually due to issues with application or preparation.
- Corrective actions include assessing the cause, proper prep work, and technique adjustments.
- Achieving a smooth finish may involve sanding and the application of additional thin coats of paint.
Understanding Blotchy Spray Paint
When one encounters blotchy spray paint, it is essential to pinpoint the causes and implement preventative measures. This ensures the smooth outcome of future projects and maintenance of aesthetic standards.
Identifying Common Causes
Blotchy spray paint often results from uneven application or insufficient surface preparation. Identifying the root causes is the first step to rectification. Key contributors include:
- Surface Texture: Rough or unprepared surfaces lead to uneven spray patterns.
- Primer Use: Neglecting a primer layer can result in poor paint adhesion and blotches.
- Application Distance: Spraying too close or too far affects the uniformity of the coat.
- Nozzle Condition: A dirty or damaged nozzle disrupts spray consistency.
- Quality Control: The paint’s quality and the sprayer’s performance significantly influence the finish.
Preventing Future Blotches
Prevention relies on strict adherence to proper techniques and thorough preparation. To avoid future blotches:
- Surface Preparation: Always start with a smooth, clean surface, considering sanding and cleaning as necessary.
- Primer Application: Apply a primer to ensure even paint application.
- Technique Consistency: Maintain a steady distance and motion when spraying.
- Equipment Maintenance: Regularly clean and check the sprayer’s nozzle to ensure it is in good working condition.
- Quality Assurance: Invest in high-quality paint and sprayers for better control and finish.
By focusing on the causes and prevention of blotchy spray paint, one can achieve a more professional and aesthetically pleasing result.
Surface Preparation and Cleaning
Effective surface preparation and cleaning are crucial steps in correcting blotchy spray paint. These processes ensure that the paint adheres evenly and results in a smooth finish. Proper attention to surface prep and cleaning removes contaminants like dirt and oils that may cause further issues.
Prep for Different Materials
Materials such as wood, metal, plastic, and others require specific approaches to preparation:
- Wood: Begin by sanding the surface with fine-grit sandpaper to create a smooth base. Remove all dust and debris afterward.
- Metal: Rust and peeling paint should be removed; then use medium-grit sandpaper. Clean the metal with a degreaser to eliminate any oils.
- Plastic: Sand lightly if necessary; avoid strong solvents that may damage the plastic. Clean with soapy water and dry thoroughly.
Cleaning Techniques
Cleaning the surface before painting is essential for avoiding blotchy results:
- General Cleaning:
- Dust and debris: Wipe with a tack cloth or use compressed air.
- Dirt and grime: Clean with soapy water and a sponge or cloth, then rinse with clean water.
- Deep Cleaning:
- Oils and grease: Apply a degreaser following the manufacturer’s instructions.
- Stubborn residues: Trisodium phosphate (TSP) can be used for tough grime, but must be handled with care and proper protective equipment.
Always ensure the surface is completely dry before proceeding to apply primer or paint.
Paint Application Techniques
Achieving a flawless finish with spray paint hinges on meticulous application techniques. One must employ specific methods and maintain consistency to avoid the occurrence of blotchy areas.
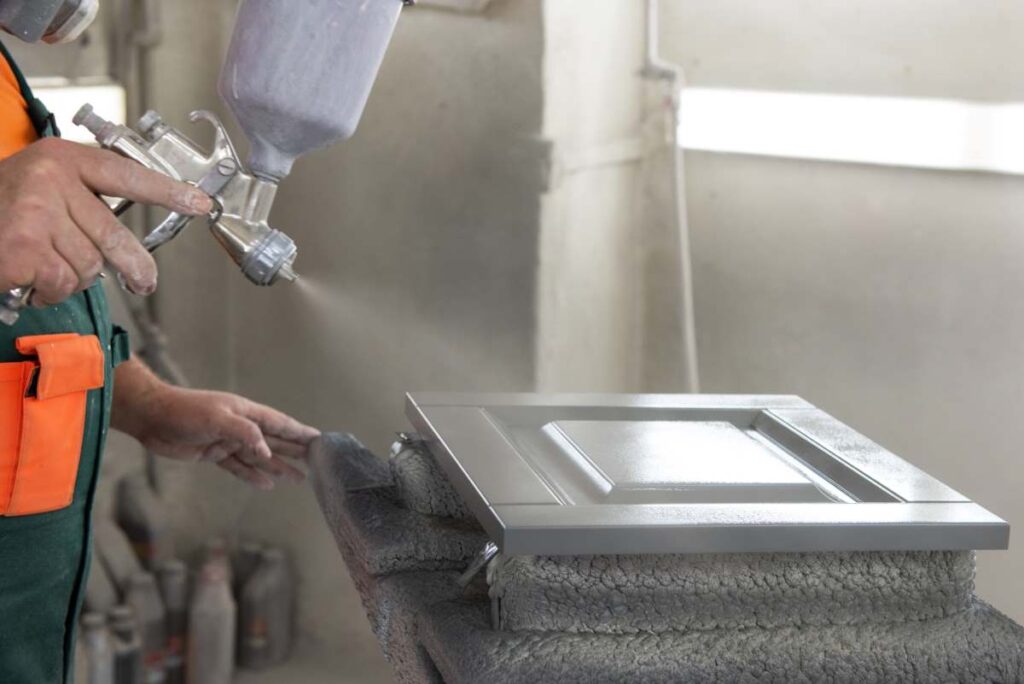
Proper Spraying Methods
When using a spray gun or sprayer, the individual should ensure they are holding it at a consistent angle, typically perpendicular to the surface. The ideal distance between the sprayer and the target area is usually about 6 to 10 inches, varying slightly depending on the specific product being used. It is crucial that the sprayer moves in steady, even strokes, which helps to distribute the paint uniformly across the surface. To prevent drips and accumulation, one should begin and end each stroke beyond the edges of the surface, releasing the trigger only after each pass is complete.
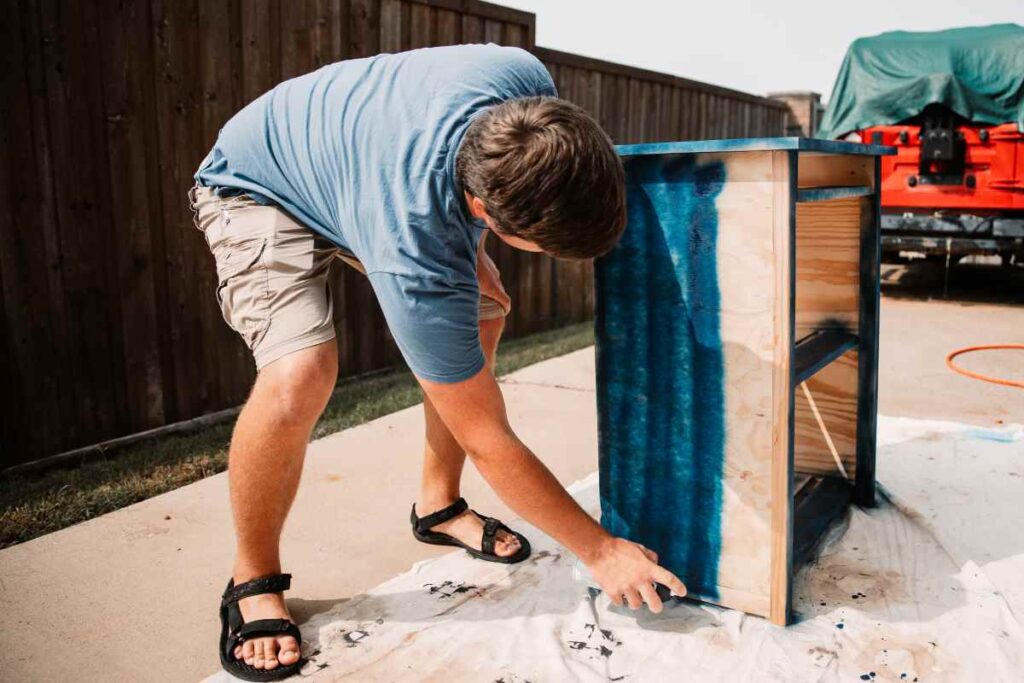
Mastering Thin, Even Coats
Thin, light coats are the cornerstone of a flawless spray paint job. The painter should apply the first coat lightly, letting it dry completely, as per the manufacturer’s instructions, before adding subsequent layers. This approach provides a strong foundation and reduces the likelihood of a blotchy appearance. Cumulative buildup is better achieved through multiple thin layers rather than a single, heavy application. It’s essential that each coat is given adequate time to dry before the next is applied, which avoids undesirable textures and promotes a smooth, even finish.
Correcting Imperfections
In addressing blotchy spray paint, one must meticulously correct imperfections to ensure a smooth finish. The process involves strategic sanding, precise touch-ups, and the application of coating materials for protection and aesthetics.
Sanding and Touch-Up Strategies
To fix blotchy spray paint, they start with sanding the affected areas. The recommended approach is to use fine-grit sandpaper, usually in the range of 320 to 400, allowing for gentle correction without causing further damage. The sanding process should be performed carefully and patiently to create a uniformly smooth surface.
- After sanding, remove any dust or debris.
- Assess the need for applying a primer; doing so can enhance paint adhesion and create a seamless base.
- Allow the primer to dry completely before proceeding with paint touch-ups.
For touch-ups, the key is to:
- Apply thin layers of paint, building up coverage gradually.
- Ensure each layer is dry before applying the next to prevent the recurrence of blotches.
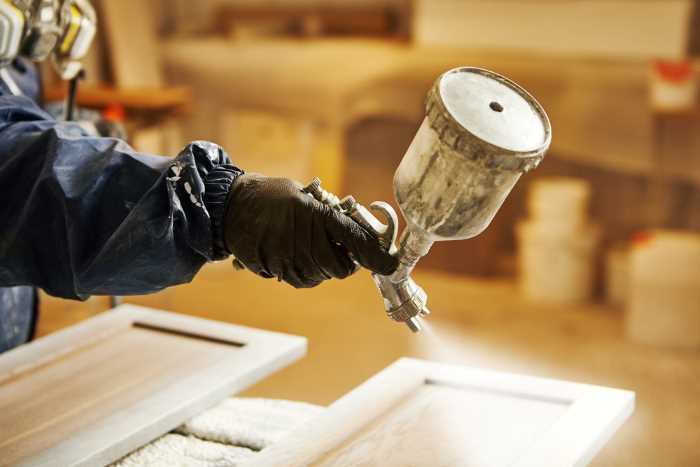
Finalizing the Finish
Once the painting is even and dry, they finalize the finish with a clear coat. This adds a protective layer and can significantly improve the longevity and appearance of the surface.
- Choose a clear coat compatible with the spray paint used.
- Apply the clear coat in several light, even layers.
- Let each layer dry thoroughly, as recommended by the clear coat manufacturer.
This step not only secures the paint but also adds a professional, polished look to the item. They pay special attention to maintaining a consistent spray pattern and distance to avoid new imperfections.
Frequently Asked Questions
This section addresses common concerns and provides clear, effective solutions for fixing blotchy spray paint across various surfaces.
What are the steps to correct uneven spray paint on metal surfaces?
To correct uneven spray paint on metal surfaces, start by gently sanding the blotchy area with fine-grit sandpaper, then clean the surface thoroughly. Apply an even layer of primer if necessary, followed by thin, consistent coats of spray paint, allowing adequate drying time between layers.
What techniques can be used to fix uneven spray paint on wood?
To fix uneven spray paint on wood, first sand down the blotchy areas with fine-grit sandpaper. Ensure the surface is clean and free of debris before applying a new coat of paint. Use several light coats rather than one heavy coat to achieve a smooth, even finish.
What preventive measures can avoid splotchy results when spray painting?
Avoiding splotchy spray paint results can be accomplished by ensuring the surface is clean, dry, and primed if necessary. Practice applying thin, even coats and maintaining a consistent distance between the spray nozzle and the surface. Properly stirring the paint and testing the spray pattern can also help prevent splotchiness.
How can spray paint runs be rectified on metal surfaces?
To rectify spray paint runs on metal surfaces, wait for the paint to completely dry, then sand the run with fine-grit sandpaper until it’s level with the surrounding area. Clean off any residue and apply a new thin layer of paint, allowing for proper drying time.
What causes a painted surface to appear wrinkled and how can it be smoothed out?
A painted surface may appear wrinkled due to excessive or uneven application of paint or painting over a surface that hasn’t completely dried. To smooth it out, allow the paint to dry fully, then sand the wrinkled area lightly. Afterward, apply a light coat of paint and let it dry completely before adding subsequent layers.
Wrapping Up
Blotchy spray paint can be remedied with patience and attention to detail. Users must ensure a clean, even surface and clear nozzle, and practice proper spraying technique. A smooth, professional finish is achievable by adhering to these corrective steps.