We’ve all been there. You’re walking through a flea market, garage sale, or antique mall, and then you see it.
That perfect piece of eclectic furniture that you’ve been in search of for weeks. The only problem is that it’s the wrong color and won’t mesh well with the room where you want to place it.
However, if you know how to prep furniture for painting, you can quickly alter the outward appearance of the piece in question. And, if you don’t know the first thing about painting or prepping furniture, you’ve come to the right place.
The Importance of Learning how to Prep Furniture for Painting
Learning how to prep furniture for painting isn’t all that difficult, but it is meticulous and somewhat time-consuming. However, it’s a great skill to have in your arsenal if you enjoy antiquing or repurposing old furniture.
The reason it’s essential to know how to prep furniture for painting is that you can’t simply slap a coat of paint on an old dresser and hope for the best. Old (and new) furniture often gets coated with special stains and varnishes, and the only way to paint over them is to prep the piece properly.
Otherwise, a new coat of paint won’t adhere or stick to the furniture, and you’ll end up with a splotchy, messy coat of paint.
How to Prep Furniture for Painting From Start to Finish
Gather Your Supplies
Step one of any DIY project is always to gather your supplies together. If you want to learn how to prep furniture for painting the way the pros do, here are some of the things you’ll need.
- Drill or screwdriver
- Bucket of hot water
- Old, soft rags
- Degreaser
- Wood filler
- Putty knife
- Sanding blocks or sandpaper
- Palm sander
- Shop vac
- Plastic wrap or old blankets
- Broom and dustpan
- Paint brushes
- Paint and primer
While this seems like a lot of equipment, outside of the paint, primer, and palm sander, it’s likely stuff you have lying around the house. At any rate, you’ll need every one of these things to learn how to prep furniture for painting the right way.
Remove any Hardware on the Surface of the Furniture
Once you have your tools and equipment, you’re ready to begin. The first step in the process is removing any hardware from the furniture’s surface.
This includes knobs, handles, pulls, and hinges, usually on dressers, cabinets, and basically all furniture aside from tables.
If you plan to reuse the old hardware, set it aside so it doesn’t get damaged or painted accidentally.
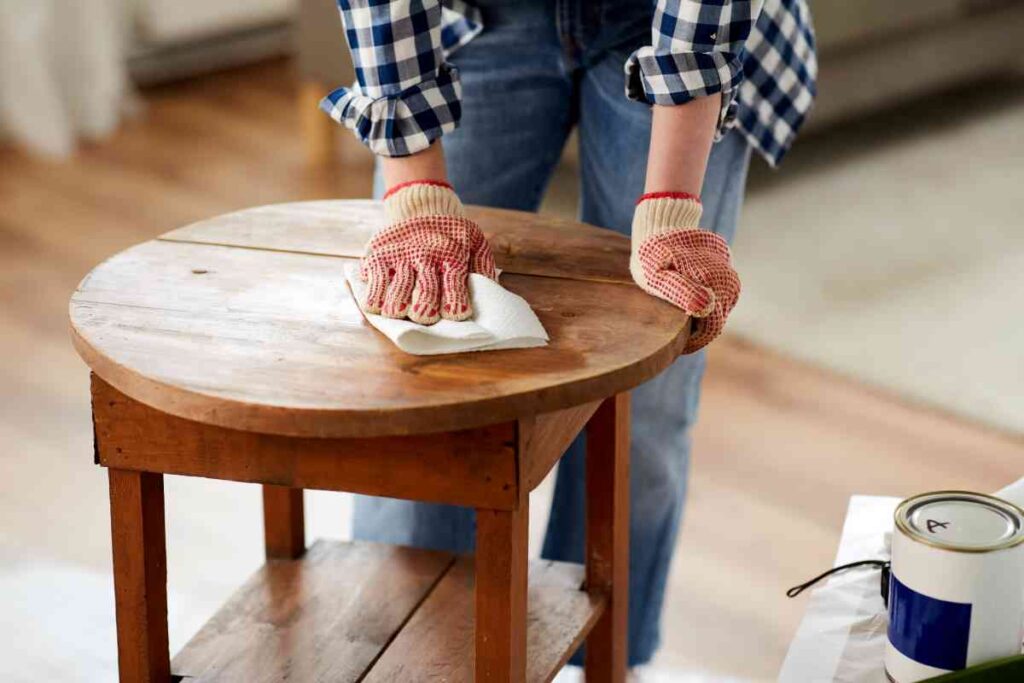
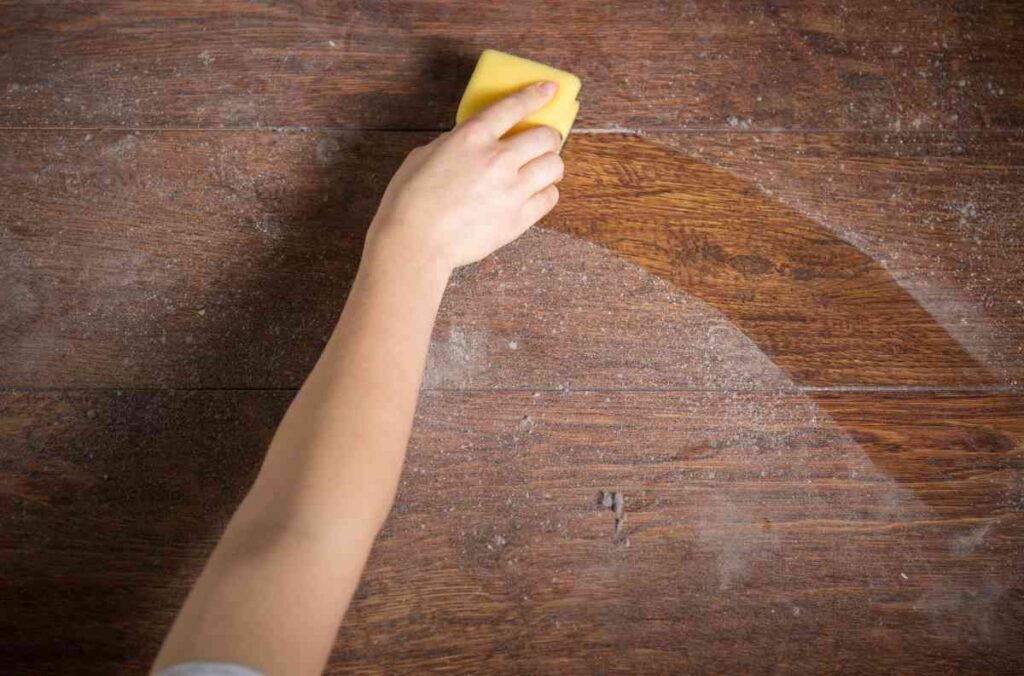
Wipe Down the Furniture with Hot Water and a Rag
Next, use hot water and a soft fiber rag to wipe down the furniture’s surface. You’ll want to wipe and clean any area you plan to paint.
Depending on where you got your furniture, you’ll have to be more thorough. If it’s been sitting around for years and collecting dust, you’ll probably have to use several buckets of water and go over the furniture two or three times.
You can also use a soft scrub sponge if dirt and grime have hardened. If necessary, add a little Dawn dish soap to your bucket of water.
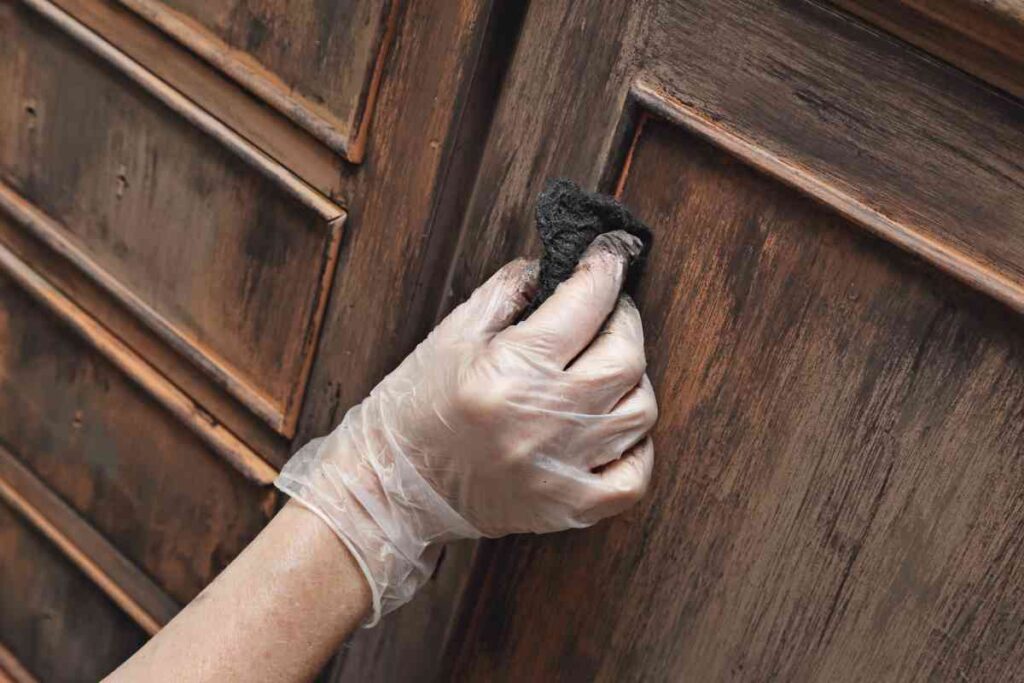
Use Degreaser if Necessary
In most cases, you’ll also have to clean your furniture using a degreaser. There’s a good chance that your newly acquired furniture will have a layer of grease, oil, or polish from an old coat of finish or stain.
You’ll have to remove this layer of crud for your paint to stick, and hot water isn’t going to do the trick.
If you want to use a homemade recipe, you can also try a one-to-one ratio of water and denatured alcohol. You can also try TSP, but certain types of paint won’t be able to adhere to it, so make sure the paint you choose works ok with TSP.
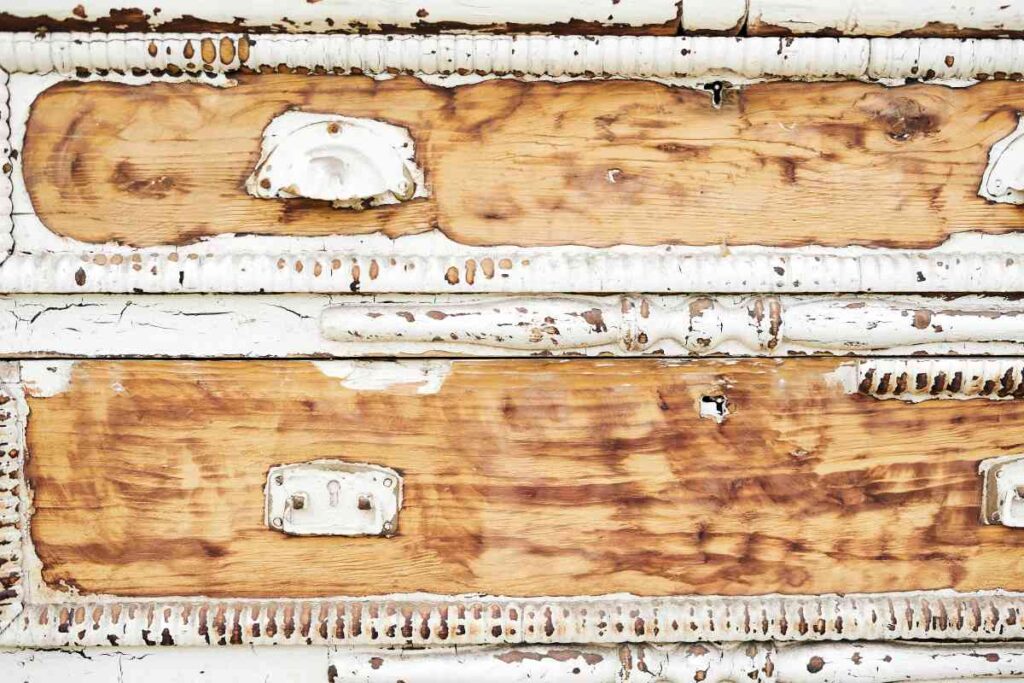
Use Wood Filler on Deep Grooves and Scratches
Once you have removed all the crud on your furniture, you can now evaluate it in its natural state. It’s at this point that you’ll probably notice deep grooves and scratches on the furniture surface.
It’s probably nothing you did during the cleaning process but rather scars left behind from years of use. However, you’ll have to fill these grooves and scratches if you hope to have an even coat of paint.
To fill these gaps, you should use a wood filler. Do your best to apply the filler evenly, but don’t get too carried away because any abnormalities will get repaired during the sanding process.
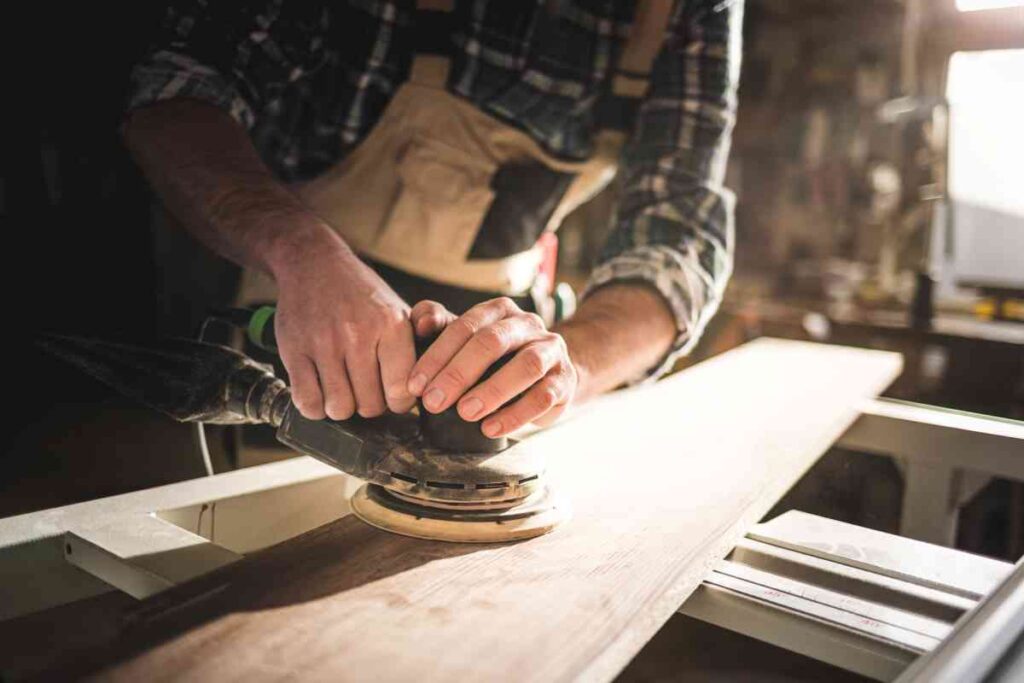
Sand the Furniture Thoroughly
Sanding the furniture is the most critical step when learning how to prep furniture for painting. You can clean, scrub, prime, and prep the furniture perfectly, but it won’t do any good if you don’t sand it first.
Sanding removes whatever layer of paint, stain, varnish, or polish that was previously used on the furniture. It’s essential to remove these things so that your new coat of paint can adhere to the furniture surface.
Here’s how to prep furniture for painting by sanding.
- You’ll have to sand the furniture a minimum of two or three times using sandpaper with varying degrees of roughness.
- Start with a sixty or eighty-grit sandpaper.
- Next, proceed to a 140 or 180-grit sandpaper.
- If necessary, go one more round with 220 to 240-grit sandpaper.
If you start with smoother sandpaper first, it won’t be effective. It’s important to wear down the furniture, little by little, to prepare it properly.
Should I Use a Palm Sander or Sanding Blocks?
If you want to learn how to prep furniture for painting the way the pros do, then you should either rent or buy an electric palm sander. Electric palm sanders are much quicker and more efficient when it comes to prepping wood.
However, if you want to be more meticulous and take your time, you can use sandpaper or sanding blocks. Going this route is cheaper but will take four to five times longer.
Tips for Using a Palm Sander
If you decide to use an electric palm sander, it’s essential to use it properly. You should move the sander in circular motions, using an even cadence.
Never apply too much pressure to the sander, and allow the sander to do the work for you.
Tips for Using Sanding Blocks
If you go the sanding block route, there are also a few tips to keep in mind. It would be best if you always sand with the grain and never against it.
You should also move the sanding block in a straight line, back and forth, and never go from side to side.
Sand Again as Necessary
Another part of learning how to prep furniture for painting is the principle of being thorough. You should check the furniture for smoothness after each round of sanding.
While three rounds are usually enough, you should never assume so and always check first.
Clean up Your Sanding Mess
Once you’re finished sanding, it’s time to clean up. Sanding creates a ton of dirt, sawdust, and debris, and you’ll likely have a huge mess on your hands.
Start by cleaning up the area on the ground around your work project. You can use either a shop vac or a broom and dustpan for this step.
Next, thoroughly clean the surface of the furniture. Any dust or dirt you miss, even the most minute in size, will show up when you’re finished painting.
You’ll likely have to fill that trusty bucket with hot water one more time and dig out another soft rag to clean the furniture.
Cover Areas Around the Furniture You Don’t Want to Paint
If you haven’t already, you should also take this time to cover anything around your work area with plastic or old blankets to protect it from paint. The odds are that you’re doing your work in a shop or garage, but there’s usually something around that you want to protect.
Apply Primer to the Furniture
Aside from sanding, priming is the most important step when learning how to prep furniture for painting. Primer is what will allow the paint to adhere to your furniture and will also help protect it from seeps, leaks, and damage.
There are many different primers that you can use, but shellac primer is one of the best. It’s available in a paint can style or in a spray can.
Another option is to purchase a paint/primer combination, where the two are pre-mixed. This option will save time because you won’t have to use as many coats.
However, it’s also more expensive, so do what’s best for your budget. You should apply two coats of primer to your furniture and wait for a minimum of one hour between them.
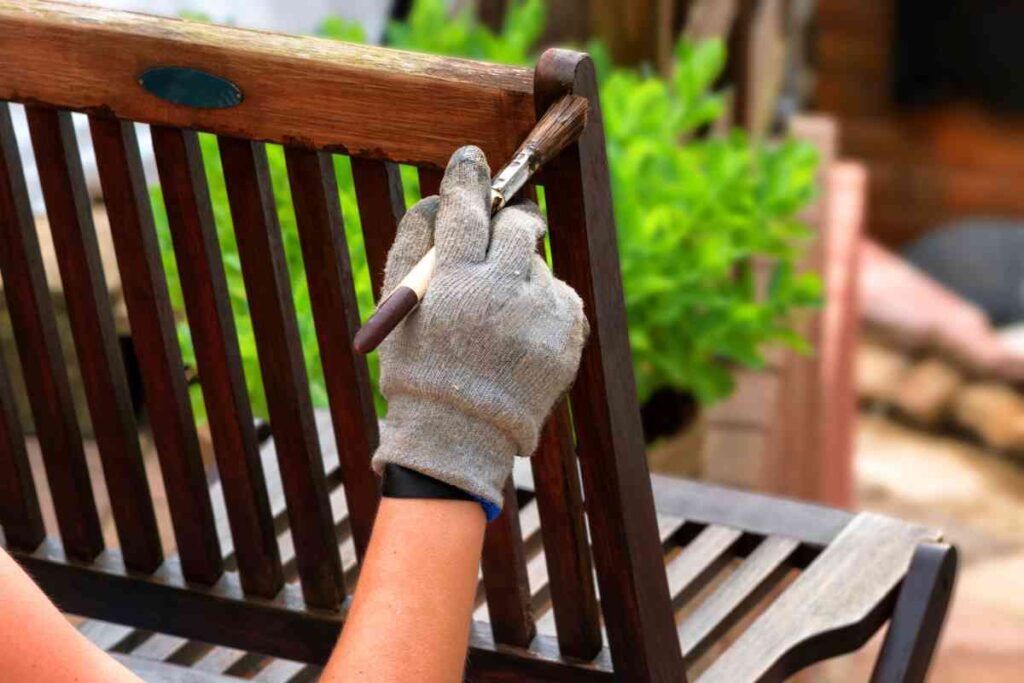
Choose the Right Paint and Paint Away!
Once you’ve primed the surface of your furniture, you’re ready to start painting! If you’ve followed all the steps in learning how to prep furniture for painting, you can use any paint and any color that you desire.
Are Sanding and Priming Always Necessary?
While there are several steps in learning how to prep furniture for painting, each step is necessary, and none should get skipped—especially sanding and priming.
The only time you can get away without sanding and priming is if the coat of paint you plan to apply is the same type of paint that’s currently on the furniture. Outside of that remote possibility, there are no substitutes for sanding and priming.
Final Thoughts on How to Prep Furniture for Painting
Now that you know everything you need to about how to prep furniture for painting, you can alter any piece of furniture you come across. No longer will the wrong kind of stain or color keep you from adding the perfect table, cabinet, or bureau to your home.
Need some ideas for the next piece of furniture you find? Check out our inspiration for some great ideas, and have fun thrifting!

I’ve been a professional painter for the last 20 years. That Sweet Tea Life is a place where I get to slow down and visit the craftier side of painting.
I’ll share with you everything I’ve learned painting hundreds of pieces of furniture and sets of kitchen cabinets.