If you’re a DIY enthusiast who wants to learn how to sand furniture for painting, you’ve come to the right place. Repurposing old and used furniture is a ton of fun and one of the best ways to stretch your DIY skills.
While several steps are involved with the process, there’s no need to worry or get overwhelmed. We’ll explain each step and tell you everything you need to know so you can restore your furniture to its former glory!
Do You Need to Sand Furniture Before Painting?
Sanding your furniture before painting is a bit of work, but it’s often necessary. Older furniture was made with many different coatings and varnishes, and the paint doesn’t adhere well to many of them.
Therefore, it’s necessary to sand the surfaces of old furniture and remove their outer coating, paint, varnish, or stain, to ensure that your new coat of paint will adhere to the furniture. If you skip the sanding step of the process, there’s a good chance that your furniture won’t look how you envisioned it when you began your project.
How to Sand Furniture for Painting
As we said before, sanding furniture takes some time and can get messy, but it’s a step you should never skip. There’s no telling what the furniture in question is coated with, and sanding is the best way to ensure you remove the said coating.
If you’re ready to get started on your furniture renovation, here’s everything you need to know about how to sand furniture for painting.
Gather the Necessary Equipment
The first step in any DIY project is gathering the supplies and tools you’ll need to complete the job. Here’s a list of everything you’ll need.
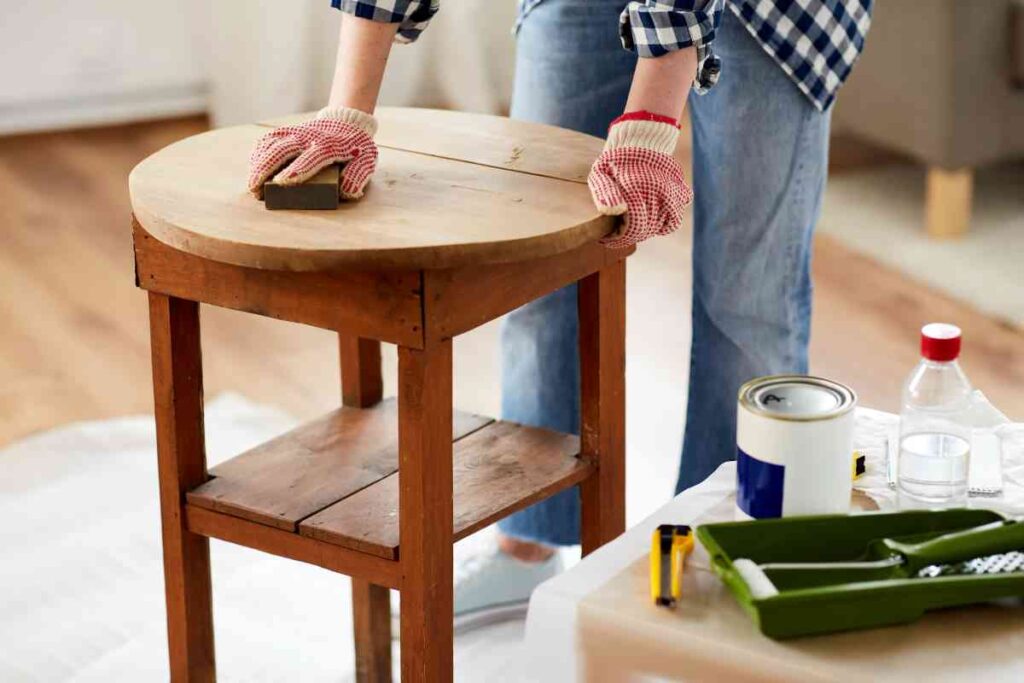
One of the biggest steps in learning how to sand furniture for painting is learning how to protect yourself. You’ll create tons of dust and debris and possibly use chemicals and power tools.
Therefore, you should always wear gloves, goggles, and a face mask while sanding.
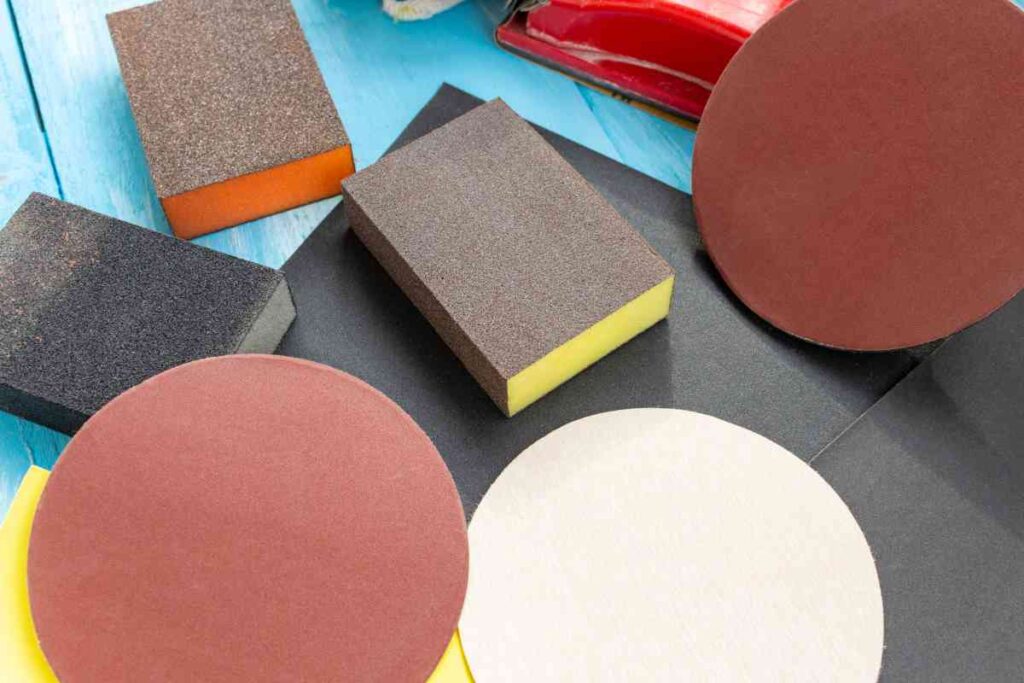
You’ll need a power or palm sander and sandpaper and sanding blocks to get the job done. You should have several different kinds of sandpaper ranging in roughness from 60-grit to 180 or 300-grit.
A shop vac will come in very handy to clean up after yourself.
- Ventilated Area
Sanding furniture will create dust and minute debris that floats into the air before it settles. You should always perform your work in a ventilated area unless you want a houseful of sawdust.
- Rags and Hot Water
Another key to learning how to sand furniture for painting is cleaning your furniture when you’re finished sanding. Attempting to paint recently sanded furniture without washing it with rags and hot water will end badly.
The furniture will be speckled and pockmarked everywhere that dust is present, resulting in a dirty, unfinished look. In most cases, you’ll have to resand and start from scratch if you don’t clean the furniture properly.
What Kind of Sander to use

In terms of the fastest way to sand furniture for painting, you should use a power sander. You can use sandpaper and do the work by hand, but you’ll save a ton of time by either buying or renting a small power sander.
Use a Scraper for Chunks of Paint
In cases where the previous painter of your furniture didn’t do the best job and left clumps of paint in certain areas, you may need a scraper. Scrapers are convenient tools to remove outer coats of paint that are too thick for your sander.
Use scrapers with caution, however, so that you don’t damage the furniture beneath the paint.
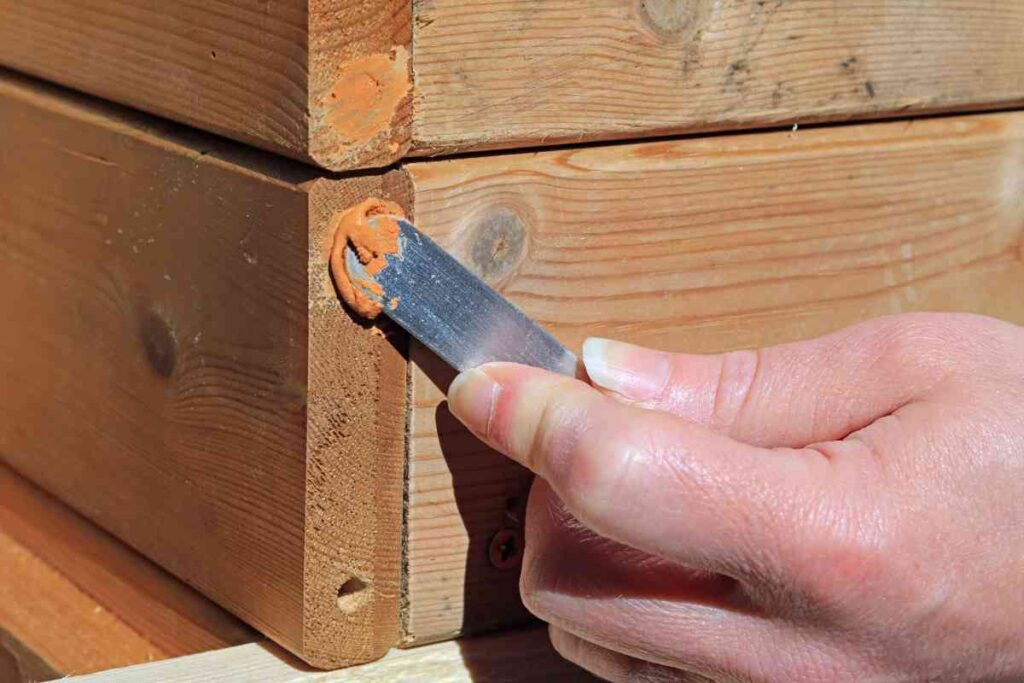
Apply Wood Filler to Deep Grooves
Depending on how beat up your piece of furniture is, you may have to use wood filler to fill deep grooves. Deep grooves result from bumping the furniture’s surface or dropping a heavy object on it.
Deep grooves can also happen from scraping the furniture too aggressively in your attempt to remove paint. Therefore, wood filler is an excellent tool to have on hand in, but you may not always need it.
Use Chemicals if Necessary
Although it isn’t always necessary, it might be good to go over the furniture first with a chemical paint remover. However, you should never use a chemical paint remover instead of sanding.
Whether you use it or not, you’ll still have to sand the furniture before painting it. Chemicals will do a good job removing some of the paint, but likely not all of it.
Move Furniture Outside for Sanding
While you can leave your furniture inside for the scraping portion of the process, you’ll want to move it outside when using chemicals or before sanding. Paint removers will emanate their chemicals into the atmosphere and can be harmful in an enclosed space.
You’ll also want your furniture outside, in the garage, or in another ventilated area before you begin sanding. Learning how to sand furniture for painting the right way will create a massive mess you won’t want in your house.

Start with Coarser Sandpaper
Once your furniture is outside, you’ve used a scraper to remove thick coats of paint and fill any grooves with wood filler. You’re ready to learn how to sand furniture for painting.
You’ll want to start the sanding process with your coarsest sandpaper. In most cases, this will mean starting with sixty or eighty-grit sandpaper.
The coarser the sandpaper is, the more aggressive it will be at refining your furniture. Sandpaper that’s too fine won’t be able to remove the coating or remaining paint on the surface of the furniture.
Move to a Finer Grit
Once you’ve gone over the furniture surface with a sixty or eighty-grit sandpaper, it’s time to move to a finer grit. Typically, this will mean a 180, 240, 300 grit, or a combination of all three.
The finer the sandpaper you use, the smoother the surface of your furniture will be. However, you should always use sandpaper in order from least to greatest and never start with a high-numbered grit.
Here’s a good order to use with your sandpaper.
- 60 or 80-grit
- 120 or 160-grit
- 220 or 280-grit
As a general rule of thumb, using three different levels of sandpaper is good. Three rounds of sanding should be enough to get your furniture where you need it to be for painting.
Sand Until the Old Paint is Gone
It’s important to sand your furniture until the exterior paint and coating are gone if you want to learn how to sand furniture for painting the right way. Three rounds of sanding are almost always enough, but it’s important to evaluate after each round and continue if necessary.
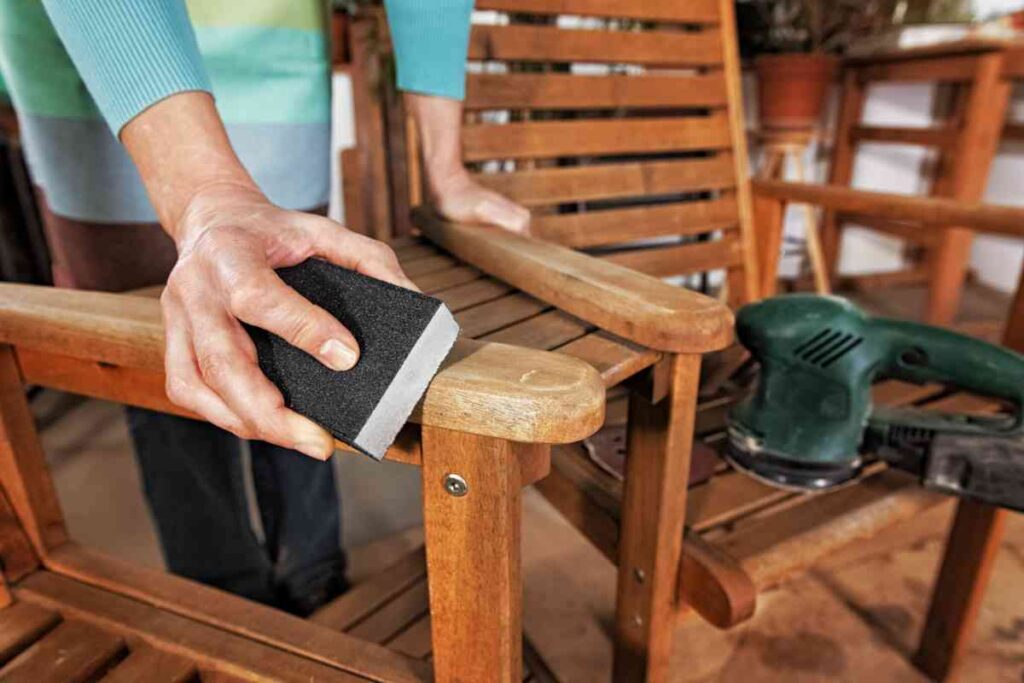
How to Sand Furniture for Painting the Right Way
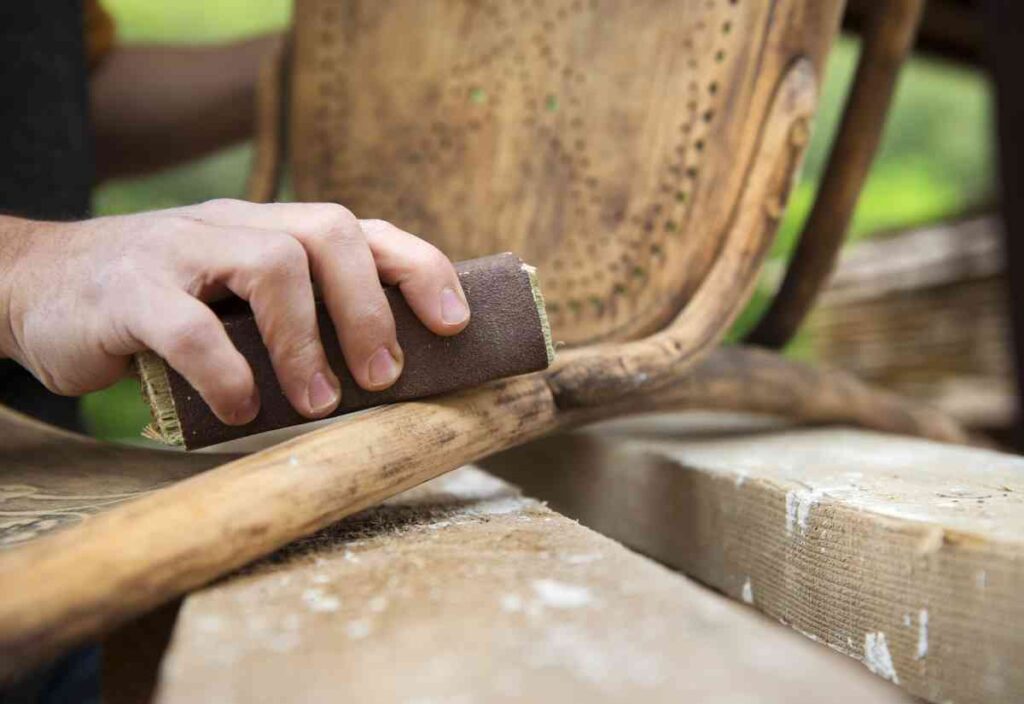
Using a combination of hand-sanding, sand blocks, and a power sander is essential. When using sand blocks or sandpaper, you should always rub with the grain and never against it.
Doing so could damage the wood surface, and you’ll be back at square one. Sandpaper and sanding blocks are great for getting into tight corners and crannies.
If you use a power sander, you should move the sander in a circular motion, almost as if you’re washing your car.
You should also move the sander slowly and never apply pressure too aggressively. If you can master these skills, you’ll have no trouble learning how to sand furniture for painting the way the pros do it.
Clean Thoroughly Before Applying Paint
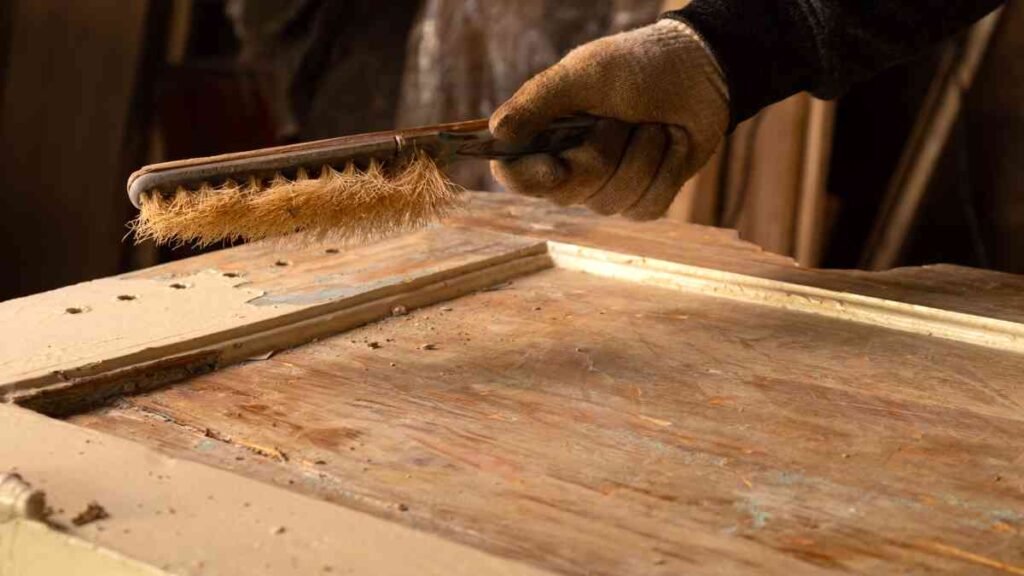
Once you’re certain you have sanded your furniture enough, it’s time to clean it. Start by using a shop vac or broom to clean up the sawdust and debris on the ground around your project.
You can also go over the furniture’s surface with a shop vac if you have a brush attachment. Be careful, though, because the last thing you want to do is scratch the furniture while cleaning it and have to start over.
Once the mess around the furniture is cleaned up, you should go over the furniture’s surface with a wet rag and hot water. Being thorough during this step and wiping the furniture down multiple times is crucial.
Any dust or debris you miss will show up in the final product and disfigure the furniture. So, while it’s one of the least fun steps, cleaning up is crucial when learning how to sand furniture for painting.
Make Sure no Scratches are Present
When you’re finished with the clean-up process of learning how to sand furniture for painting, it’s time to do a final check. Go over the surface of the furniture with a fine-toothed comb and make sure there aren’t any scratches, dings, or dents remaining.
If there are, you’ll have to apply wood filler and possibly sand the furniture one more time. If you do that, you’ll have to go through the clean-up and wipe-down process again, so be thorough the first time.
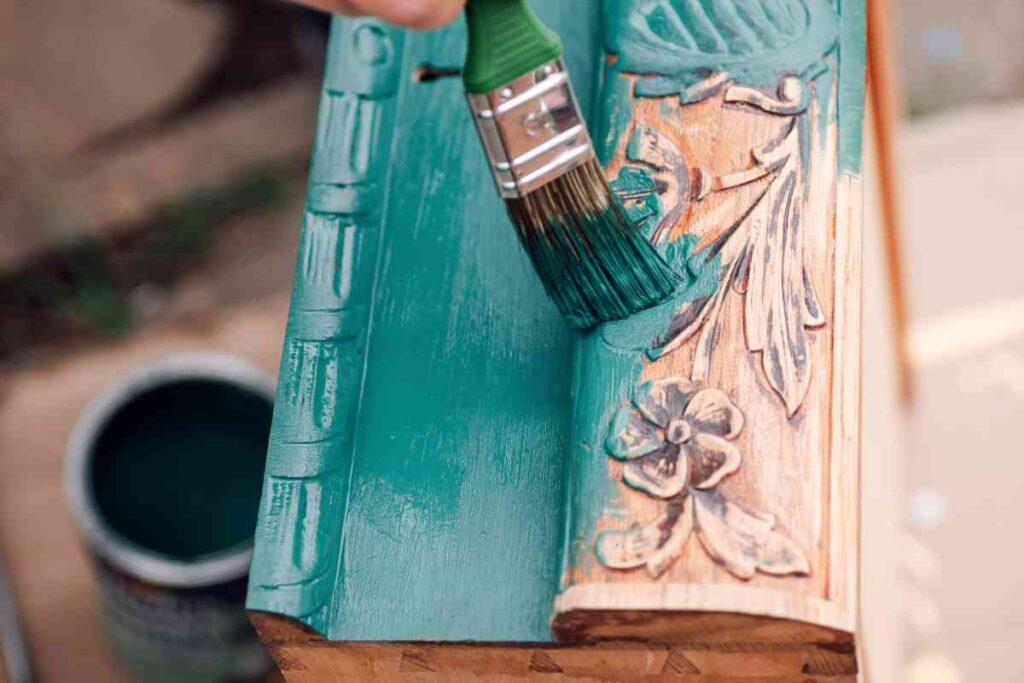
Paint Away!
If you’ve performed each of the steps listed above and your furniture looks good, congratulations! You’ve learned how to sand furniture for painting, and you’re ready to paint away.
Are There Times When Sanding Furniture Isn’t Necessary?
While learning how to sand furniture for painting is a great skill, it might not always be necessary. If the furniture you’re repainting is in reasonably good condition and you’re using the same type of paint already on the surface, then you don’t have to sand it before painting.
Final Thoughts on How to Sand Furniture for Painting
As you can see, there are a number of steps to learning how to sand furniture for painting. However, by adhering to the steps in this article and using the right equipment, your furniture will look as good as new in no time!
Now that you’ve sanded your furniture, it’s time to paint it. Check out our paint reviews for ideas before heading to the hardware store.

I’ve been a professional painter for the last 20 years. That Sweet Tea Life is a place where I get to slow down and visit the craftier side of painting.
I’ll share with you everything I’ve learned painting hundreds of pieces of furniture and sets of kitchen cabinets.