Learn how to make a pretty wood sign with flowers to display photos or keepsakes.
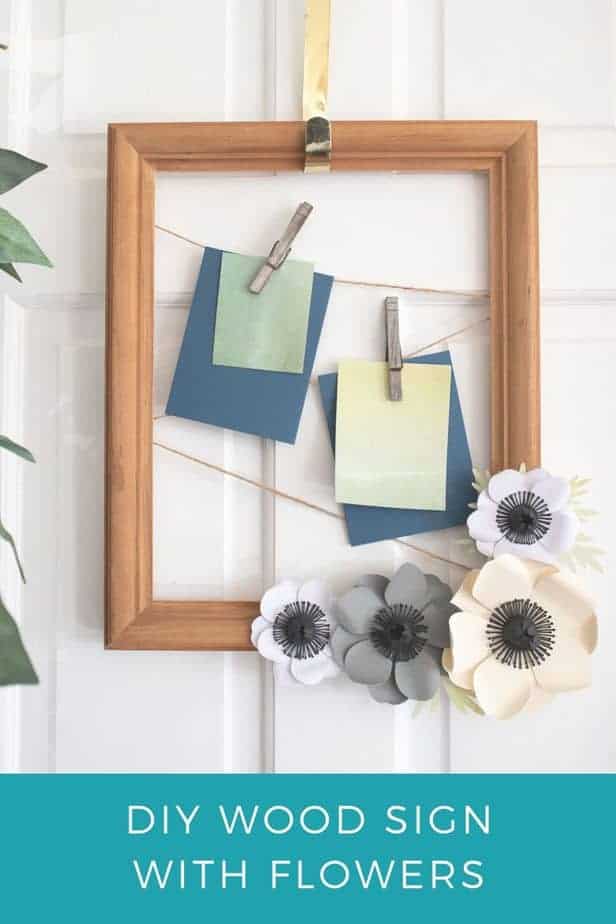
Today I’m sharing a fun, and easy to make, wood sign project with paper flowers made using a Cricut. But the flowers can be made with any cutting machine. You can also use your favorite colors, and attach family photos, recipes, cards or favorite keepsakes. Wouldn’t this make a great gift?
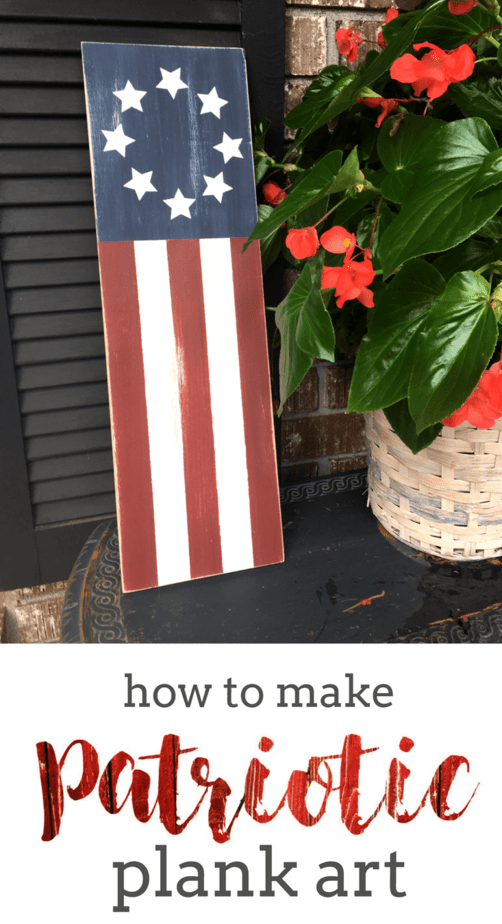
One of my favorite Cricut projects was this Patriotic Plank Art:
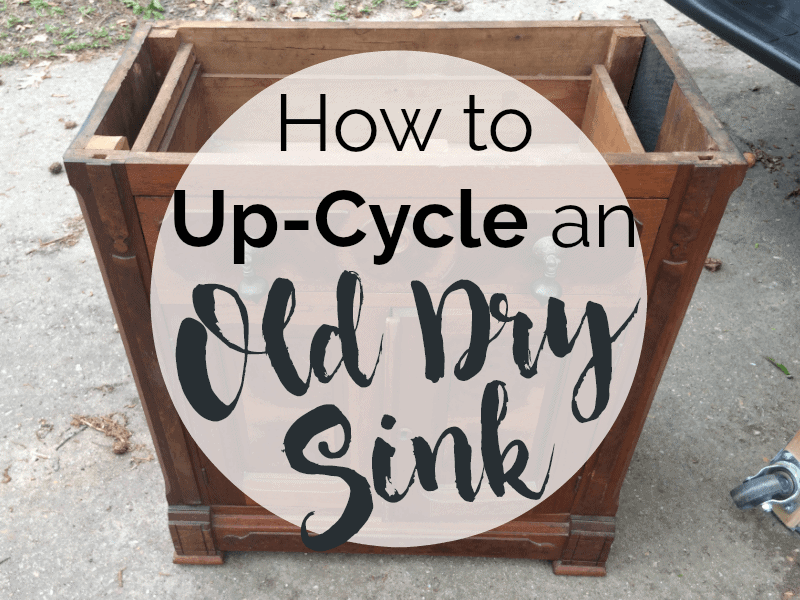
And you can see how I customized a Removable Tray Top:
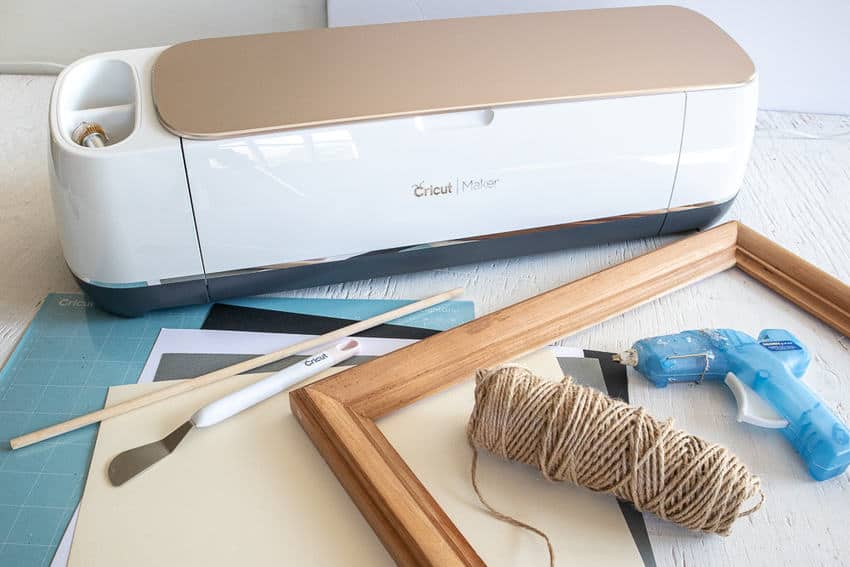
Now let’s get to the paper flowers. Here is what you need to make your own wood sign photo display.
Materials Needed For Wood Sign With Flowers:
- 3D Anemone paper flower template in Design Space, #M151B3E27
- Cricut Maker (or other cutting machine) with Fine Point Blade and Scoring tool
- Cricut Light Grip or Standard Grip Mat
- Cricut cardstock paper, Neutral sampler pack and one light green colored cardstock
- Large wooden open back frame
- Weeding Tool
- Scraper
- Wooden dowel or pen (for curling flower petals)
- Hot glue gun with clear craft glue sticks
- Twine
- Staple gun
Instructions to Cut Four Paper Flowers (three different sizes)
- Gather supplies.
Uploading the Peony Pattern
- Open Cricut Design Space.
- Click on the “+” sign to start a new project, opening up a blank canvas.
- Click on the Images button from the toolbar.
- Search “Anemone” image (#M151B3E27) and then click on the image to insert the pattern on the canvas.
- Resize grouping to 9.5” high.
- Duplicate the grouping and resize the second set to 8” high.
- Duplicate the grouping and resize the third set to 6.5” high. Duplicate this third and final set.
- Ungroup all sets of patterns.
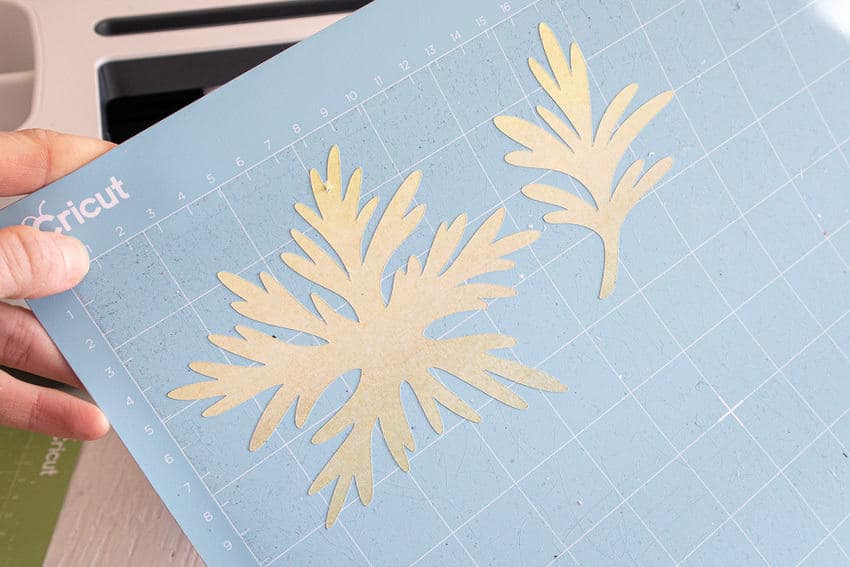
- Delete the extra leafy pattern pieces, keeping just the one largest set.
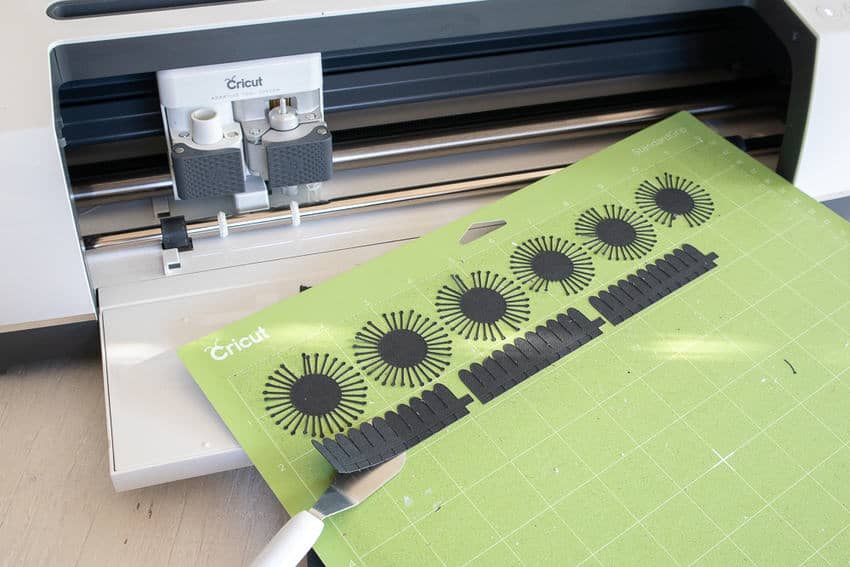
- Move to the Color Sync tab to sort images by paper color: change the largest flower petals to cream colored; change the medium sized flower petals to grey colored; and lastly, change the smallest flower petals to white colored; change all the pistil shapes to black colored mat; change the leaf shapes to the green colored mat.
- Delete the smallest sized flower pistils. Duplicate the medium sized flower pistils two times. Use these medium sized pistil shapes for the smallest sized flowers.
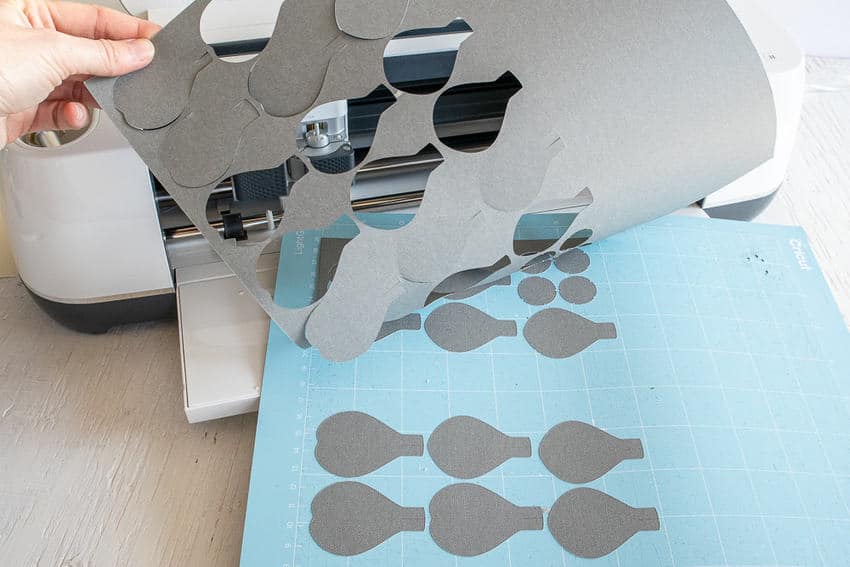
Cutting
- With the machine set to Cricut Maker, select “Make It” in Design Space.
- Set material type to Cardstock, choosing the appropriate weight based on your paper.
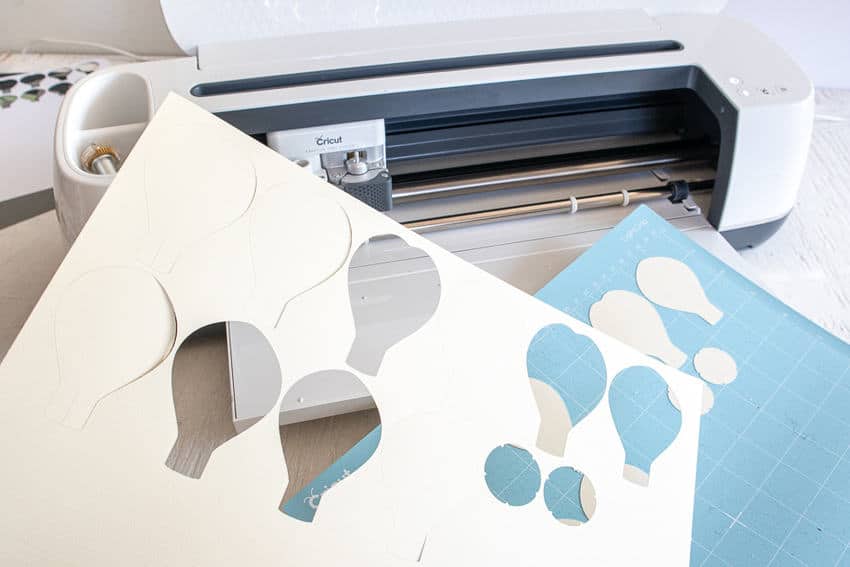
- Place the first paper color onto the light grip mat.
- Follow prompts for loading cardstock paper into Cricut Maker and cutting. When the cut is complete, unload the mat from the machine.
- Remove the cut pieces from the cutting mat.
- Repeat for the remaining flowers and pistils and papers.
Assembling the Anemone Flowers
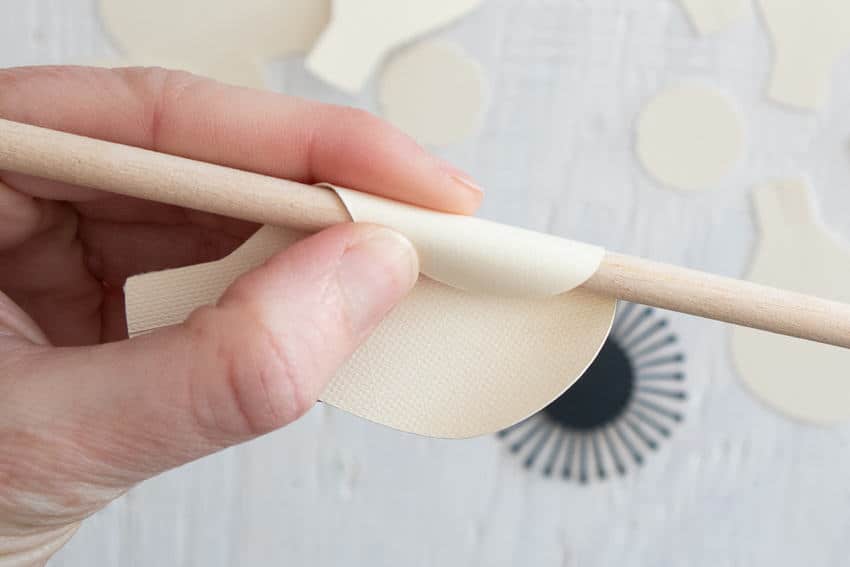
- Start by curling each of the flower petals using the wooden dowel. You are aiming for a wavy effect with petals, with the curls in different directions.
- Glue five of the larger petals to the backside of one of the discs, aligning the slits of the petals with the notches in the disk.
- Glue the five smaller petals to the second disc in the same way as the first.
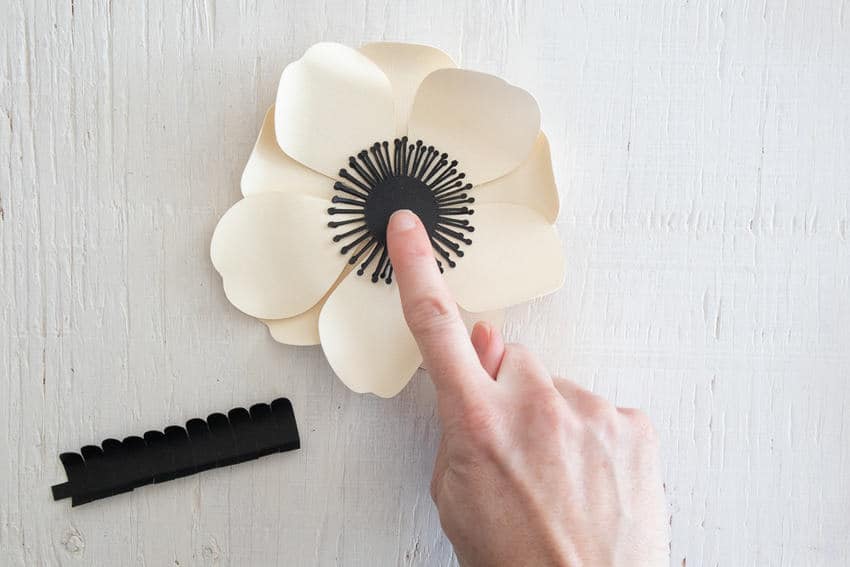
- Layer the small set of petals over the larger ones, covering the gaps between the larger petals. Glue together at the center.
- Glue both of the round pistil pieces into the center of the flower.
- Fold the final piece along the score mark (this will be towards the inside). Curl the rounded ends of the final black piece in the same directions. Roll along the length of the piece to create a black rounded “ball”. Glue to hold together. Glue it to the center of the flower.
Assembling the Photo Display
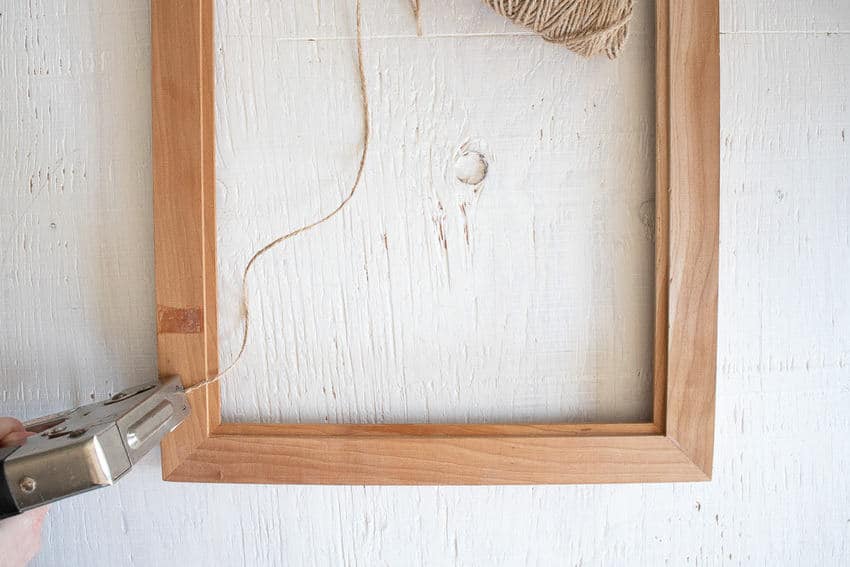
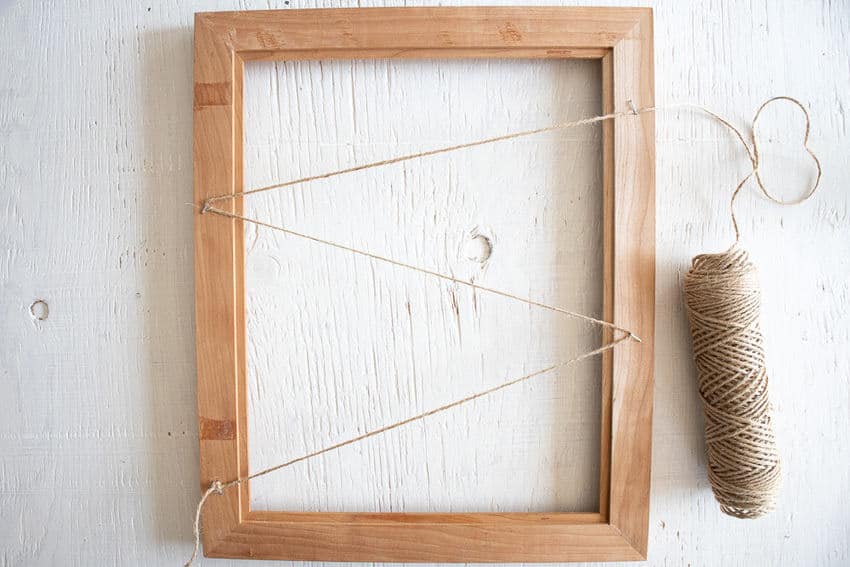
- Turn the picture frame face down. Starting in one corner, staple the end of the twine in place to secure and zig zag the twine across the back of the frame. Turn the frame over.
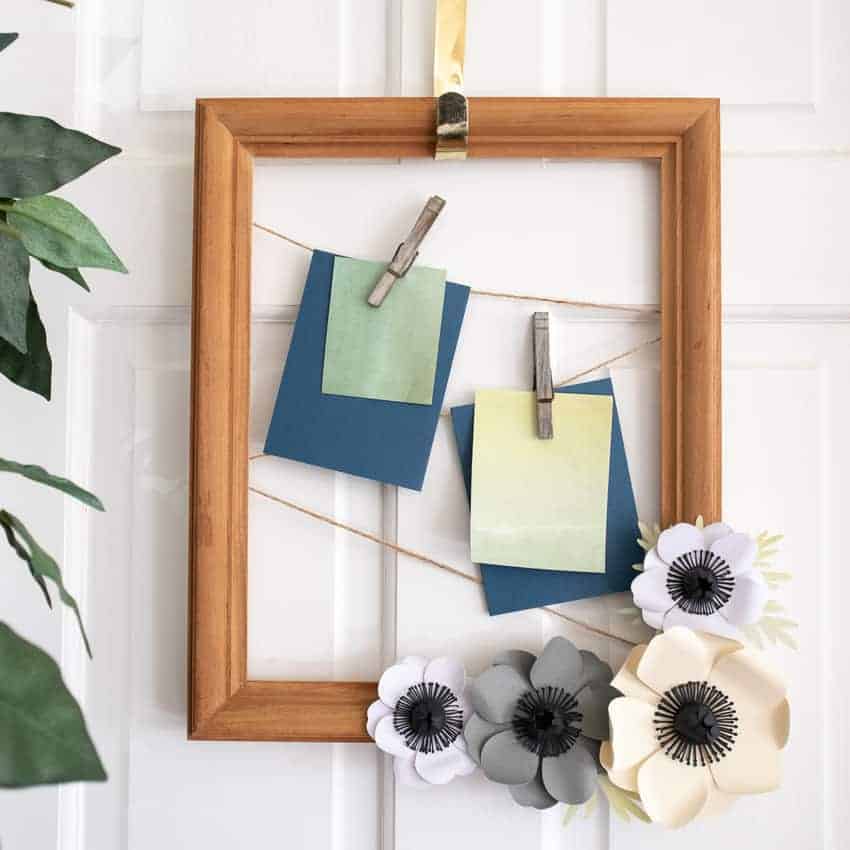
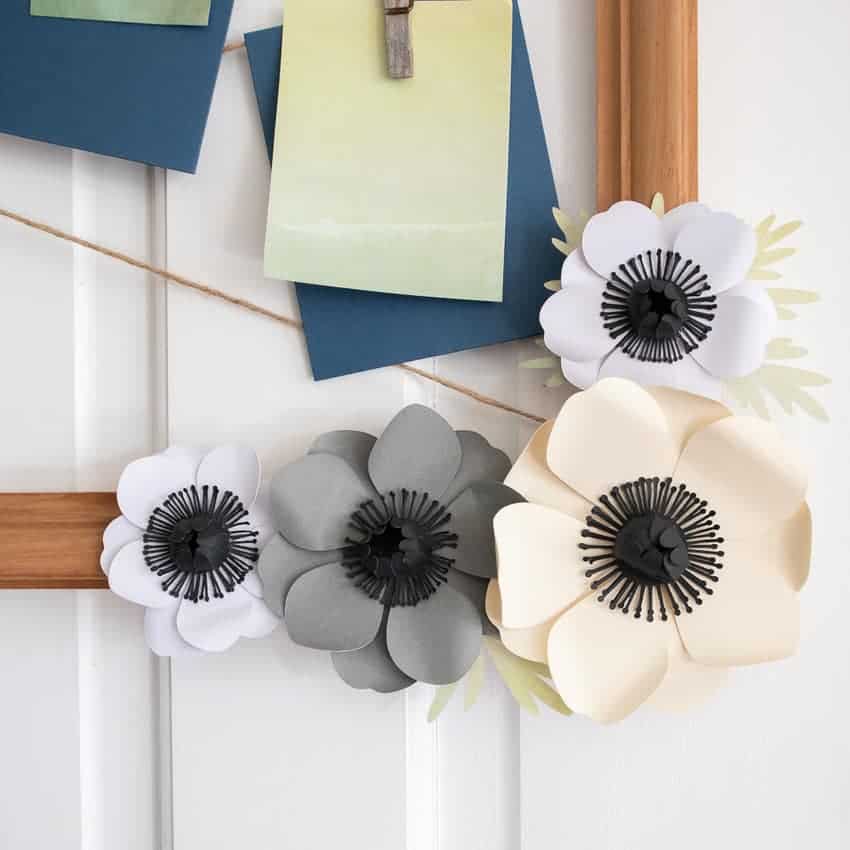
- Practice the positioning of the flowers until you are happy with the arrangement. This arrangement has the largest flower in the corner, a medium one above and two small ones one either side.
- Glue the leaves and the flowers onto the frame in the desired arrangement.

I hope you enjoyed this fun wood sign with flowers. Please PIN the below image to share with your friends:

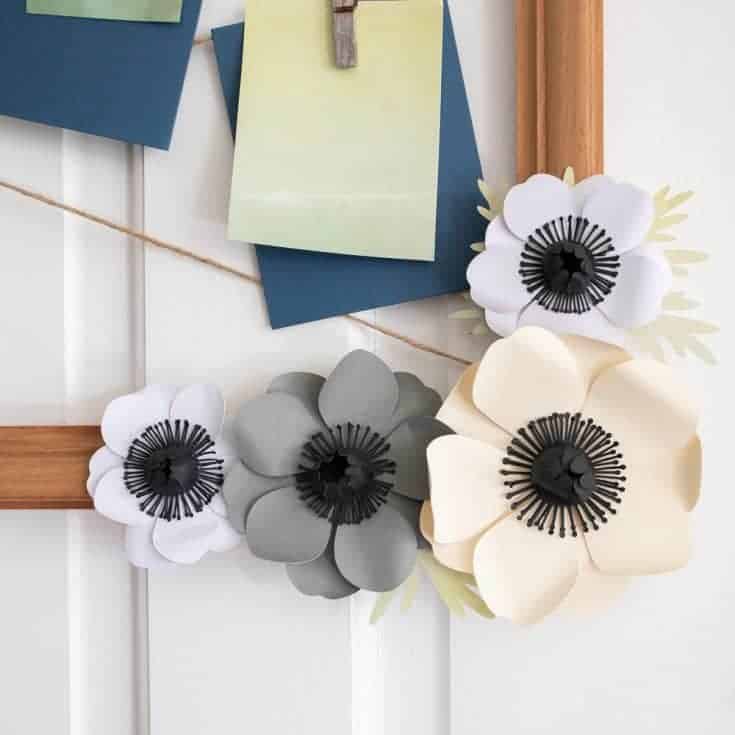
How To Make A Wood Sign With Flowers
Learn how to make a beautiful wood sign with flowers to display photos, recipes, or any keepsakes.
Materials
- 3D Anemone Paper Flower Template in Design Space
- Cricut Light Grip or Standard Grip Mat
- Cricut Cardstock Paper
- Large Wooden Open Back Frame
- Wooden Dowel Or Pen
- Twine
Tools
- Staple Gun
- Hot Glue Gun
- Cricut Maker
- Weeding Tool
- Scraper
Instructions
- Pull up the Anemone pattern in Cricut Design Space.
- Click on the image to insert the pattern on the canvas.
- Resize grouping to 9.5” high and duplicate and resize the second set to 8” high.
- Duplicate the grouping and resize the third set to 6.5” high and duplicate.
- Ungroup all sets.
- Delete the extra leafy pattern pieces.
- Move to the Color Sync tab.
- Make the largest flower petals cream colored.
- Change the medium sized flower petals to grey colored.
- Make the smallest flower petals to white colored.
- Change all the pistil shapes to black colored mat.
- Change the leaf shapes to the green colored mat.
- Delete the smallest sized flower pistils.
- Duplicate the medium sized flower pistils twice.
- Use these medium sized pistil shapes for the smallest flowers.
Recommended Products
As an Amazon Associate and member of other affiliate programs, I may earn from qualifying purchases.


Thea Osborne is a celebrated blogger renowned for her expertise in DIY and paint techniques. With a keen understanding of Southern culture, Thea’s commitment to producing engaging and informative content, coupled with her detailed tutorials, inspire her readers to embrace their own creative pursuits.
Thea’s passion and creativity have left a lasting impact in the DIY community, transforming “That Sweet Tea Life” into a thriving and cherished resource.