Is your outdoor furniture showing signs of wear and tear? Exposure to the elements can accelerate this process. Fortunately, a fresh coat of outdoor furniture paint can help restore your piece to top condition! What’s more, painting outdoor furniture is a relatively easy job that you can tackle yourself! In this article, we’ll show you everything you need to know about outdoor furniture paint—from the step by step instructions of painting outdoor furniture to some of the different DIY projects you can try at home. Keep reading to learn more!
What’s the Difference Between Outdoor Furniture Paint and Indoor Furniture Paint?
First, it’s important that you avoid using any old type of paint or set of art supplies for your outdoor furniture. What is outdoor furniture paint and how does it differ from indoor furniture paint? Exterior paint differs from interior paint in that it is better equipped to withstand the harshest weather conditions. Moisture, ultraviolet rays, fungal growth, and swinging temperature changes are all issues you don’t typically need to worry about with indoor furniture.
While both types of paint will include many of the same additives and pigments, their resins will often be different. As these are the agents responsible for paint adhesion and providing long-lasting protection, the resins used in outdoor furniture—namely, acrylic, epoxy, or silicone—are quite harsh. As you’re browsing at your local craft shop, home improvement store, or online store, look for water-based, oil-based paints that will provide a durable finish!
How to Paint Outdoor Furniture
Are you ready to start painting your outdoor chair, bench, or table? Learn how to paint outdoor furniture by carefully following our seven-step tutorial below!
Step 1: Gather All Tools and Materials
Before you start painting your outdoor furniture, you’re going to need to gather some supplies:
Outdoor Furniture Paint
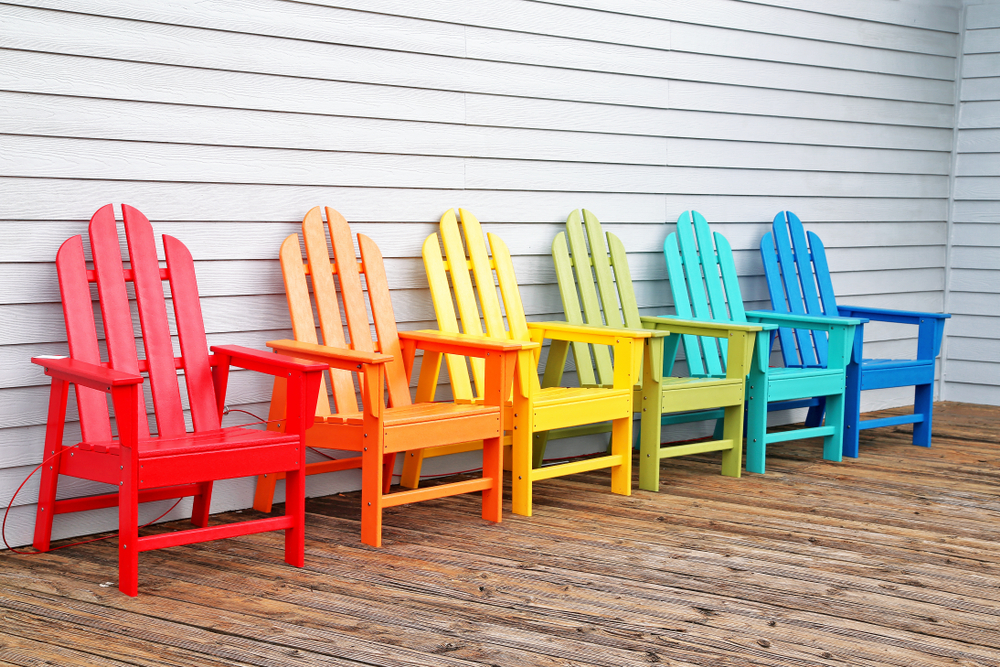
As we mentioned earlier, you will need a can or two of water-based or oil-based exterior paint in order for your furniture to weather the outdoors. Feel free to get creative with your paint color combinations. Chalk paints can help brighten up a boring backyard!
Outdoor Furniture Primer
While you’re busy choosing your outdoor furniture paint, be careful not to ignore your primer. Oil-based and latex primers are both great options. Choose an oil-based primer if your furniture’s current finish is in bad condition!
Paint Brush, Trim Roller, and Paint Tray/Sprayer
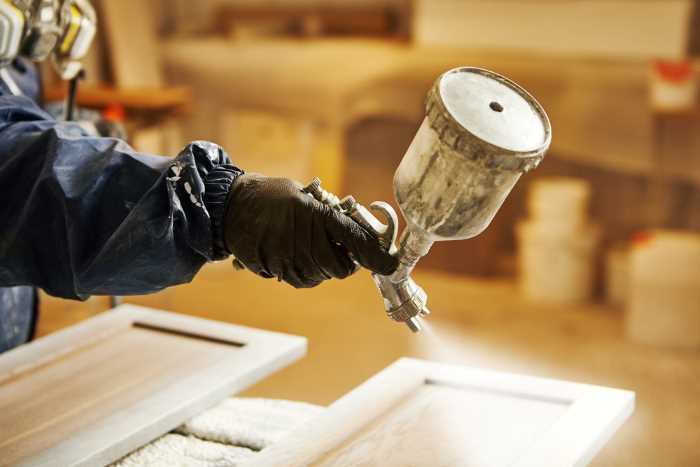
Early on, you’ll need to determine whether you wish to hand-paint or spray paint your outdoor furniture. If you choose the former, make sure you use both paintbrushes and trim rollers for excellent coverage. Otherwise, you’ll need access to a sprayer!
Liquid Soap, Rag, and a Bucket
If you want your primer and paint to bond correctly, you’ll need to first eliminate any dirt and debris—elements that outdoor furniture certainly collects over time! Keep liquid soap, rags, and a bucket of warm water on hand.
Toolkit
Outdoor furniture breaks down in more ways than one. As you’re preparing your furniture piece to be painted, you may need putty, screwdrivers, and other tools to perform basic maintenance and repairs.
Sandpaper/Sanding Sponge/Electric Sander
Because paint doesn’t usually wear evenly, you will need to sand down the existing finish so that you have a smooth, exterior surface to paint. Make sure you have a sheet of sandpaper and or a sanding sponge in stock!
Tarp/Drop Cloth
Perhaps the most basic rule of painting is that it’s a messy job, regardless of whether you’re painting indoors or outdoors. Pick out a tarp or drop cloth (one that is the right size for painting) to protect your pavement or grass.
Protective Gear
Although you’ll be painting outside, it’s wise to wear a dust mask and gloves—especially if you plan to use a paint sprayer and course-grit sandpaper.
Step 2: Clean the Furniture
If your outdoor furniture has been outside for more than a few weeks, chances are that it is going to need a thorough cleaning upfront. First, lay your tack cloth out in a garage, yard space, or another well-ventilated area, and place your piece of furniture on top. Next, using liquid dish soap and a damp rag, scrub the entire piece from top to bottom—eliminating any dust, debris, and cobwebs. If you happen to have access to a power washer or hose, feel free to use these tools as well!
Step 3: Perform Maintenance and Basic Repairs
In preparing to paint your outdoor furniture, you might find that it requires a little extra maintenance—such as tightening screws, fixing dents, or removing rust build-up from metal surfaces. Keep in mind that, while you may be able to tighten a wobbly leg or fill a hole with wood putty, it may not be worth salvaging and painting your furniture if it has a broken frame, major cracks, or other structural issues. In any case, make sure you perform a thorough assessment of line items that need to be addressed before you paint or part with your furniture!
Step 4: Sand the Furniture
Because outdoor furniture paint is fairly rugged, it’s unlikely that the previous finish will have worn evenly. In most cases, you’ll need to remove at least a few bits of paint or finish before you can apply fresh paint. Give your furniture a heavy or light sanding, depending on how much of the old finish you need to remove. After you’re left with smooth, flat surfaces, give your furniture a final wipe down with a damp rag!
Step 5: Apply the Primer
Once your furniture has dried, flip your furniture upside down. As a general rule of thumb, you should start with the underside of your piece whenever you apply primer or paint. Now, take your brush, trim roller, or sprayer, and apply your oil-based or latex primer. Once you have covered the entire surface, leave your furniture to dry for a minimum of two hours.
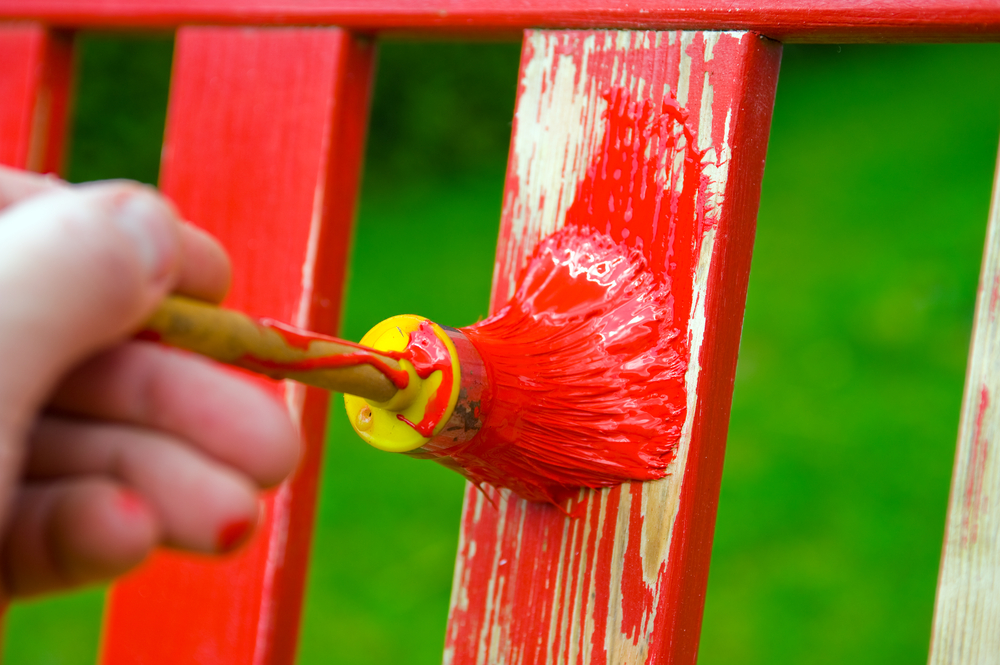
Step 6: Start Painting
Once you’ve given the primer roughly 2-3 hours to dry, apply the base coat of paint—again, starting with the underside of the piece. Your furniture may need multiple coats of paint for a smooth finish, depending on how consistent the paint appears between coats. Just be sure to let each coat dry for at least 30 minutes before applying any additional coats. After roughly 2-3 coats, your furniture should have a solid color without any exposed wood grain, metal, or plastic!
Step 7: Allow Your Furniture to Dry
Finally, your newly painted outdoor furniture will need upwards of 24 hours to fully cure; so make sure that family members, guests, and pets know to leave the wet paint alone. What’s more, you’ll need to keep an eye on the forecast in your area, as inclement weather can easily ruin a quality finish. Transfer your furniture to a sheltered space—such as a garage or patio—that offers greater weather protection!
DIY Projects With Outdoor Furniture Paint
Just how much can you achieve with a can of outdoor furniture paint and a few tools? Check out some of the do-it-yourself (DIY) creations below for inspiration!
Classic Nantucket Inspired Outdoor Table Makeover
Stenciled Patio Table Makeover Project
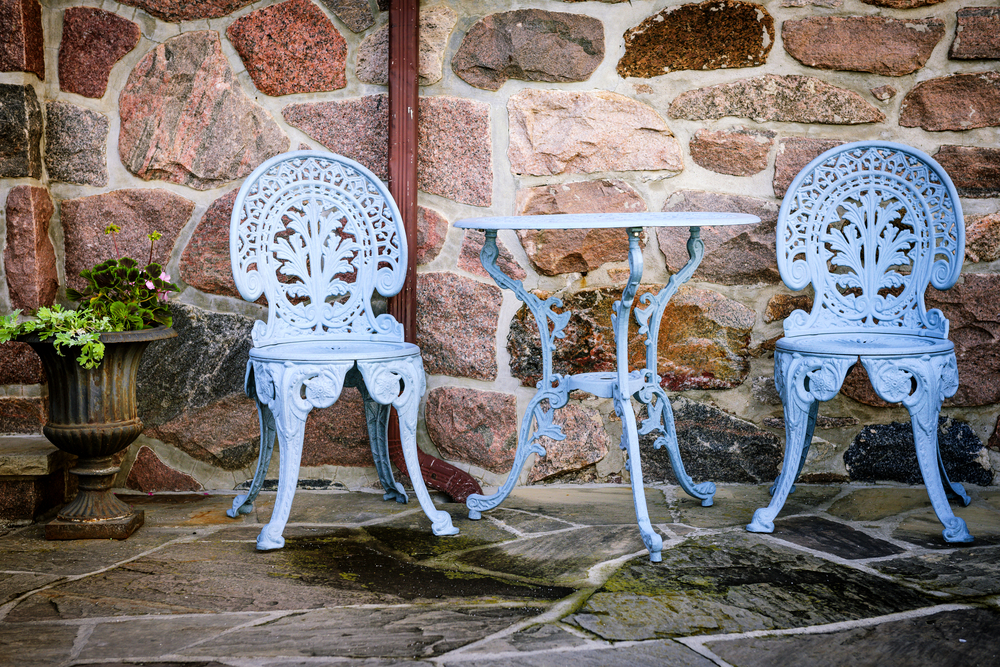
Salvaging and Painting Outdoor Metal Furniture
Put Your New Outdoor Furniture Painting Skills to the Test!
Now that you know how to use outdoor furniture paint in only a few simple steps, it’s time to get outside and try your hand at a piece of yard, garden, or patio furniture. Of course, you might be hesitant to risk one of your prized pieces at first. So, find an old chair or table that you can practice on before tackling your main outdoor furniture!

I’ve been a professional painter for the last 20 years. That Sweet Tea Life is a place where I get to slow down and visit the craftier side of painting.
I’ll share with you everything I’ve learned painting hundreds of pieces of furniture and sets of kitchen cabinets.