Metal stamping (also known as metal embossing or metal punching), is a popular jewelry-making technique used to create unique designs, patterns, letters, numbers, and other markings on metal surfaces.
So, how do you use these specially crafted metal stamps to create personalized jewelry? Read on to find out more about stamping metal jewelry.
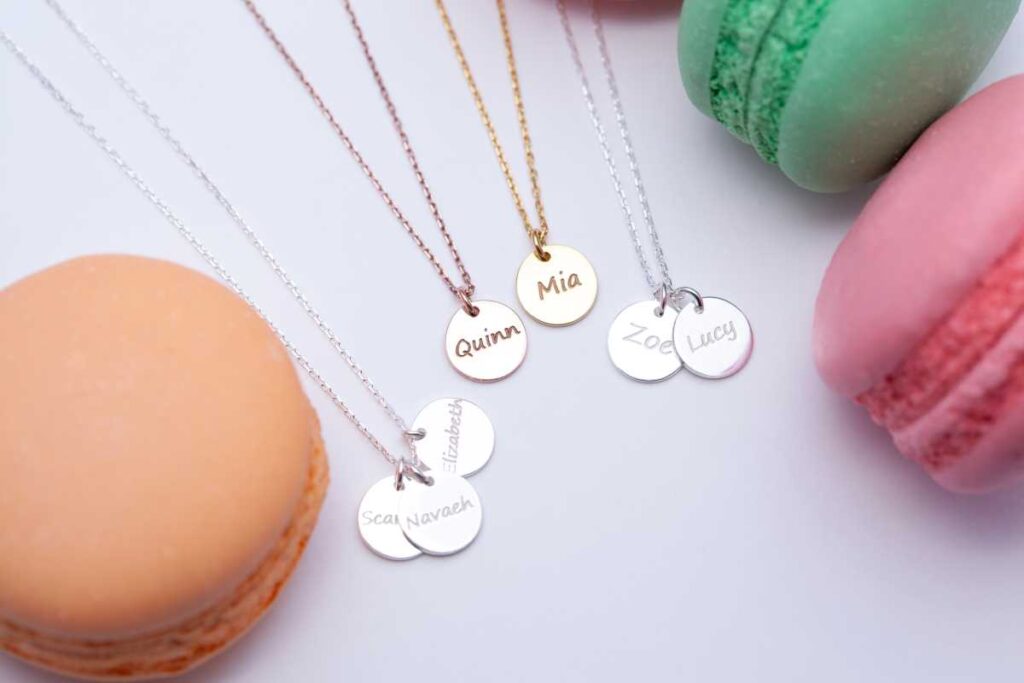
Stamping Metal Jewelry
What is metal stamping?
Stamping metal jewelry involves pressing specially crafted metal stamps, typically made of hardened steel and with raised designs or characters on their surfaces, onto a surface to create an impression. The stamp is usually applied using a hammer or a mechanical press.
Metal stamping can be done on various types of metals, such as copper, brass, aluminum, and silver. The end result can range from simple stamped letters or numbers to intricate patterns and designs, adding a personalized and artistic touch to the metal surface.
This personalization makes metal stamping a popular technique in jewelry making.
Getting Started with Metal Stamping
Stamping metal jewelry requires a specific set of tools to ensure precise and clean impressions on metal surfaces.
Tools and supplies
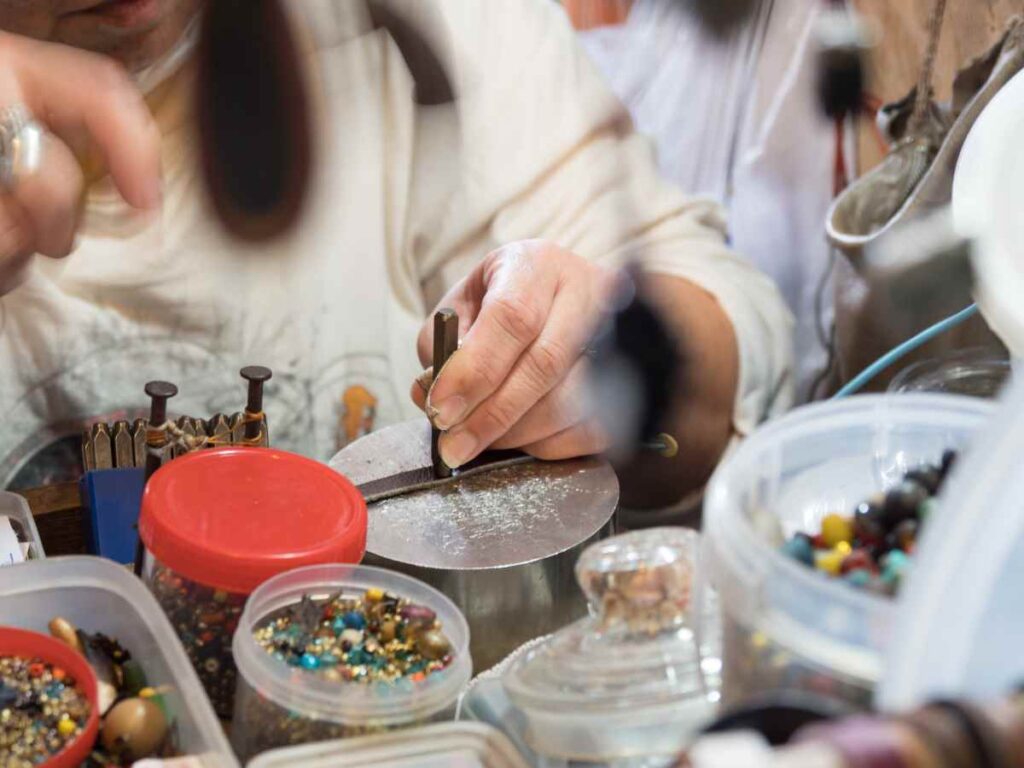
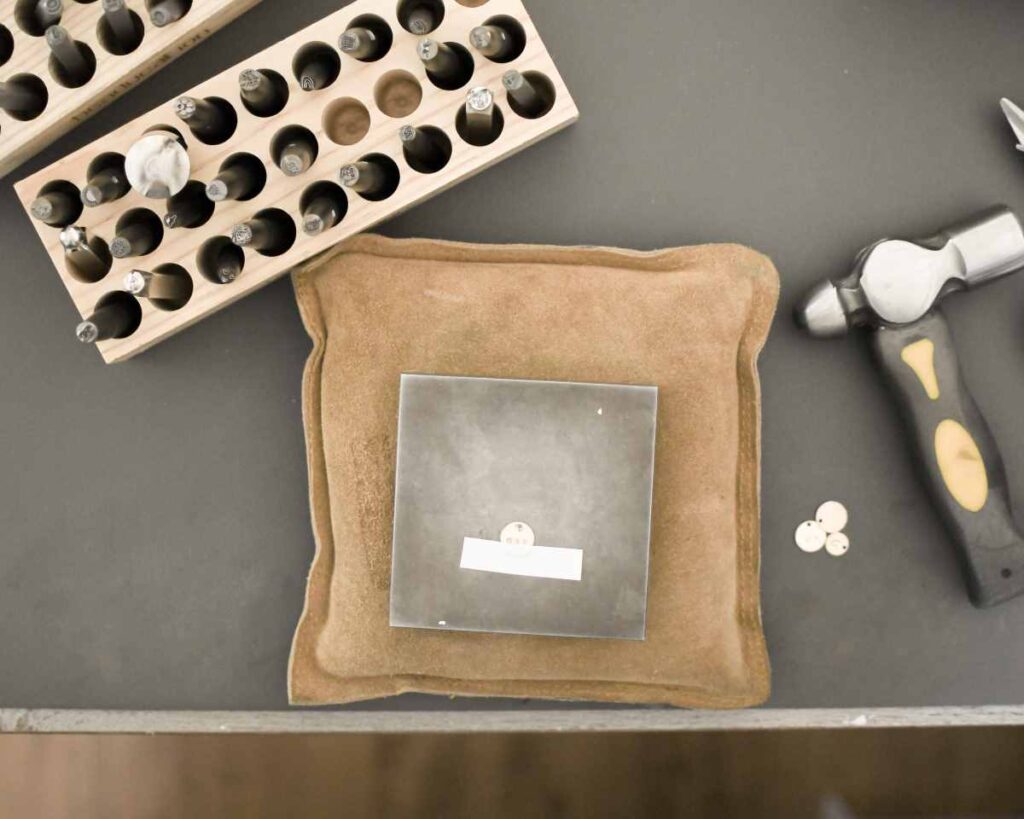
Metal stamps
Metal stamps are the most important tools for stamping jewelry! Metal stamps come in various sizes and styles and are hardened steel tools with raised designs, letters, numbers, or symbols on one end.
Metal blanks
Metal blanks are flat pieces of metal (typically copper, brass, or aluminum) that serve as the canvas for your stamped designs.
Hammer
A ball-peen or brass hammer is commonly used in metal stamping. A ball-peen hammer has a flat end for general striking and a rounded end for creating texture.
Steel block or anvil
You will need a solid, flat surface to use as a base to support your metal blank during stamping. A steel block or jewelry anvil helps you achieve even impressions.
Marking tape or ruler
Marking tape or a ruler can be used to create guidelines for aligning your stamps and maintaining straight lines.
Permanent marker
Use a permanent marker to draw or trace your design onto the metal blank before stamping. It can also be used in place of marking tape to help you align your stamp.
Polishing materials
Polishing materials like polishing cloths or cleaning compounds remove oxidation and give your stamped jewelry a polished finish.
Safety
Working with metal and tools, especially when stamping metal jewelry, requires careful attention to safety to prevent accidents and injuries.
- Safety goggles: Wear safety goggles or protective glasses to shield your eyes from flying metal bits, hammer strikes, and any potential debris.
- Hand protection: Wear sturdy work gloves to protect your hands from accidental hammer strikes or sharp edges on metal blanks.
- Closed-toe shoes: Wear closed-toe shoes with proper traction to prevent injuries from dropped tools or metal pieces.
- Clamp workpieces: If possible, secure your metal blank to your work surface using a clamp or vice to prevent movement while stamping.
- Hammer safety: Use controlled and accurate strikes with the hammer. Avoid excessive force that could lead to accidents or damage to tools.
- Correct stance: Stand in a stable and balanced position to maintain control while stamping. Avoid awkward postures that could cause strain.
- Personal protective equipment: For stamping metal jewelry, you may want to wear a respiratory mask to protect against metal dust.
Workspace
It’s imperative to have an adequate workspace to stay organized and safe when you’re stamping metal jewelry. Ideally, you would use a sturdy jeweler’s bench.
In addition to a stable, sturdy workbench, the following conditions will give you the best workspace for your task.
- Well-lit area: Choose a workspace with good natural or artificial lighting. Proper lighting helps you see your work clearly and reduces the risk of mistakes.
- Ventilation: If you’ll be using chemicals like patinas or working with materials that release fumes, ensure adequate ventilation in your workspace to maintain air quality.
- Distraction-free zone: Choose a quiet and relatively isolated area to minimize distractions and help you focus on your work.
- Electrical outlets: If you’ll be using any electric tools, ensure that you have easy access to electrical outlets and power strips.
Choosing the Right Metal Blanks
Choosing the right metal stamping blanks is an important step in creating beautiful and personalized jewelry pieces. When you select metal blanks, consider the following characteristics.
Metal type
Consider the type of metal that suits your design and budget. Common options include copper, brass, aluminum, and sterling silver.
Design and style
Your design and intended style play a significant role in choosing the right blanks. For example, if you want a rustic look, copper or brass might be suitable. Sterling silver offers a more polished and classic appearance.
Size and shape
Determine the size and shape of the blanks that fit your design. Blanks come in various shapes–rectangles, squares, circles, hearts, and more. Choose sizes that allow your stamping design to fit comfortably and shapes that fit your vision.
Thickness
The thickness–or gauge–of the metal blank determines the durability of the blank, with a lower gauge indicating a thicker metal. Thicker gauges may require more force when stamping.
Surface finish
Decide whether you want a smooth or textured surface for your jewelry. Some blanks come with textured finishes that can add depth and character to your design. For others, you can use your ball-peen hammer to add texture!
Color and patina
Consider the color and finish of the metal. You can leave the metal natural or apply patinas to create unique color effects. Patinas can add an aged or antiqued appearance to your pieces.
Don’t be afraid to experiment with different metals to see how they interact with your stamping techniques and design. Sometimes, unexpected combinations can lead to stunning results! Experimenting with different metals can also reveal if you–or your intended wearer–have any metal allergies.
Stamping Your Metal Jewelry
Planning the design layout
Start by brainstorming your design. What themes, styles, and vibes inspire you? What message do you hope to convey?
Using a sketchbook or digital design software, create a rough sketch of your jewelry piece. This will help you visualize the layout and arrangement of stamped elements, symbols, and any other components.
Choose the right metal blank
Select a metal blank that suits your design and style. Consider factors like the shape, size, and material.
Selecting stamps and fonts
Choose the metal stamps you’ll use for your design. Select stamps that match the style and theme of your piece.
Layout and placement
Experiment with stamp placement on the metal blank. Consider the arrangement, alignment, and spacing of each stamp. Once you have a layout you like, use marking tape or a ruler to ensure precise placement.
Transferring the design
Transfer your design onto the metal blank using a permanent marker. This will serve as a guide when stamping. Make sure the marks are easily visible and won’t interfere with the final appearance of the piece.
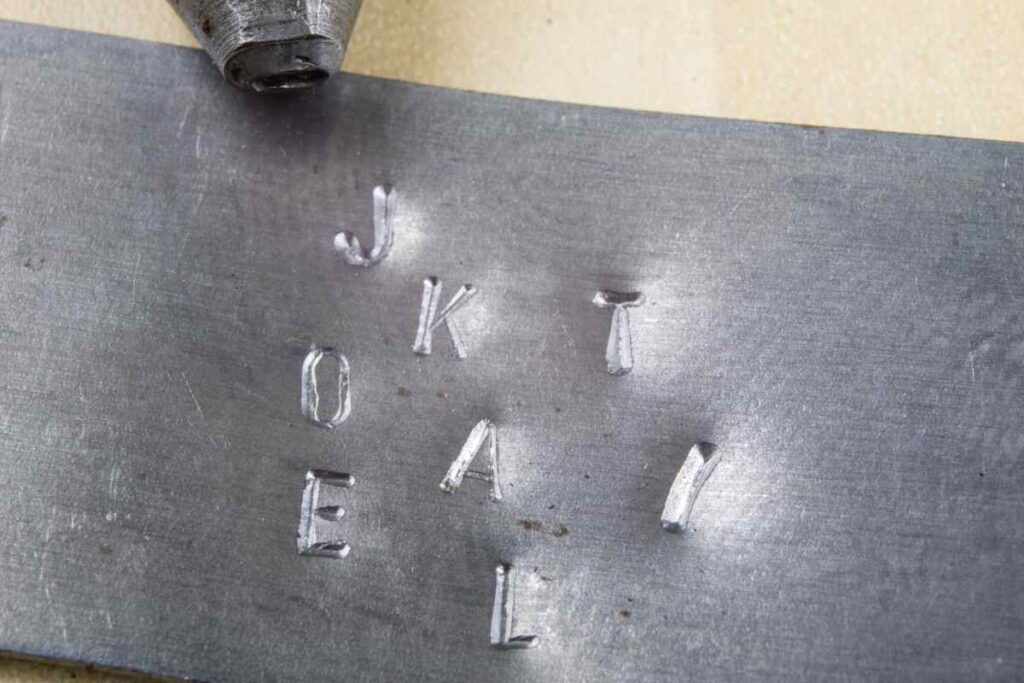
Stamping technique
Practice your stamping technique on a scrap piece of metal before working on your actual piece. Hold the stamp perpendicular to the metal surface and strike it firmly with a hammer. Use consistent pressure for even impressions. Practice until you achieve the result you’re looking for.
Personalize your piece
Consider adding texture to your design by using different hammering techniques. Incorporate personal touches, such as birthstones, initials, or significant dates, to make the jewelry piece more special and meaningful.
Finishing touches
Once you’ve stamped all the desired elements, remove any residual marker lines and polish the metal blank. This will give your jewelry piece a professional finish and enhance its overall appearance.
If your design involves attaching components like jump rings, clasps, or chains, carefully assemble the pieces to complete the jewelry.
Using Metal Stamps
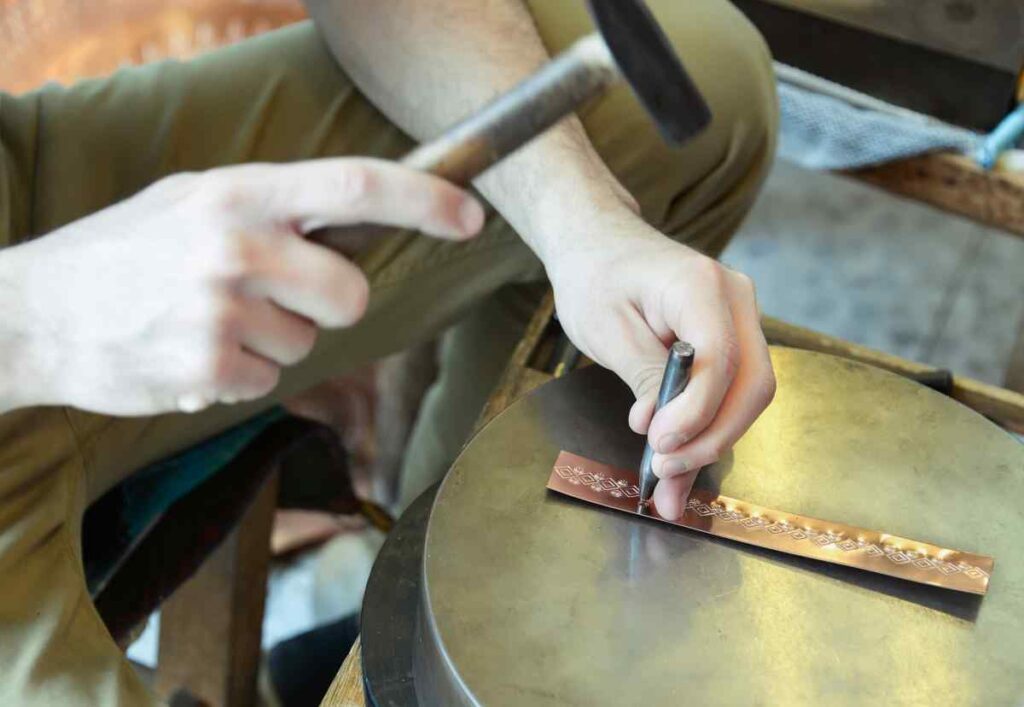
Proper hammering
Proper hammering is essential to achieving a clean, precise design. Select a hammer that’s appropriate for your design and the metal you’re using.
Hold the metal stamp perpendicular to the metal surface. Align the stamp so it’s centered and level with the area you want to stamp.
With one hand, firmly hold the stamp handle near the top. With the other hand, hold the hammer securely near the head.
Apply controlled and even pressure on the stamp with the hammer. The key is to strike the stamp with a consistent force to achieve a clear and deep impression. Try to use controlled strikes, rather than a single heavy blow.
Start with gentle taps to create a guide impression, and then gradually increase the force with subsequent taps until you achieve the desired depth.
Lift the stamp carefully to check the impression. If the stamping isn’t deep enough or lacks clarity, you can reposition the stamp and strike again using the same technique.
Be careful not to overstrike, which can distort the design or cause dents in the metal as well as damage the stamp and the hammer.
Depending on your design, you can experiment with different hammering techniques to create texture or visual interest. Try varying the angle of the hammer or using different parts of the hammer head.
Avoiding common mistakes and troubleshooting
Stamping metal jewelry requires patience, practice, and attention to detail. Read on to learn about some common mistakes novice stampers make and how to avoid them.
Uneven impressions
Uneven pressure while stamping can lead to impressions that are not consistent in depth or clarity. This can make your design look sloppy.
To avoid these results, maintain even pressure and use controlled strikes with the hammer. Practice on scrap metal to develop a consistent stamping technique.
Off-centered stamps
Placing stamps off-center can result in a design that is not balanced or aligned properly on the metal blank. Use marking tape or a ruler to guide the placement of your stamps. Double-check the alignment before striking.
Double strikes
Accidentally striking the stamp multiple times can cause overlapping impressions or smudging. Be careful not to strike the stamp more than once. Lift the stamp straight up after each strike to avoid smudging.
Ink residue or marker marks
If not properly cleaned, metal stamps may show residual ink or marker marks. Clean the metal blank using an appropriate cleaning solution to remove any ink or marker marks. Buff the metal for a clean finish.
Inconsistent depth
Inconsistent pressure while stamping can lead to letters or designs that are stamped too lightly or too deeply. Practice maintaining consistent pressure while stamping. Gradually increase the force of your strikes for a clear and even impression.
Mismatches in font or size
Mixing different font sizes or styles in a design can result in a piece that looks disjointed. Plan your design layout carefully and use stamps that match in size and style. Stick to a cohesive design theme.
Overstriking and dents
Striking the stamp too forcefully can cause the metal to dent or warp, especially if the metal is thin. Use controlled strikes with the hammer. Again, practicing on scrap metal will give you a feel for the appropriate force needed.
Crooked stamps
Stamping at an angle can lead to crooked letters or symbols, affecting the overall appearance of the design. Ensure you hold the stamp perpendicular to the metal surface before striking. Double-check your stamp’s alignment.
Rushing
Rushing through the stamping process can lead to mistakes and poor-quality impressions. Take your time with each stamp. Patience and a steady hand are essential for clean and precise results.
Misaligned designs
If your design involves multiple stamps, they can become misaligned, resulting in an unprofessional look. Plan the layout of your design meticulously, using guides like marking tape or rulers to keep stamps aligned.
Using incompatible metals
Some metals may not hold impressions as well as others, leading to shallow or unclear stamps. Choose metals that are suitable for stamping and have appropriate hardness. Testing on scrap metal can help you determine whether your metal is appropriate for your design.
Hammer Away
Stamping metal jewelry is a precise art that allows a crafter to personalize their work and create truly unique designs. It’s a fabulous skill to add to your jewelry-making toolkit!
Learn more inspirational tips and tricks on our homepage!

Ronda Lindsay is an avid crafter who developed a love for all things DIY as a little girl with an extremely resourceful mother. When she’s not using her writing skills in her daily work in government communications, she’s busy dreaming up her next crafty creation, whether that’s in the kitchen, behind a camera lens, or among her vast scrapbooking supplies.
With a bachelor’s in English and a master’s in professional writing, Ronda enjoys learning about new DIY tips and tricks and sharing them with readers of That Sweet Tea Life! She hopes to one day be as creative as her big sister.