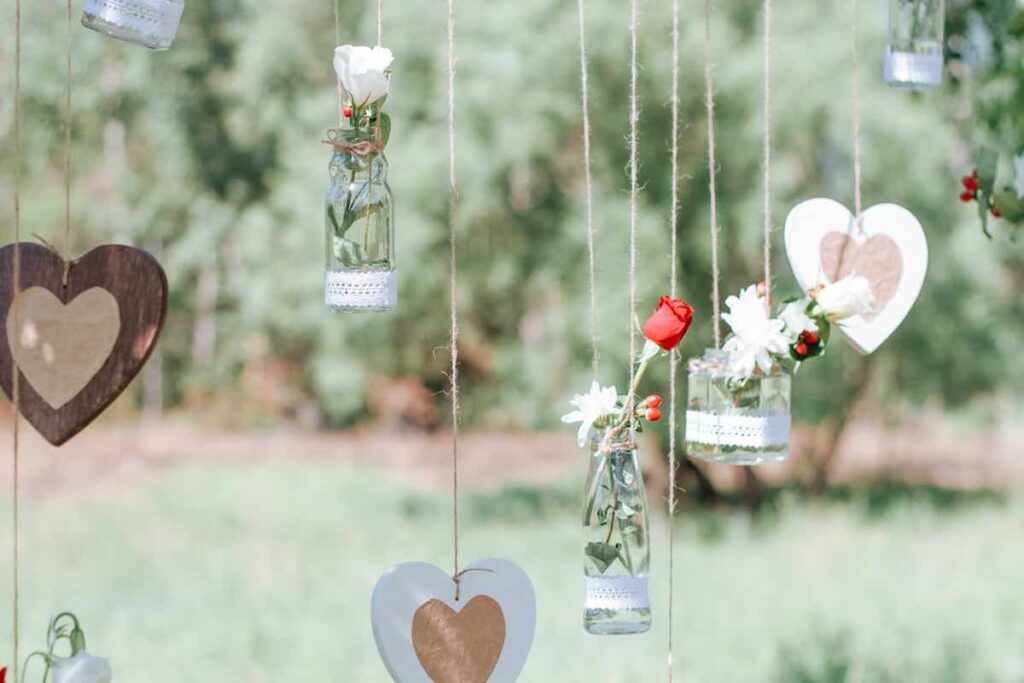
Do you enjoy displaying fresh florals during the spring and summer? Do you have an upcoming wedding or event you need to create several table centerpieces for on a budget?
I’ve compiled some of the best ideas using ribbon and complementary materials to take a plain vase and turn it into a stunning DIY ribbon vase, all in the comfort of your own home! Use this simple guide, set up your crafting station, gather the materials below, and let’s get started!
DIY Crafting Guide: How To Create Ribbon Vases

Step 1: Setting Up Your Crafting Station
- Gather all your materials
- Lay down a crafting mat or protective barrier
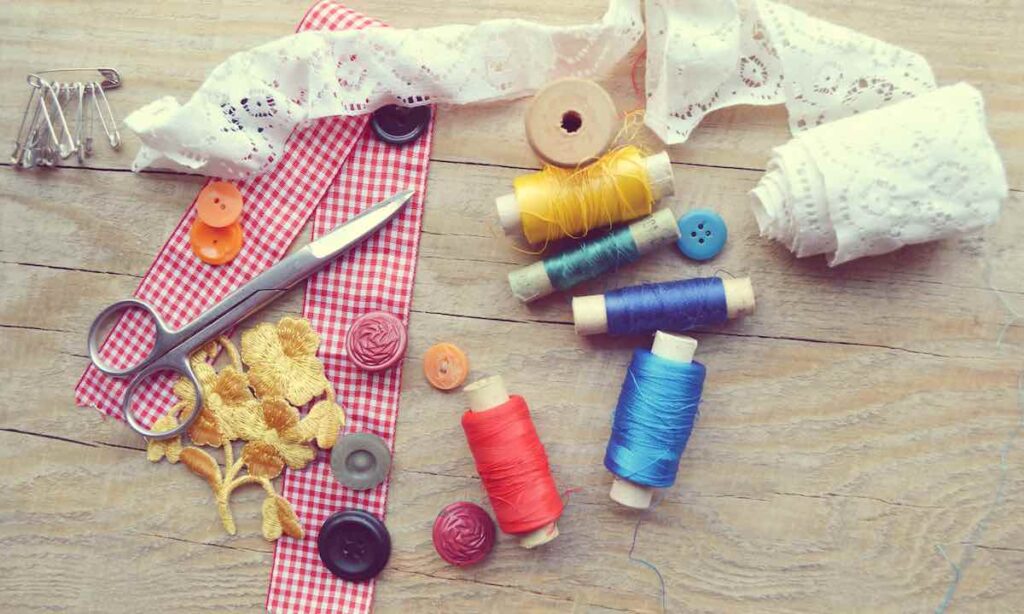
Step 2: Supplies and Materials Needed
- Supplies and Material List
- Flower Vase
- Ribbon Varieties
- Fabric Glue or Hot Glue Gun
- Floral Wire
- Flowers to fill the vase
- Scissors
Step 3: How To Tie A Basic Ribbon Bow
- Choose ribbon colors that complement your vase, bouquet, and flowers.
- This method is best used on vases with a neck. You may need glue to keep your ribbons in place for square, rectangular, or pillar vases.
- Add additional complementary ribbons for different colors and textures.
- Make sure you use ribbons thinner than your main ribbon to help highlight without overwhelming the main focus.
- Always allow access ribbon before cutting it off the spool.
- You can always trim away the excess, but if ribbons are too short, you risk having to start again.
- Designer Tip: Thicker ribbon materials such as organdy and raffia make lovely large bows.
- To make a simple bow, tie the ribbon around the neck of your vase.
- If the primary and complementary ribbons are made of two different textures, you may have to adjust the individual sizes separately.
- Adjust the length of your ribbon tails; you may find they need to be different lengths.
- For the best look, cut the ribbon ends in a v-shape by folding the ribbon without leaving a crease and cutting diagonally. Then, when you let go, you’ll have a v-shape!
Different Types of DIY Ribbon Vases
Tying A Corset Bow On A Pillar Vase
- Use six to eighteen feet of 1.8 to 5.5-millimeter wide double-sided satin ribbon.
- Double-sided ribbons are shiny and look exactly the same on both sides.
- Designer Tip: Use twine to do a trial run before cutting your ribbon. Measure the length of twine it took to complete the project, add a little slack, and you should have the right size of ribbon for this project!
- Find the exact center of your ribbon.
- Wrap your ribbon around the front of the vase and cross one side of the ribbon over the other. Then, twist the side on top, so it’s then under the other piece. Switch hands and then bring the ribbon around the back.
- Next, crossover and twist again and bring your ribbon to the front side. Repeat these steps until you’ve coved the entire vase with this pattern. Again, don’t forget to move with the shape of the vase.
- After the vase is covered, tie a bow, move your pieces to the front, and complete the look with a bigger bow. Trim extra ribbon to your desired length and add a v-shape at the base of the ribbons for a finishing touch.
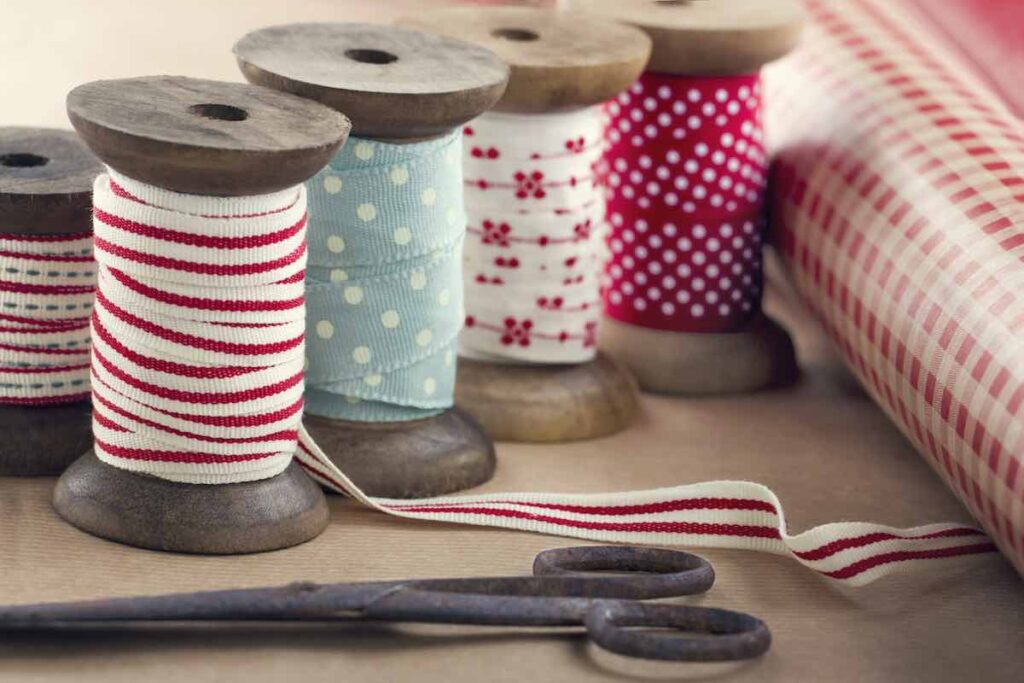
Striped Ribbon Vase
- To make a striped ribbon vase, you’ll need to use a thick ribbon with borders and four different slim-sized ribbons.
- Place the thick bordered ribbon at the top of the vase and use two to three fingers’ worth of spacing. Apply with your glue gun, starting with one end; as you wrap, use a few beads of hot glue to secure it around the vase. Then attach the other end with a line of hot glue.
- Next, take two complementary thin ribbons and apply like above, one right next to the other. Again, make sure to leave space for the top thicker ribbon.
- Continue this again with another row of double-thin ribbon pieces.
Fabric and Tulle Wrapped Ribbon Vase
- For this method, you’ll need to place your vase in the middle of a sheet of fabric and cut an oversized circle, leaving excess to gather the material up to the lip. Allow extra material to hang out from the lip visibly.
- If you’d prefer, you can use a tulle circle the same way as above.
- Gather the fabric, creating folded pleats for a globe vase, and secure it with a large rubber band at the lip of the vase, right below your floral arrangement.
- Once secured, take a satin ribbon and make a large simple bow in front of your vase.
Rustic Ribbon Styled Ribbon Vase
- Sometimes the simplest crafts are the best! This one is an easy way to doctor up a simple glass vase.
- First, you’ll need some jute-styled ribbon to give your vase a relaxed and rustic look; secure the jute “ribbon” at the top of the vase but leave some room, allowing your arrangement never to cover up your focal point completely.
- Secure the jute ribbon around the lip of the vase using hot glue. Secure the first end well, then as you wrap, add a few beads of hot glue for security, and end overlapping the first end of the ribbon with another line of hot glue.
- Next, find a thin satin ribbon, cut it to size, and put a bead of glue in the back between the top of the jute ribbon and the satin ribbon; bring the pieces forward and tie a classic bow.
Simple Square Vase with Ribbon Accents
- Here’s another pretty yet straightforward option. Take a thick ribbon that complements your plant or floral arrangement.
- Leave a two to three-finger space at the top of the vase to allow your foliage to dip down while still keeping the ribbon visual.
- Then secure the ribbon with a stripe of hot glue, and wrap the ribbon all the way around the vase, adding a few beads of hot glue for security.
- Finally, secure the ribbon to the back of the vase, the other end of the ribbon to the first end with a stripe of hot glue.
Thick Ribbon and Twine Ribbon Vases
- Another classy and simple ribbon vase option is by taking a thick solid color ribbon of your choice and cutting it to size to reach around your vase in the middle only.
- Secure the solid color ribbon with hot glue, first securing one end, wrapping it around the vase and securing with beads of hot glue, and finally securing the final end.
- Then, take a piece of twine, secure it onto the thicker ribbon with a dollop of hot glue in the back, and bring the twine pieces to the front of the vase. Finally, tie a simple bow!
Wedding and Event Ribbon Vase with Broach Accent
- Are you looking for the perfect elegant vase you can make at home for your upcoming wedding or event?
- Take a thick satin ribbon long enough to wrap around the neck of your vase. Use hot glue to secure the ribbon. You’ll want to use horizontal stripes of hot glue all the way around the ribbon to give it extra security.
- For extra elegance, once the glue is dry and secured, take a vintage broach and secure it in the front of the vase, gathering the ribbon in the broach, just below the florals. Gorgeous!
Wrapping Up How To Create DIY Ribbon Vases
When it comes to taking a simple glass vase and turning it into a statement piece, you’re now an expert after reading our DIY tutorial. What was your favorite style from our list above? You’ll now be ready for the season with gorgeous homemade ribbon vases you can use to fill up with spring and summer florals. Are you looking for simple centerpieces for your wedding or event? Then, you’ll be the star of the show with these DIY ribbon vases!
Here at That Sweet Tea Life, I strive to bring you the best information for decorating, transforming old into new, and creating crafts you can proudly show off and display.
Do you have any additional DIY Ribbon Vase ideas? Leave us feedback in the comments below; we’d love to hear from you!

I’ve been a professional painter for the last 20 years. That Sweet Tea Life is a place where I get to slow down and visit the craftier side of painting.
I’ll share with you everything I’ve learned painting hundreds of pieces of furniture and sets of kitchen cabinets.