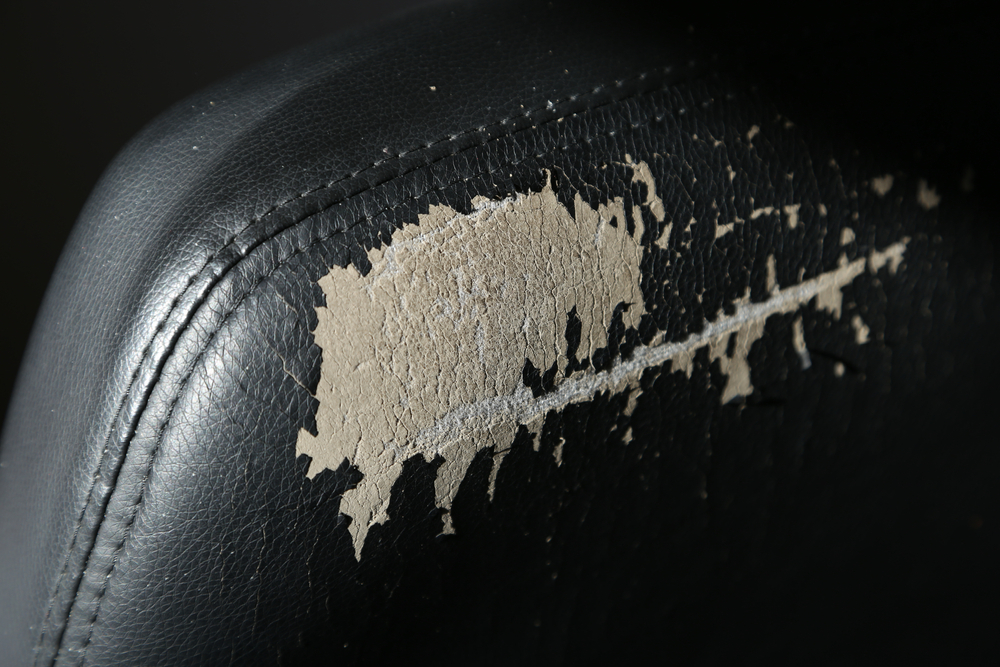
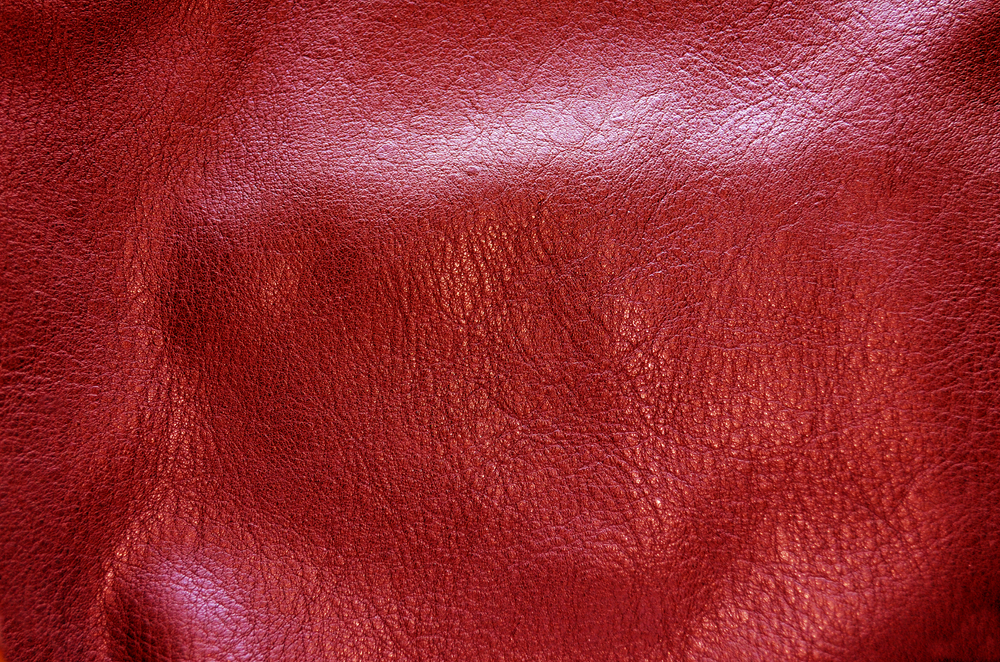
While leather is known for both its quality and its durability, cracks, stains, and blemishes can quickly alter your once-pristine leather furniture. Fortunately, not all is lost. Did you know you can paint leather furniture?
If you want to know how to paint leather furniture, you’re in luck!
Painting leather furniture is easy enough that even a beginner can do it with a modest budget of $100 or less. With a little paint, sealant, and a few other materials, you can easily transform worn and outdated furniture pieces into modern and eye-catching additions to your home!
Keep reading as we show you exactly how to paint leather furniture in seven easy steps!
Step 1: Gather All Tools and Materials to Paint Leather Furniture
Few things are as frustrating as sitting down to start a project, only to realize that you’re missing some key tools or products. So, before we show you how to paint leather furniture, make sure you have all of the following items in stock.
Paint
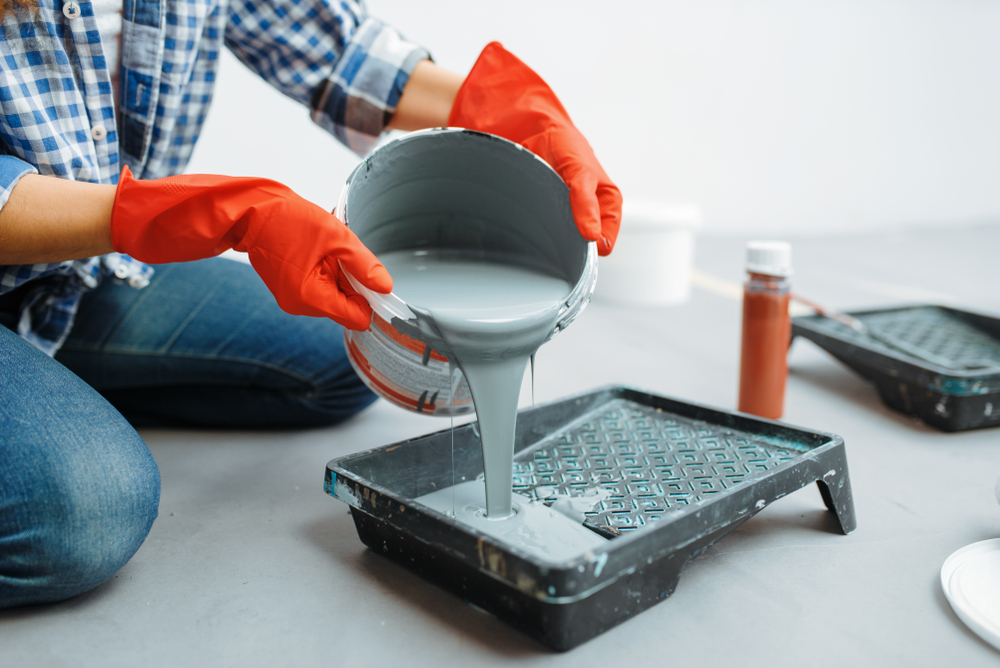
Of course, the first and arguably most important product you’ll need to be thinking about is paint. Acrylic paint is the best to paint leather furniture, as it can be applied to leather and faux leather furniture alike. Avoid your normal household paints.
Find the perfect shade-whether it’s a light color such as white, or dark colors such as brown or black-at your local craft store or online!
Helpful tip: If you have multiple shades of acrylic paint and are unsure of which one you’d like to use on your leather furniture, test each shade out on an old wallet, belt, or a different type of disposable leather (or faux leather) item.
Preparer/Deglazer
Before you start painting your leather furniture, you’ll need a preparer (sometimes called a deglazer) that will allow the new coats of acrylic paint to adhere to the leather.
Sealant
Sealant (or leather finisher) is the final product you’ll be adding to your newly painted leather furniture. Its purpose is to protect the leather and prevent new blemishes, though it will affect your leather’s appearance as well.
Choose a matte sealant for a more natural leather look or a gloss sealant for a shinier finish.
Paint Brushes, Paint Trays, and Stir Sticks
Because you’ll be using a range of different products when painting your leather furniture, be sure to stock up on a few different sizes of paintbrushes.
Depending on the paint product you choose, the manufacturer might also recommend applying it with a sponge or sponge brush. A couple of paint trays and stir sticks will come in handy as well.
Tarp/Drop Cloth
Painting isn’t the tidiest activity. To protect your floor from products that could permanently stain your carpet, vinyl, or wood floors, find a large tarp or drop cloth that you can lay down.
Painter’s Tape
Make sure you have a roll or two of painter’s tape on hand. You’ll need this to carefully line the edges of your leather and avoid staining your furniture’s frame.
Gloves
Again, painting is typically a messy project. A good pair of work gloves or rubber gloves will prevent paint, rubbing alcohol, deglazer, and sealant from getting all over your hands.
Bucket, Liquid Dish Soap, and Rags
Your furniture will need a good clean before you apply the new leather paint, so be sure to keep a large bucket, liquid dish soap, and multiple rags nearby.
Rubbing Alcohol and Sandpaper
Rubbing alcohol and fine-grit sandpaper can help you strip the protective coating of your leather. If the leather is aniline or if the protective layer of your leather has already been removed, you won’t need these items.
Step 2: Create Your Painting Setup
Before you start painting your leather furniture, you’re going to want to find a space where you can paint as safely and tidily as possible.
If weather permits and it isn’t too chilly (keep in mind that paint struggles in cold weather), a well-ventilated area such as a garage, driveway, or patio is the perfect location.
Next, lay down your tarp or drop cloth, and then lay down your piece of leather furniture. Take a few minutes to carefully line the edges of the furniture’s frame and non-painted areas with painter’s tape, bring out all of your tools and materials, and you’re good to go!
Step 3: Remove Dirt, Debris, and the Protective Coating
Next, fill your bucket with warm, soapy water. Submerge a clean cloth in the bucket and ring it out until it’s only damp.
Now, give a thorough leather cleaning with the damp cloth-passing over all crevices and details. Particularly if you don’t dust or wipe down your furniture regularly, you can expect there to be a significant buildup of dirt and debris. Keep wiping the leather surface down until your rag is lifting a very minimal amount of dirt with each pass.
Allow roughly 30 minutes for the leather to dry. Then, splash a bit of water onto the leather. If the water soaks into the leather, it’s ready to be prepped!
If it doesn’t soak into the leather, you’ll need to gently scrub the leather with rubbing alcohol. Wait for the leather to dry and splash the leather with water again. If it pools, gently rub the leather with one pass of fine-grit sandpaper.
Step 4: Prep the Furniture
Now that dirt, debris, and the leather’s protective coating have been removed, you’ll need to apply your preparer or deglazer product. This will help the new coats of paint adhere to the leather.
Using a clean rag, wipe a generous amount of product over all areas of your leather furniture. As most preparer and deglazer products are alcohol-based, they tend to dry quickly.
Don’t be alarmed when cleaning and applying the preparer strips back some of the leather’s color. This is perfectly normal and you’re going to repaint anyway!
Step 5: Paint the Furniture
Unlike the preparer or deglazer you just used, paint should be applied a little more conservatively. Thin coats are needed, particularly because acrylic leather paint is thinner than your average household paint. Any excess paint will simply run off onto your tarp or drop cloth.
After the first coat of paint, you’ll probably be underwhelmed by your furniture’s appearance. Once you’ve applied a few more layers of paint, however, streaks and inconsistencies will disappear and you’ll be left with a rich, uniform color throughout!
In total, your leather may require up to four coats of paint. Remember to leave two hours between coats so that each layer is given ample time to dry. Also, be sure to pass over all areas of your leather furniture, including seams, crevices, and other details that require paint.
Step 6: Apply the Sealant
Similar to how you applied the acrylic leather paint, you’ll want to apply your acrylic sealant in thin brush strokes. A single coat will do the job, and sponge brushes tend to yield the best results.
Be sure to cover all painted areas evenly; otherwise, your new layer of paint may age unevenly.
Step 7: Let the Furniture Dry
Now that your leather furniture has been prepared, painted, and sealed, you’ll need to step away and allow the entire surface to dry. Although your leather furniture may not require it, it’s recommended that you allow a full 24 hours.
Make sure you keep your project out of reach of children or pets that might use or tarnish your newly painted piece of furniture before it has had a chance to dry!
Enjoy Your Restored Leather Furniture!
That’s all there is to it! Now that you know how to paint leather furniture, there’s no reason why you can’t restore your tattered leather chair, leather sofa, or seat cushion to top condition.
Visit your local craft store today, stock up on materials, and work through each of the steps listed above until you have a finished piece that makes you beam with pride!


I’ve been a professional painter for the last 20 years. That Sweet Tea Life is a place where I get to slow down and visit the craftier side of painting.
I’ll share with you everything I’ve learned painting hundreds of pieces of furniture and sets of kitchen cabinets.