If circular fashion trends have shown us anything, it’s that leather never goes out of style.
And for good reason! Leather is highly durable and flexible, not to mention chic and expensive looking.
Because leather is such a highly coveted, organic material, you might have ruled out leather for your wallet’s sake. However, homemade leather accessories look just as cool without breaking the bank.
If you want to learn more about how to make leather earrings at home, keep reading!
What You Need to Make Leather Earrings
Template
For DIY beginners, it’s a good idea to start with the template to help guide your work, particularly any placement for a hole punch.
There are plenty of templates you can find online for earrings of any shape, size, and style!
If you’re more confident in your leather earring-making skills, then you can make your own template to work with. Or even freehand!
Regardless of your preference, there are tons of options to help guide your leather earring project.
Tools and Supplies
If you’re a frequent crafter or DIYer, you will likely have everything you need to make leather earrings on hand.
But even if you’re just starting out, the tools and supplies you need are common and easy to come by. Many of which you can even buy in kits!
These supplies include:
- Jump rings
- Leather hole punch (could use another small, precise, sharp tool)
- Jewelry pliers
- Earring hooks
- Sharp scissors/leather scissors
- Exacto knife
- Pencil
- Template
- Leather
- Tragacanth gum
Where to Find Leather for Crafting
For folks who have never worked with leather before, seeking out the right materials can seem a bit intimidating.
However, getting your hands on leather to make some leather earrings is easier than you think!
It’s not super expensive, and you can find it in most craft stores. You can even find and use vegan leather if you prefer!
But again, avid crafters very well might have some leather scraps on hand. You don’t need very much, nor do you need to go out and purchase more if you have some left over.
Most craft stores or fabric stores will sell leather in small amounts that are perfect for this type of project.
If you want to upcycle, you could also check out your local thrift store for any fabric scraps or second-hand leather items you can repurpose for leather earrings!
For this type of craft, thin, soft leather typically works best. But you might prefer a stiffer look, in which case a thicker material would work just fine.
The stiffness of the leather is more of a preference than a functional necessity.
Tips and Tricks for the Best Leather Earrings
Before you get started, there are a few things you need to narrow down.
First and foremost, what kind of leather earrings do you want to create? What shape, size, pattern, or color do you want? Do you want stiffer or more relaxed earrings?
Once you can answer these questions, you’re much better prepared to start gathering your materials.
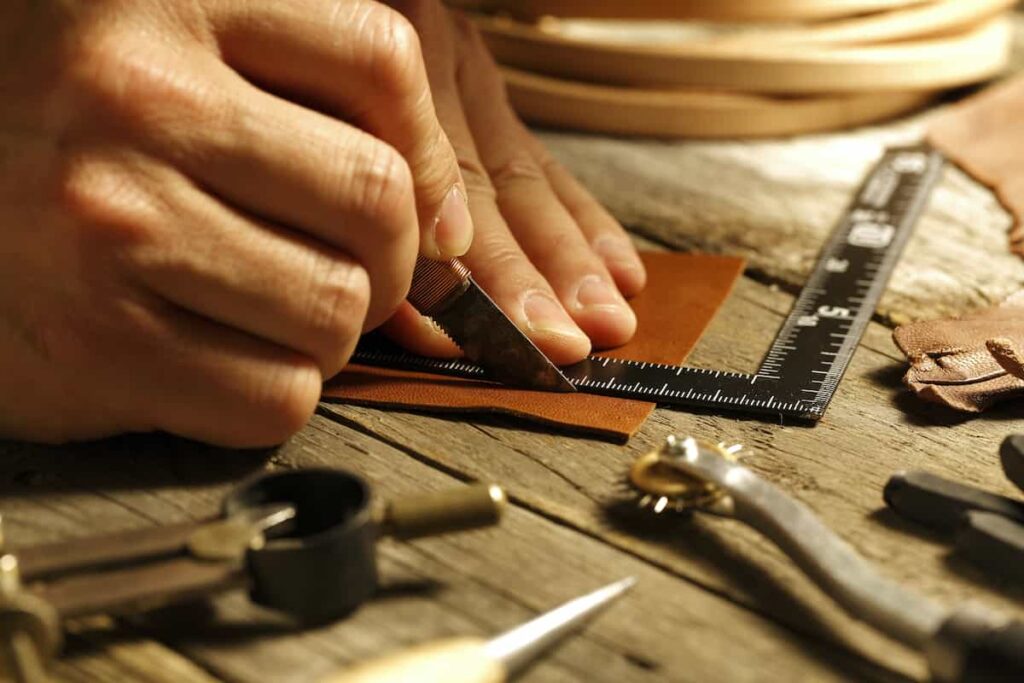
One of your first steps will be cutting the leather to the appropriate shape, which can be tricky if you aren’t used to working with leather – even more so if you’re using an Exacto knife.
A tip to make this step a bit easier if you are opting for an Exacto knife over scissors is to make several passes of the template and not attempt to cut the shape out in one try.
Taking it slowly rather than putting all your effort into cutting through the leather on the first try will result in much cleaner, more precise cuts.
When tracing a design or making any marks on the leather, it’s a good idea to use a pencil. Some guides will advise using a dark marker so you can clearly see the lines.
However, that will leave you with traces of marker on your leather earrings, which you may not want.
Using a pencil will ensure a lighter hand and less visible marks.
How to Make Leather Earrings: A Basic Step-by-Step Guide
1. Select Your Template
First things first, you need to know what it is exactly that you’ll be making!
Even if you don’t want to use a premade template, it’s good practice to draw out the earring shape you want to create beforehand.
And if you do want to use a pre-made earring template, then the world is your oyster. There are tons online to choose from.

2. Trace Your Design
Once you’ve selected your design, you’ll want to trace it onto the leather carefully.
Lay the leather down flat on your work surface. Before tracing, make sure to look over your leather carefully.
As a natural material, leather isn’t going to be perfect. There may be some tears or blemishes in your leather that you want to avoid.
Or maybe you’re looking for a more distressed area to add a bit of texture to your earrings! Either way, give your piece of leather a once over and determine the best location for your cut-out.
Take your pencil and outline the template design as precisely as you can onto the backside of the leather piece.
If you’re tracing multiple designs onto one piece of leather, try to squeeze them as close together as possible.
This way, you can make the most out of each piece of leather that you have.
3. Cutting the Leather
After you’ve traced your designs, take your knife or scissors and carefully cut out the shape.
Regardless of whether you’re using an Exacto knife, scissors, or another sharp tool, you’ll want to cut slowly and precisely to shape the leather how you want it.
4. Punching Holes
If you’ve worked from a template, you likely will have also traced or marked a small dot where you’ll poke a hole and attach the earring hook.
If you’ve created your own template or traced freehand, make sure you have a look at other design examples so you know where to poke the hole.
Depending on the thickness of the leather, you may need different tools to complete this step.
For thinner, more flexible leather, you could maybe use a thumb tack or a large safety pin.
But for thicker leather, you will likely need a leather hole punch to make a clean hole all the way through.
When you make the hole in your leather earring, do so slowly and carefully. If you punch a hole too close to the edge, the hole could tear open with extended use.
But if you place the hole too close to the center, you won’t be able to close the jump ring.
5. Burnish the Leather
This step is optional and totally up to your preference, but if you want a smoother look, you could now burnish the leather.
Burnishing the leather requires you to take some tragacanth gum and repeatedly rub it over the material until the leather is smooth enough for your liking.
This has no functional impact on the earring, per se. Burnishing the leather just gives the earrings a sleeker look, taming all the frays and fibers that might poke out around the edge.
However, if you prefer a more organic-looking earring, then you can skip this step with no harm to the overall project.
6. Insert Jump Rings and Earring Hook
Now that you have your leather shape cut out and hole punched, you’re ready for the final step – turning that leather into an earring!
Each earring will need one jump ring and one earring hook. With your jewelry pliers, carefully open the jump ring.
Be sure to twist the ends of the ring apart from one another rather than widen the ring and try to reshape it later. This will ensure that the jump ring can close back up properly.
Insert the open ring into the hole at the top of your leather shape. Once the leather piece has been looped onto the ring, take the earring hook and add it to the jump ring as well.
When both items are secured, use your pliers to close the ring back up and inspect for any gaps.
And voila! You’ve just learned how to make leather earrings at home!
The final step in creating your own leather earrings is to rock your creations out and about proudly.
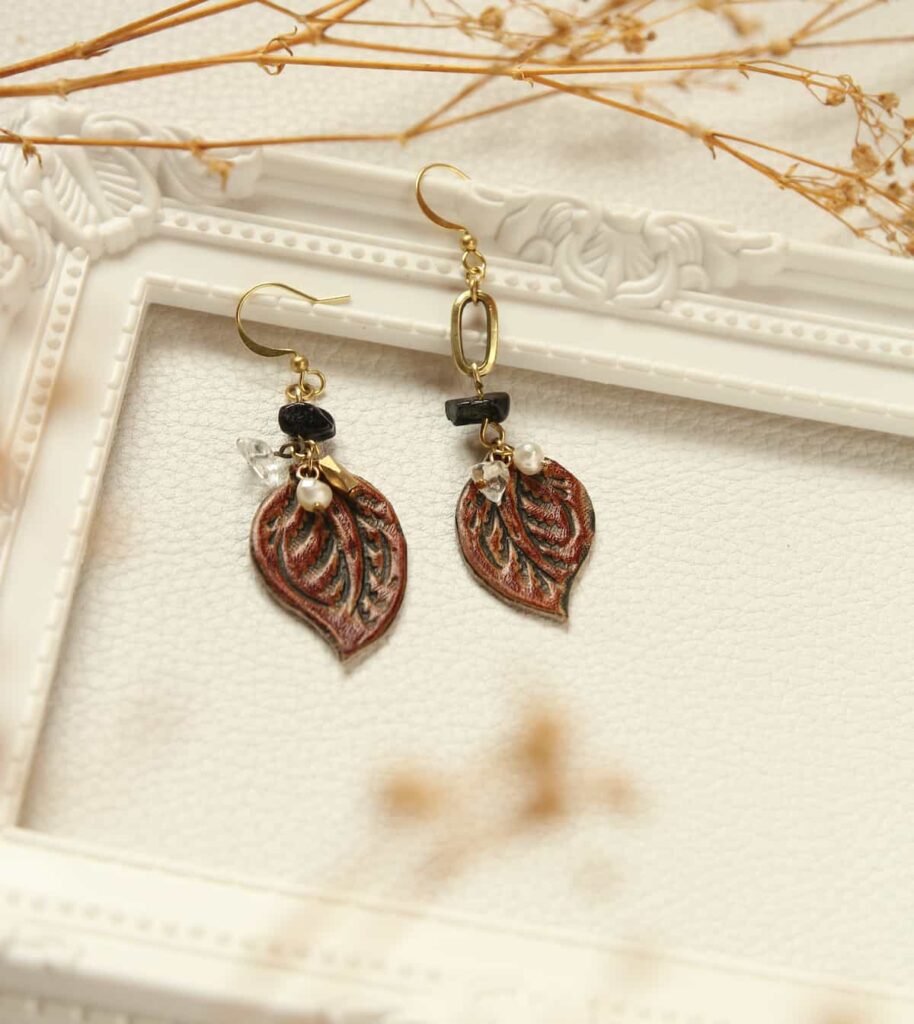
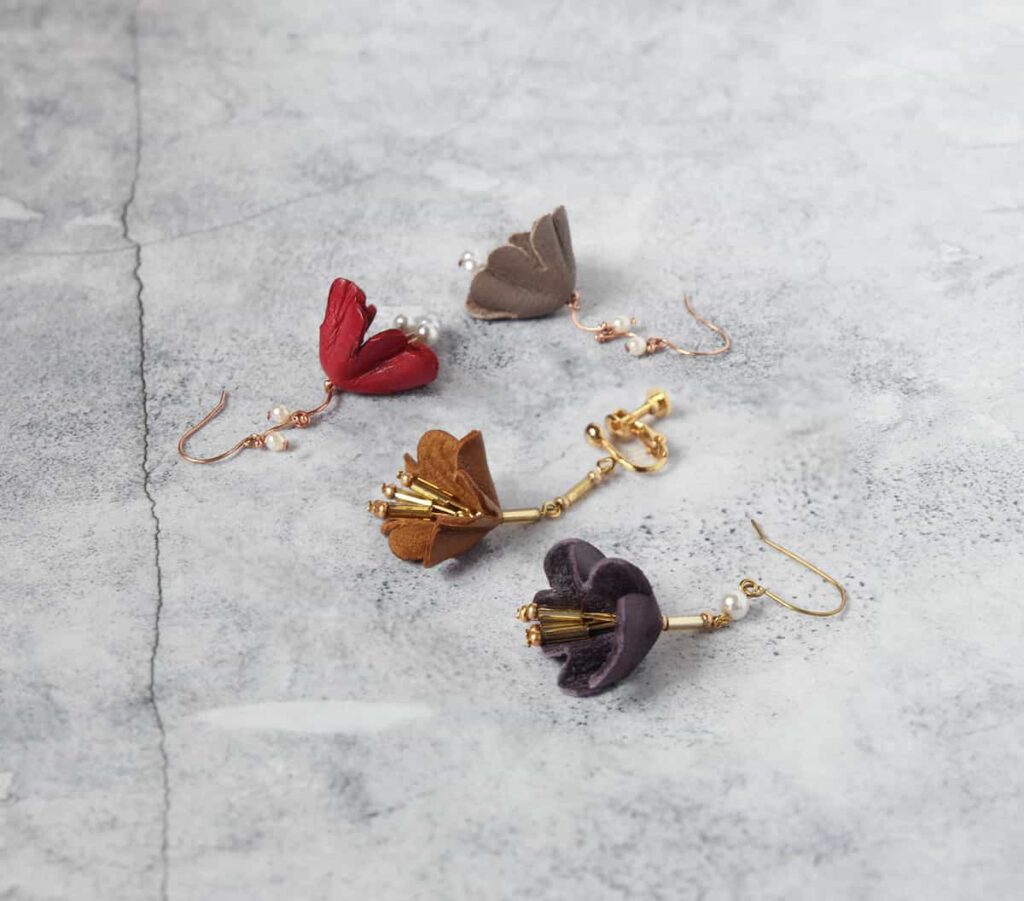
How to Make Leather Earrings: Variations
The above guide is an easy, basic outline to get you started on your leather accessory-making journey.
But of course, if you want a bit of extra glam, you don’t have to limit yourself to just one simple shape.
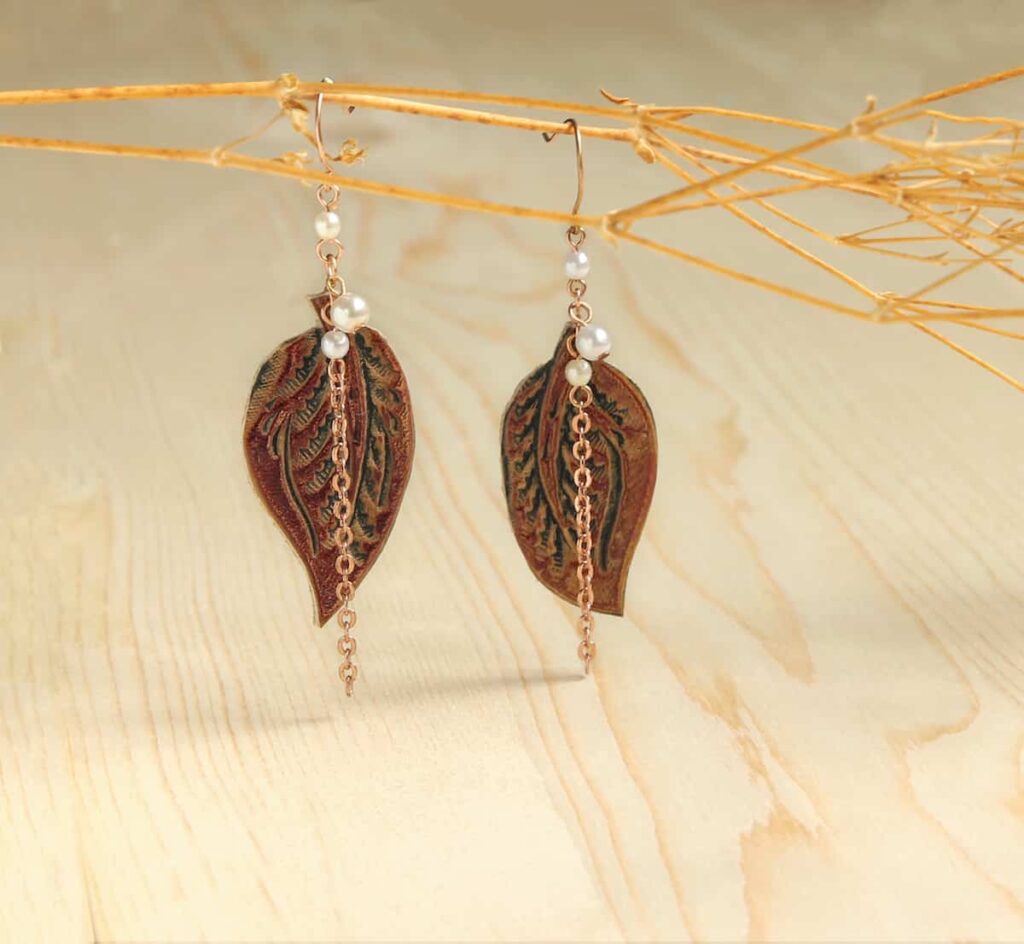
One variation to these basic steps is adding some depth to your leather earring shape. You can turn your flat leather piece into a 3D style by adding two holes to the top of the leather instead of one.
From here, if you pinch the top together and insert the jump ring through both holes, you can create more dimension in your earring.
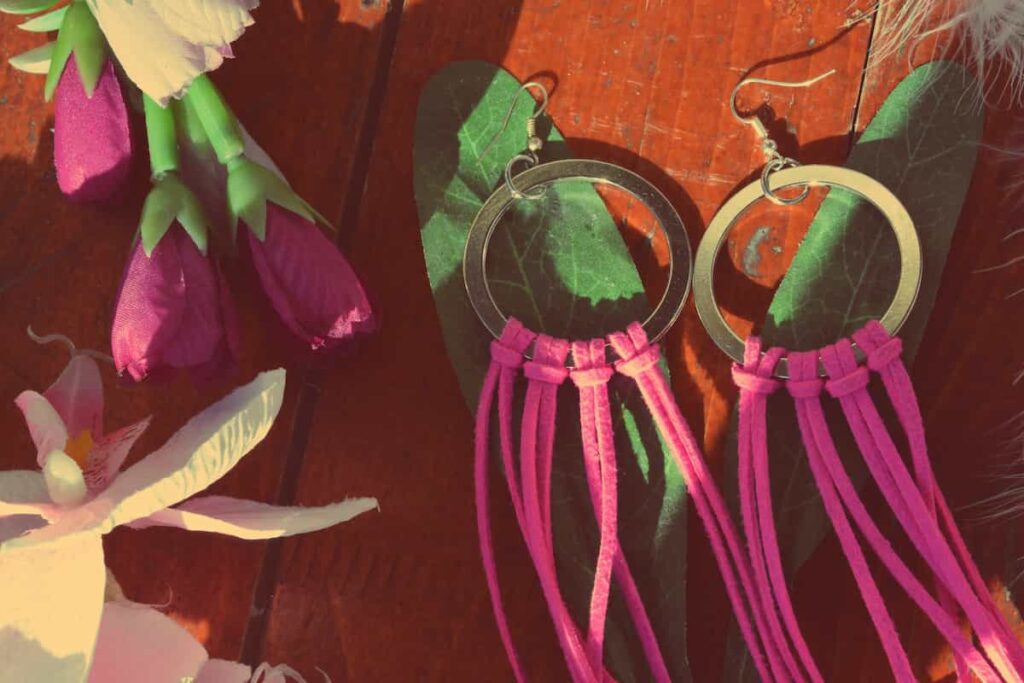
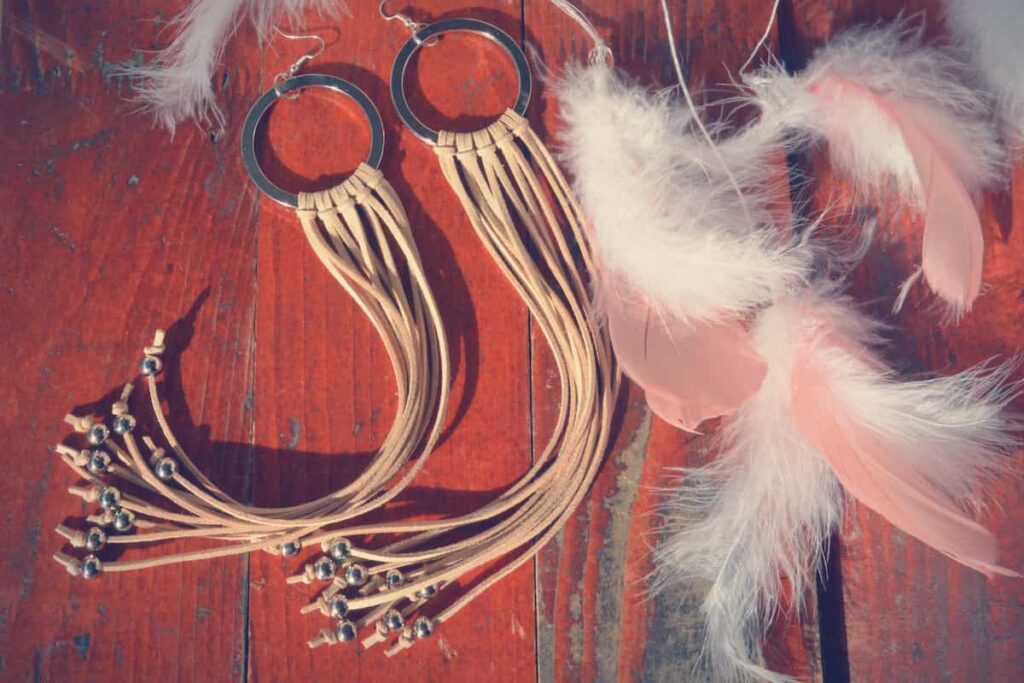
Another way to spice up your leather earrings is to add some tassels. Take any scraps you have left over and cut them into thin strips.
Once you’ve attached the jump ring and earring hook, tie the strips to the ring, and you have a tasseled earring!
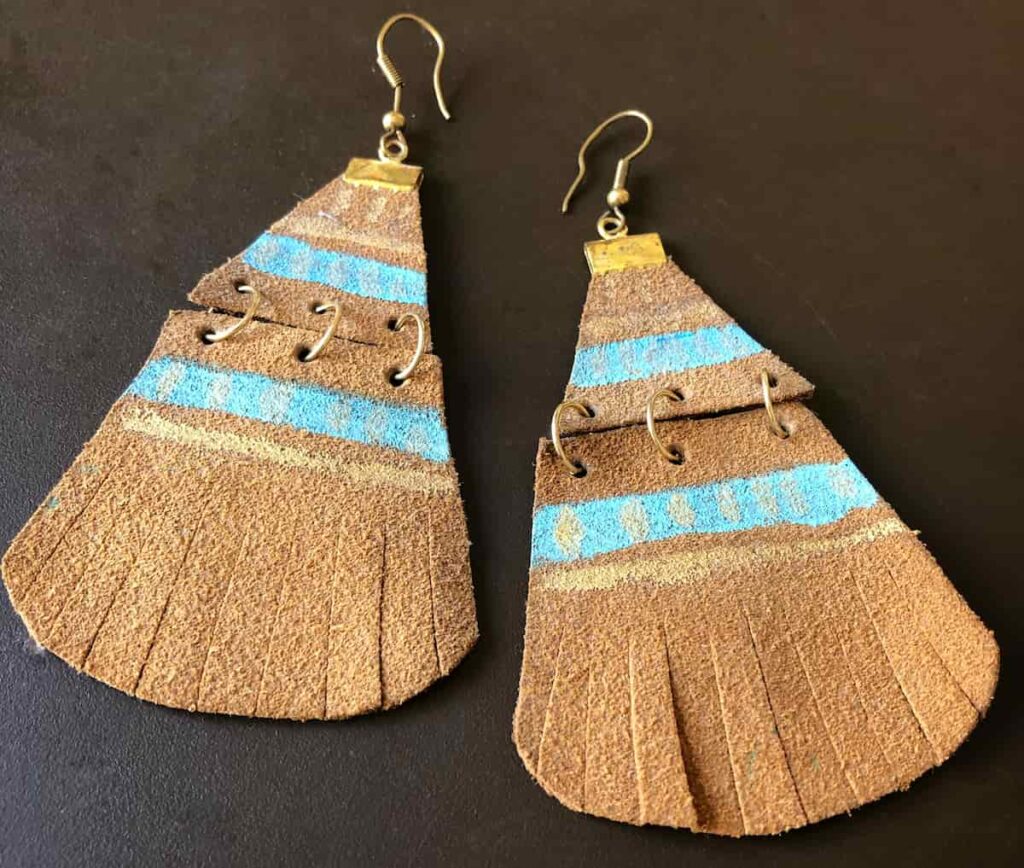
And for even more flair, take your scissors or Exacto knife and carefully cut little slits up and down the edges of your earrings to create a feather shape.
Don’t forget your fabric paints, either! Most leather comes in plain, neutral colors. But just a little bit of leather-safe paint can change that.
How to Make Leather Earrings: FAQs
Do I need a template?
No, you don’t necessarily need a template to make leather earrings. If you’re a newer crafter or don’t have a lot of experience working with leather, having a template definitely helps.
However, you can create some awesome earrings by drawing your own template or freehanding your design!
Just be sure you’re paying close attention when proportioning out your leather pieces.
Can I use vegan leather?
If, for whatever reason, you don’t want to work with real leather, you can use vegan leather for this project.
But remember that vegan leather tends to be thinner and less durable than real leather.
You’ll want to take extra care when cutting, burnishing, and poking holes in vegan leather to prevent any stretching or tearing.
Can I use a Cricut to make leather earrings?
If you have a Cricut, then yes, you can absolutely use it to cut and shape your leather.
However, you can complete this project successfully without one. No need to run out and purchase a Cricut just for making leather earrings!
Wrapping Up How to Make Leather Earrings
Now, you have some high-end leather accessories to last the ages! And you can say you made them yourself and didn’t spend a whole paycheck doing it.
But be prepared to make more leather earrings – your friends and family will surely be envious!
If you want to learn more about leather craft projects, check out our guide to painting leather.

Leah is a writer for That Sweet Tea Life and is passionate about learning and trying new things.
She has a master’s degree in English and loves to write about and share her colorful & crafty DIY experiences!
Leah can be reached at [email protected]