Express your creativity, both in design and wear, by making your own earrings!
Making your own one-of-a-kind earrings allows you the freedom to try new looks, incorporate pops of color into your outfits, and showcase your talents in a new way.
Fortunately, making handmade earrings at home doesn’t have to be hard. Keep reading to learn how to make earrings using four different methods!
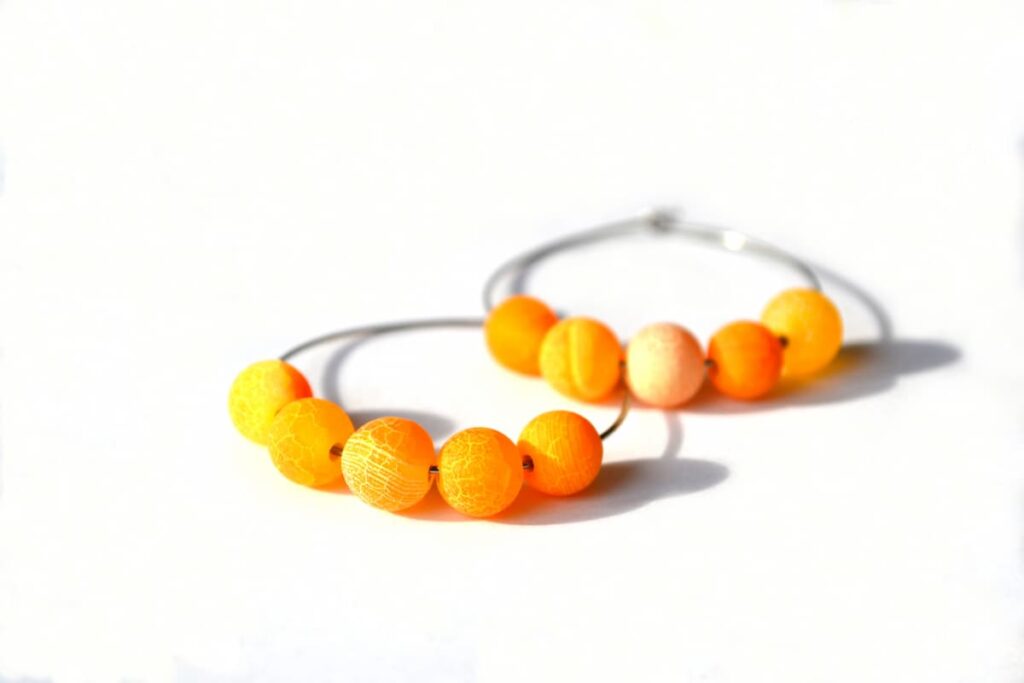
Technique 1: Beaded Hoop Earrings
Adding beads or charms to pre-cut loops is a fast and easy way to make your own earrings. Because it’s so simple, it also makes for a great family-friendly activity to involve the kids in.
Materials You’ll Need:
- Hoop earrings of your preferred size
- Beads
Making the Earrings
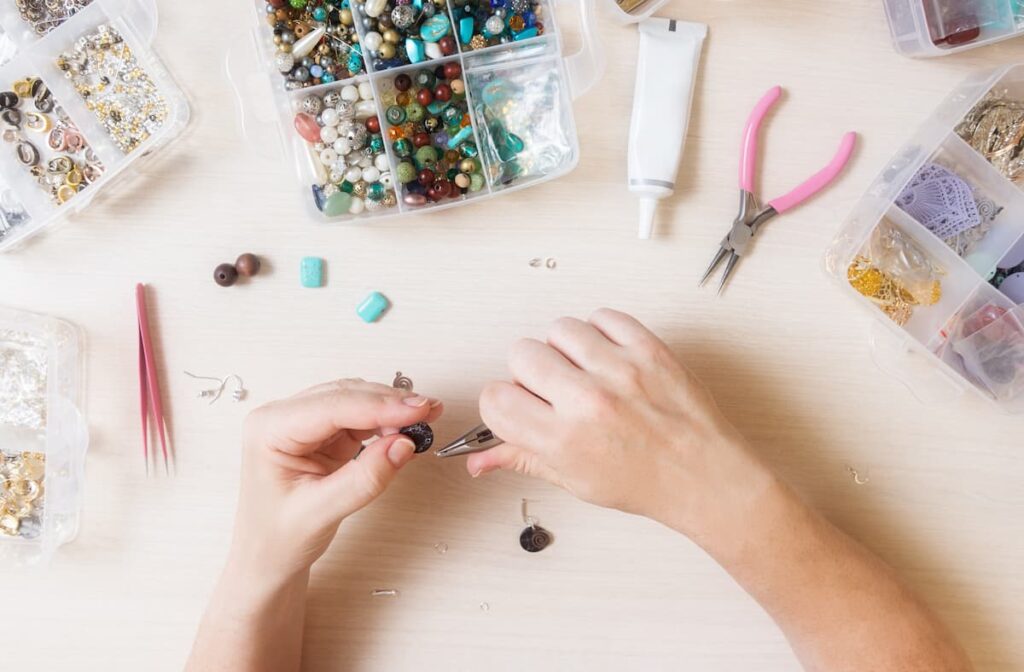
1. Set up your workspace
Prepare for an afternoon of earring-making by setting up your workspace. Choose a flat surface, like a table or desk, and place your materials out in front of you.
Use a non-slip craft mat to prevent beads from rolling away. If you plan to use a few different-color beads, you can use small bowls or even Tupperware to organize them.
2. Work the beads onto the pre-cut loop
Choose the beads that you want to use. Align the bead’s hole with the hoop so that it slides on without any friction. For this, you can use one bead, three beads, or however many you’d like!
As a style rule, use an odd number of beads: it’s more appealing to the eye!
3. Close the pre-cut loop
Secure the pre-cut loop to prevent your beads from coming loose, and voila! Within a few seconds, you have your very own pair of handmade earrings.
Pro tip
Before you go ahead and purchase a pack of hoops and beads, double-check their size. Specifically, note the size of the hoop’s wiring and the size of the hole that’s drilled into the bead.
You want to be sure that the bead’s hole is larger than the size of the hoop’s wiring. If not, then you won’t be able to slide them onto your hoops–and this process won’t work!
Technique 2: Hot-Glue-Gun Earrings
Hot-glue-gun earrings are made by gluing a cabochon onto a flat-black post. Cabochons are gemstones that have one convex surface and one flat surface.
You can use any type of glue for this, but hot glue is among the fastest and most secure methods. You can also use any type of cabochon for this, though we recommend using druzy cabochons.
Materials You’ll Need
- Earrings with a flat-back post
- Cabochons of your choosing
- Hot glue gun and glue sticks
Making the Earrings
1. Select flat-back posts and cabochons that are the same size.
The first step in this earring-making process is the most important. You’ll need to ensure that your flat-back earring posts and cabochons are the same size.
If your cabochons are too big, they won’t fit inside the flat-back earring post. If your cabochons are too small, you’ll have extra space surrounding them, and the earrings will appear unfinished.
A good size for flat-back posts and cabochons is 12 millimeters, though you can choose whatever size appeals to you most.
2. Use a hot-glue gun to secure the cabochon onto the post.
Plug in your hot-glue gun and allow it a few minutes to heat up. Be careful not to touch the tip of your hot glue gun with your fingers.
Add hot glue to the flat side of the flat-back post earrings. Immediately place the cabochon of your choosing overtop. Use your thumb to press down the cabochon and hold it in place. Slowly count to 10 before releasing your finger.
3. Set the earrings aside to dry
As you finish gluing each individual earring, place it to the side. Allow each earring to cool for at least 10 minutes. Then, it’s time to wear your new earrings!

Technique 3: Snap-Tite Earrings
With Snap-Tite earrings, the focus is on the post. The post, which bears a Snap-Tite design, has four prongs that you can manipulate to curve around a gemstone. The result is an elegant and traditional post earring that sparkles in the light. And best of all, it only takes a few seconds!
Materials You’ll Need
Making the Earrings
1. Select Snap-Tite earrings and gemstones in the same size.
Even though this is a different earring style, it begins with a similar process: choosing the earring settings and gemstones in the same size. If the size doesn’t match, the gemstone won’t fit in the post, and this process simply won’t work.
Six millimeters is a good size for both the post and the gemstones, but again, you should choose the size that most appeals to you.
2. Set the gemstone on a flat surface, flat-side down.
Make sure you are using a stable, solid workspace to construct your jewelry. You want to avoid the possibility for your gemstones to slip, fall, and disappear someplace on the floor.
Choose a gemstone to work with and set it down on your surface.
3. Set the Snap-Tite earrings onto the gemstone.
Hold the long, skinny post of the Snap-Tite earring with your pointer finger and thumb. Face the side of the Snap-Tite earring that features prongs downward at a vertical angle over the gemstone.
Gently apply pressure downward to the stone until you hear the Snap-Tite earring click into place.
4. Firmly close the prongs on the gemstone.
The prongs should click into place on their own, but it might be necessary to secure the prongs further. If any of the prongs are not firmly clasped against the gemstone, use a pusher tool to push down the prongs. If you overlook this step, you’re likely to get the earring caught on your clothes or in your hair.
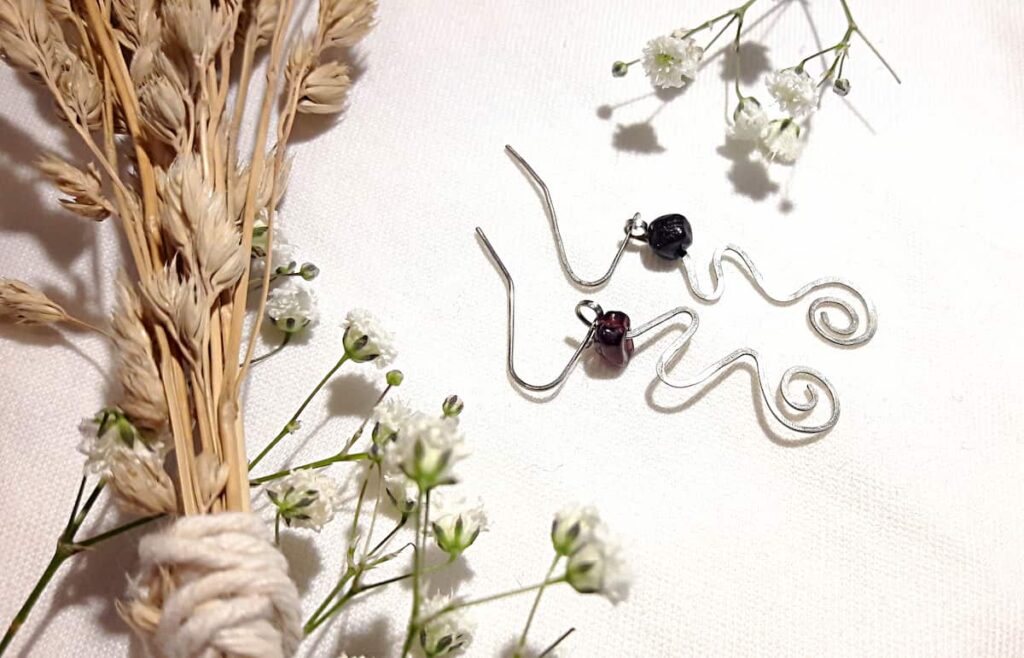
Technique 4: Wire-Cut Earrings
Making wire-cut earrings is perhaps the most time-intensive of the above-mentioned earring processes. However, the more work you devote to making these earrings, the more “handmade” they become!
Materials You’ll Need
- Wire
- Wire cutters
- Beads, charms, or tassels of your choosing
- Earring backs
Making the Earrings
1. Use wire-cutters to cut two pieces of wire.
The two pieces of wire should be between 2″ and 3″ long, at the shortest, and should be the same length. If you’d like to make dangly earrings, cut longer pieces of wire.
2. Curl up the ends of each wire.
Select one wire and form one end of it into a hook-like shape. The hook shape of the wire will push through your ear.
Curl the other end of the wire until it curves tightly into itself. The end should appear similar to a very small loop. You will use this curve to secure beads, charm, or tassels onto your wire.
Perform this step twice for both wires.
3. Add beads, charms, or tassels.
Select your beads, charm or tassels. Add your accent onto the hook-like end of the wire and feed it through until it reaches the other end. The tightly-curved loop should prevent the accent from falling off the wire. Repeat this step twice.
4. Add earring backs.
Add your silicone earring backs to the end of your wire with the hook-like shape. The earring back will keep the earring securely in your ear when you wear it. Repeat this step twice, and your earrings are ready to wear!
Making Your Own Charms
Don’t have beads or charms handy? No problem! Try one of these methods to make your own one-of-a-kind handmade charms at home.
Sparkly Globes
To make your own sparkly globes, all you need is some aluminum foil, glitter, and confetti.
First, roll a piece of aluminum foil into a small ball comparable to the size of a bead. Create two balls that are roughly the same size.
Add a glob of glue to a plate and roll the aluminum balls in the glue. Then, add a combination of glitter and confetti–or whichever you have available–into a bowl. Roll the glue-covered aluminum balls in the confetti-glitter mixture. Let the balls dry for up to an hour.
Take a pin and poke a hole through the middle of the aluminum balls. You’ll use this hole to fish the earring wire through.
Clay Beads
Have some polymer modeling clay on hand? Use it to make your very own beads!
Select the polymer clay colors of your choosing. You can use solid colors, or you can combine colors to make different shades.
You can also combine colors by using a marbling technique. To do so, choose three colors. Roll each clay color into a log. Then, roll all three of the logs together so they form into a sausage-like shape. Take a rolling pin and roll out the clay until it’s thin, and then start folding it into itself. Once it’s completely folded, roll the clay into a ball.
If you like the finish, then you can pull apart smaller pieces of the clay and roll it into balls to make beads. If you’d like to add more color differentiation, add small pieces of the solid colors of your choosing, and perform the above-mentioned steps again.
Once you have an assortment of rolled-out beads, refer to the packaging of your polymer clay on baking instructions. It’s important that you bake the clay so that it develops into a solid shape that’ll hold up against wear.
Before you place your beads into the oven, use a piece of wire–the wire that you will use for your jewelry making–to poke holes through the center of the beads. You’ll eventually feed the jewelry wire through these holes.
After your clay beads are finished baking, allow them to cool completely before using them to make your earrings.
Copper Tube Beads
Even if you have traditional beads on-hand, copper tube beads are a fun way to add an industrial accent to your earrings.
Making these accent beads is incredibly simple: all you need is copper tubing and a copper tubing cutter.
To make these accent beads, simply use the copper tubing cutter to cut pieces of the copper tubing–and that’s it. You can cut pieces as thick or as slim as you’d like. Place these copper accents in between beads for an interesting aesthetic.
You can also use paint to paint the copper pieces entirely or to paint some of the pieces for a more unique finish.
Making Your Own Earrings Frequently Asked Questions
What is an important tip to know when making your own jewelry?
One of the most helpful tips to know when making your own jewelry is to have extra material on-hand. There’s always the chance that something won’t look the way you want it to. When you gather your supplies, always purchase extra materials, if possible, to use for practice or for a redo.
What tools do you need to make your own earrings at home?
Not every earring-making process mentioned in this post requires the need for jewelry-making tools, but some of them do. If you’re looking to purchase jewelry-making tools to add to your arts and crafts toolkit, you can’t go wrong with round nose pliers, wire cutters, and chain nose pliers.

Wrapping up How To Make Your Own Earrings
With the four above methods, you’ll be able to make your own earrings in no time! These four foolproof processes allow you to create one-of-a-kind earrings without needing too many materials. Create an entire collection of handmade earrings in a single afternoon!
Interested in learning how to make a different style of earring? Check out our page, How To Make Clay Earrings: Craft Fun, Unique Pieces From Scratch, to learn more!

I’ve been a professional painter for the last 20 years. That Sweet Tea Life is a place where I get to slow down and visit the craftier side of painting.
I’ll share with you everything I’ve learned painting hundreds of pieces of furniture and sets of kitchen cabinets.