So, you finished your most recent pottery project, and the bisque-fired piece looks amazing. Are you ready to add some color to your beautiful pottery masterpiece? Learning how to glaze pottery can be a little overwhelming at first, as there are many things to understand. But with the knowledge of some basic skills and materials, you’ll get the hang of it in no time!
Glazing is one of the best parts of creating pottery, as you’ll see your artistic vision start to come together. Keep reading to learn about glazing and how you can utilize it in your next pottery project!
What Is Glazing?
Before you learn how to glaze pottery, you need to know what glaze is. A glaze typically consists of silica, pigments, and a mixture of other minerals. Silica stems from silicon and is often found in crystals like quartz. This silica additive is where many glazes get their sheen from.
These materials combine to create a colorful and glass-like liquid coating, which you’ll find in many different sheens. Glazes often look like paint, and you almost treat them as such. During the glazing process, you’ll simply be painting the glaze onto your project. It’s essentially the process of adding color, shine, and durability to your pottery.
Popular Types of Glaze: The Basics
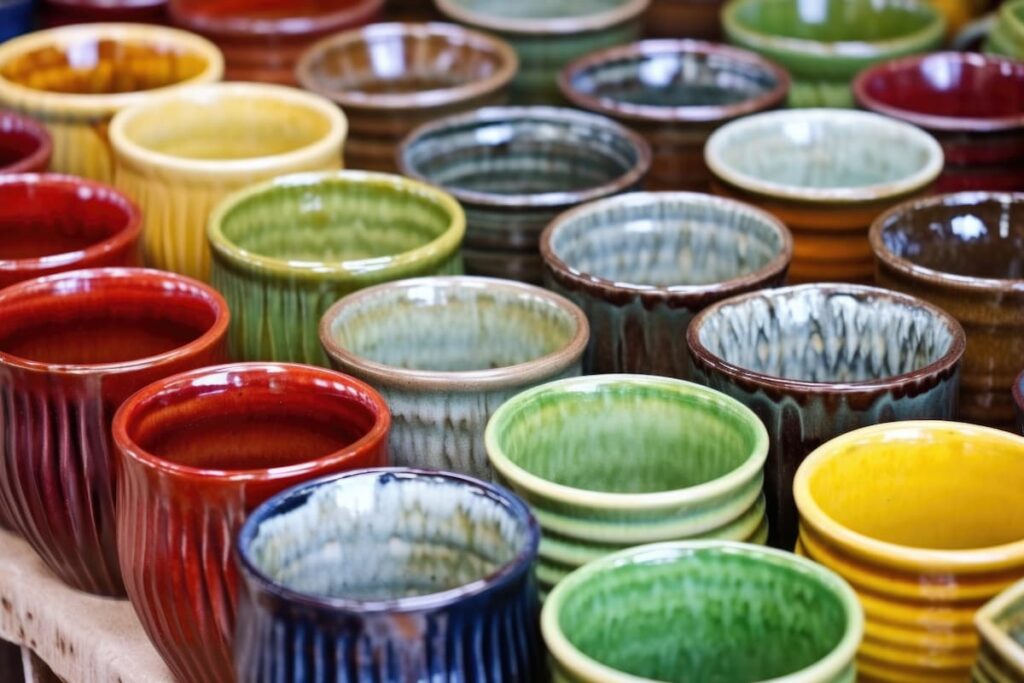
There is a whole list of different pottery glaze types. But when you first learn how to glaze pottery, you’ll really only need to focus on the primary three. These include glossy, matte, and satin glazes.
Glossy
A glossy glaze has the power to reflect quite a bit of light. This type of glaze is typically the shiniest of all the glazes and one of the most popular. It’s beautifully smooth both to the eye and to the touch once you fire it in the kiln. And you can expect excellent moisture and stain resistance, as it’s difficult for anything to stick to it. Most substances will slide right off this glaze after it hardens in the kiln.
Matte
If you’re not too keen on the glossy look, a matte glaze might be more your style. These glazes are much less shiny, offering a more muted look. However, the colors are still very vibrant. It’s just the finish that’ll look different, as matte glazes scatter light significantly.
Satin
A satin glaze falls between a glossy and a matte glaze. This glaze has a little bit of shine and a little dullness. It’s like the perfect mix of both glazes! Satin glazes are generally smooth due to their slight gloss. And they’re very appealing to the eye, as they have a soft look.
Materials Needed When Learning How to Glaze Pottery
Your materials will vary depending on the look you’re creating. But, for the most part, you’ll only need a few simple things. As a beginner, you should gather the following items:
- Artist brushes
- Varying glaze colors
- Wax resist (optional)
A Note About Wax Resist
Wax resist is something you paint onto areas of your pottery where you don’t want the glaze. The glaze will not stick to the wax resist. You might want glaze on every square inch of your pottery, and that’s okay. But, if you decide to make a design without color, you’ll want to get some wax resist. It makes the process much easier rather than worrying about painting around every little detail.
How To Glaze Pottery
It’s time to dive into the process of learning how to glaze pottery! Grab your materials and check out the following steps to create a beautiful, colorful masterpiece.
1. Clean Off Your Pottery Piece
Before you apply any glaze, you need to ensure that your pottery piece is completely clean. When your bisque-fired piece comes out of the kiln, it might be dusty. But this isn’t dirty dust filled with soil and pollen. There may be some dried clay dust on the surface that needs to be wiped off. Simply grab a damp cloth and wipe down the entire surface of your pottery.
If you don’t wipe the pottery before glazing, these tiny particles can get embedded in the glaze. This will result in a bumpy look and feel, which you don’t want.
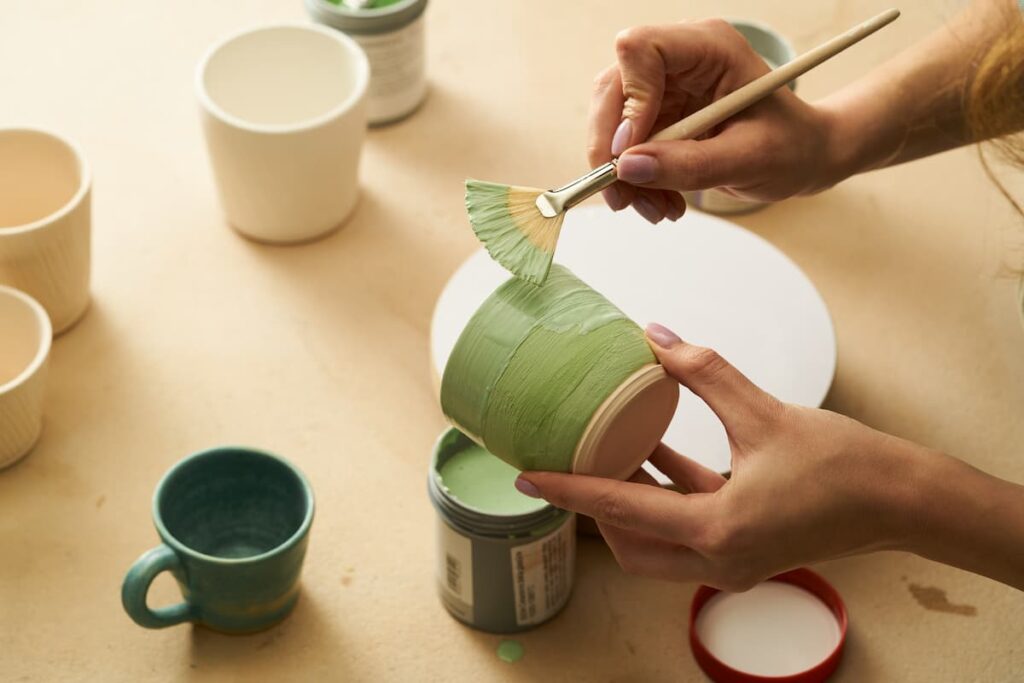
2. Pick Your Glaze Colors and Apply Them
It’s time to think about what colors you’ll need for your pottery piece. If you’re still not sure what you want, it may help to draw out your pottery design on plain paper. This will allow you to see what it will potentially look like. Taking a peek at some pottery glaze ideas can also help you brainstorm and decide on a color scheme.
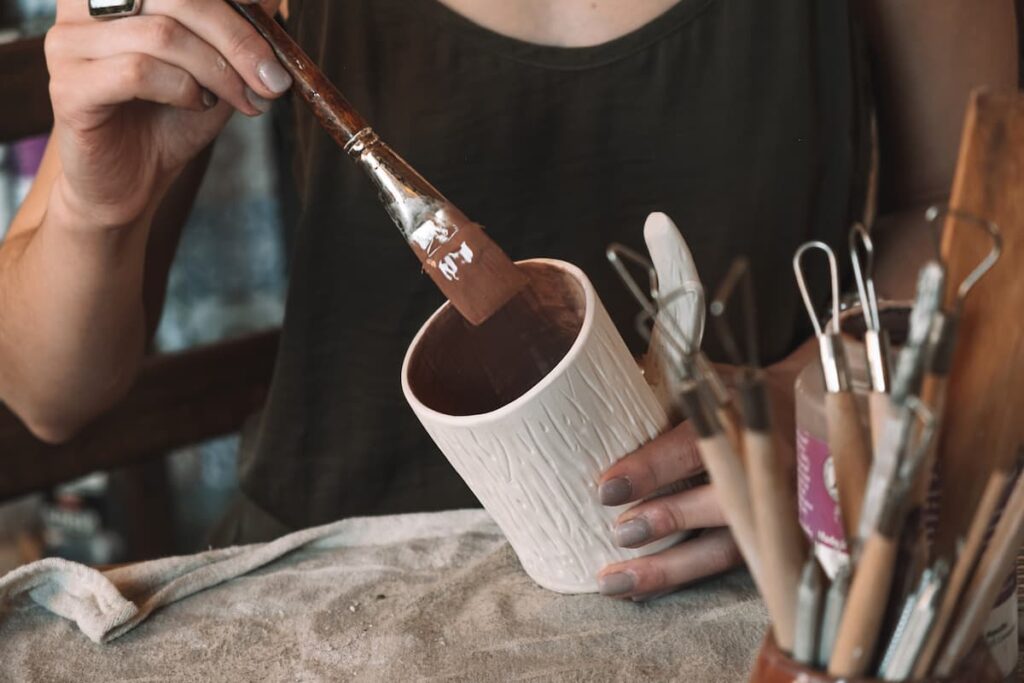
After you have your colors ready, you can officially dive into learning how to glaze pottery! Simply dip a clean brush into one of your glazes and start painting it onto your pottery. Treat it like paint and use gentle brush strokes. You’ll want about 2-3 layers of glaze to allow the color to really shine through after firing. Other options for applying glaze include pouring it onto the pottery or dipping your pottery into it. Glazing is a very creative process, so have fun with it!
Here are some other things to keep in mind while learning how to glaze pottery:
- Use a different brush for each glaze color, or clean the brushes between colors
- Be sure each layer of glaze is dry before applying the next one
- Never put the glaze on the bottom of your pottery, as it will stick to the kiln
3. Fire Your Glazed Pottery In a Kiln
Once your glaze is completely dry, it’s time to put it into the kiln. Gently place your masterpiece into the kiln and fire it based on the glaze temperature recommendations. You’ll often need to leave your pottery in the kiln for a few days. The glaze will eventually melt and create a hard glass-like coating. When it cools down, you can open the kiln, and you’ll have something beautiful to display!
Time to Glaze Some Pottery!
Learning how to glaze pottery is a crucial skill to know if you’re entering the world of pottery making. It’ll bring beauty, design, and color to your pieces. And it’ll also give them a slippery and strong coating to keep them intact and water-resistant. So, grab your newest bisque-fired pottery piece and start getting creative!
Are you looking for fun ways to glaze your pottery? Check out our post on 12 Pottery Glaze Techniques for Beginners for some help!

Ashley Masiello is a crafting fanatic, video editor, artist, general freelance writer, and a writer for That Sweet Tea Life. She has a bachelor’s degree in film/media and two minors in writing and art.
She loves to try out crafts, projects, and recipes in her free time. And she enjoys sharing fun and interesting artistic knowledge with others. Whether you like scrapbooking or cooking, there’s a fun learning process for everything!
Ashely can be reached at [email protected]