Shiplap walls found new life in 2013 when HGTV’s Fixer Upper host Joanna Gaines showed her support for the old-fashioned style. Adding a shiplap wall to your home can be a great way to spruce up a space! But did you know that faux shiplap includes all the benefits of real shiplap, plus it saves you time and money?
Keep reading to learn everything you need to know about creating faux shiplap, including why you should go faux, the materials needed, and a step-by-step guide!

What Is Shiplap?
A real shiplap wall consists of wooden planks that overlap one another and are tightly fit together by notch-like rabbets. The overlap of the panels is great for protecting your walls from harsh weather events. The use of rabbets also creates a shadow line effect, making shiplap a unique style option while offering practicality for your home!
Shiplap siding is often confused with clapboard siding – a similar style of wood paneling that involves thicker planks that wedge together to create a very prominent overlap. The overlap of the shiplap is more subtle, offering a tighter and more compact appearance.
Faux shiplap is great for indoor use, offering all the benefits of real shiplap apart from advanced weather protection.
History of the Shiplap Wall
Although creating faux shiplap is a relatively new trend, the original shiplap wall has been around for much longer than you may think.
As the name may suggest, real shiplap originates back to its use on the sides of ships, dating all the way back to the Viking Age. The use of shiplap siding evolved from lapstrake planking, an age-old method of overlapping wooden planks to add strength and stability to the hull of a boat. The compact boards create a watertight seal that keeps out moisture and ensures the upkeep of the ships.
When shiplap use shifted from water to land construction, this method was first used as sheathing over the frame of a house. The shiplap wall created a smooth texture, making it ideal to use as a base for applying other materials on top. Many old houses have shiplap behind their walls!
Why Create a Faux Shiplap Wall?
Now that you’re hooked on the idea of adding a shiplap wall to your home, why should you create a faux shiplap wall instead of a real one? Adding faux shiplap to your interior design resume is a great way to save yourself time, money, and effort!
Real shiplap walls require plenty of plywood, sawing and sanding down your boards, using a stud finder to safely place your planks, nailing boards, filling holes, and much more. Although the end result is rewarding, the process takes multiple days, and a faux shiplap wall will look just as great as a real one – in significantly less time!
Creating a faux shiplap wall only takes about a day, and is a great option for renters or people who don’t want to make such a permanent change to their home. Real shiplap requires sheets of plywood that leave unsightly nail holes in your walls. The beauty of painting faux shiplap is that it can easily be painted over again when you’re ready for a change! There’s no need for a long-term commitment.
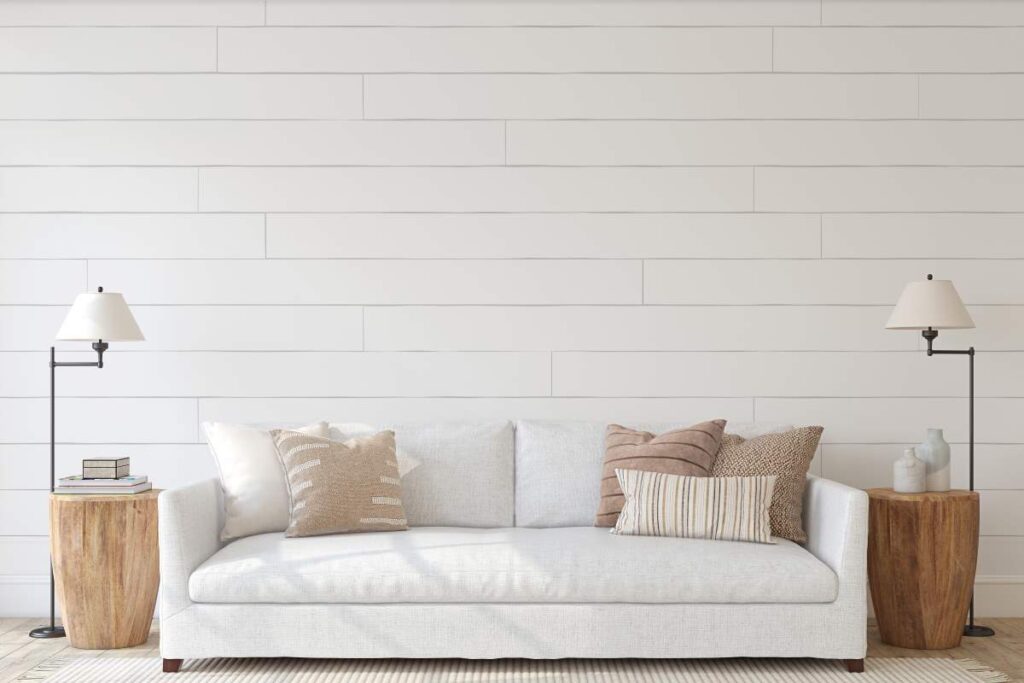
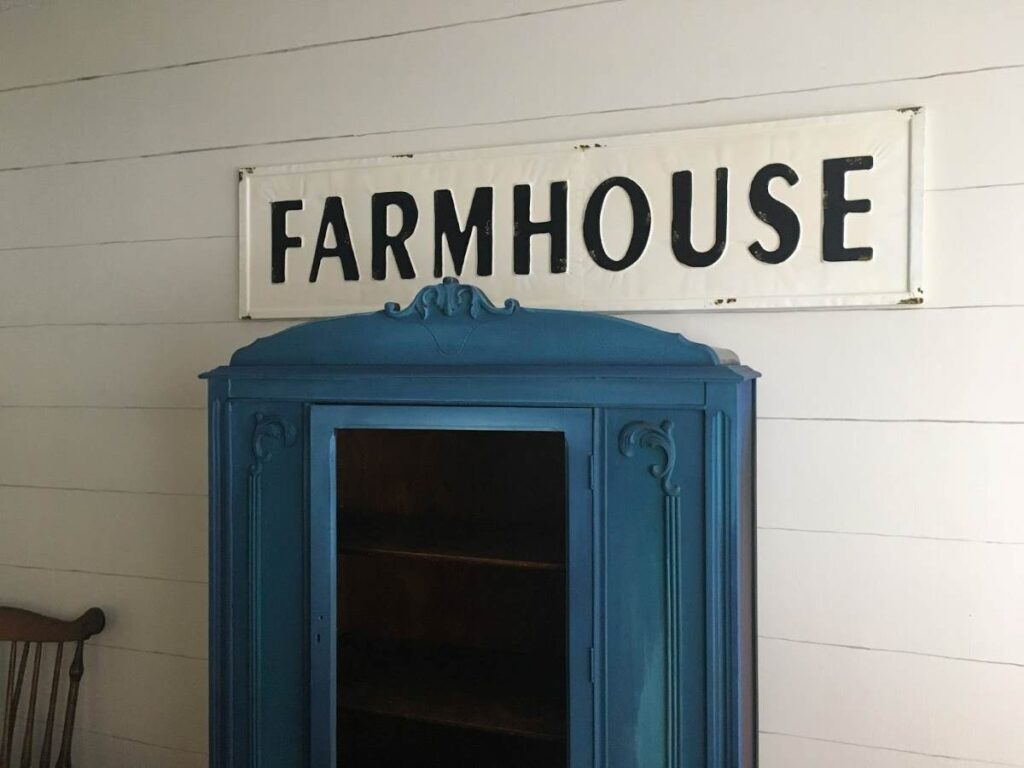
Faux shiplap walls are especially great for interior decorating. Real shiplap walls are commonly used for outdoor walls and sheds, therefore, the presence of shiplap brings in a bit of a farmhouse feel to your home. Using shiplap to create an accent wall in your home is a great way to bring a more rustic atmosphere into your space.
In addition to the common accent wall, faux shiplap can be used in any other way you desire! Fireplaces, headboards, bathrooms, kitchens, staircases, and more can benefit from the addition of faux shiplap. For a different way to incorporate shiplap into your home, consider vertical panels instead of the typical horizontal ones.
The most common choice for shiplap walls is a classic white color. However, experimenting with different colors is also a great way to spice things up! Shades of blue, green, and even black shiplap walls are starting to rise in popularity.
There are many options to choose from when creating a faux shiplap wall, but the easiest way is undoubtedly by using paint. Painting a faux shiplap wall requires much fewer materials than other methods, meaning there will be much fewer things you’ll need to buy – and who doesn’t love saving money?
Using paint for your faux shiplap wall also means that you don’t have to worry about making mistakes during the process. If you make a mistake, simply paint over it and start again!
Materials Needed
- Screwdriver (optional)
- Plastic bag (optional)
- Painter’s tape
- Drop cloth
- Primer (optional)
- White paint (or desired color)
- Paintbrush and paint roller
- Measuring tape
- Pencil
- Yardstick
- Level
- Black paint
Steps to Create a Faux Shiplap Wall
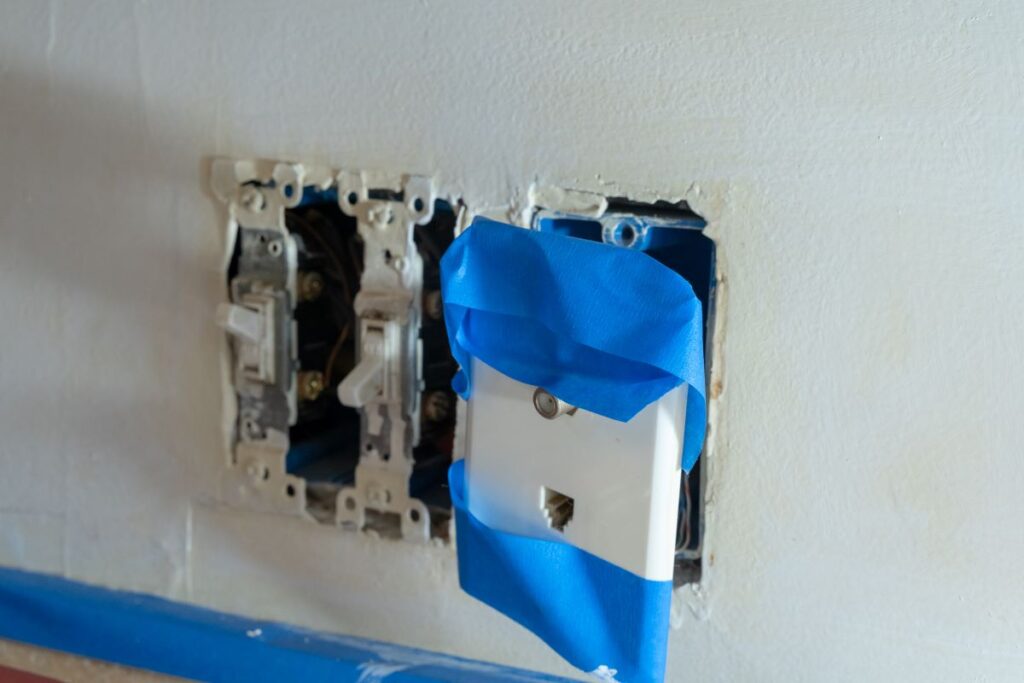
1. Unscrew Outlet Covers
If the wall you are choosing to paint has electrical outlets or light switches, make sure to unscrew the covers and place them in a labeled bag to make installation an easy process later on.
2. Use Painter’s Tape and Drop Cloths Where Needed
Take your painter’s tape and line the moldings and trim of your wall. When laying your tape, carefully use your finger to flatten the tape and set it tight to the wall to prevent leaks and ensure crisp lines when painting. Lay down a drop cloth to protect your floors from any drips of paint that may fall when preparing your wall.
3. Apply Primer
If applicable, apply a coat of primer. Although useful, primer is not a required step when painting a wall for faux shiplap. Primer conceals imperfections such as water spots, stains, or scratches on the wall. Primer also creates a base that allows better adhesion for your paint, therefore requiring fewer coats.
The use of primer is highly recommended for painting walls subject to humidity (such as in the bathroom) as well as changing the wall color from dark to light. Some paints already contain primer, so before adding primer to your wall, make sure to read the label of your paint can!
4. Apply Your First Coat of Paint
Apply your first coat of paint to the wall, starting with a paintbrush around the edges of your tape. Make sure to be gentle with your brush to avoid accidentally wedging any bristles under the tape.
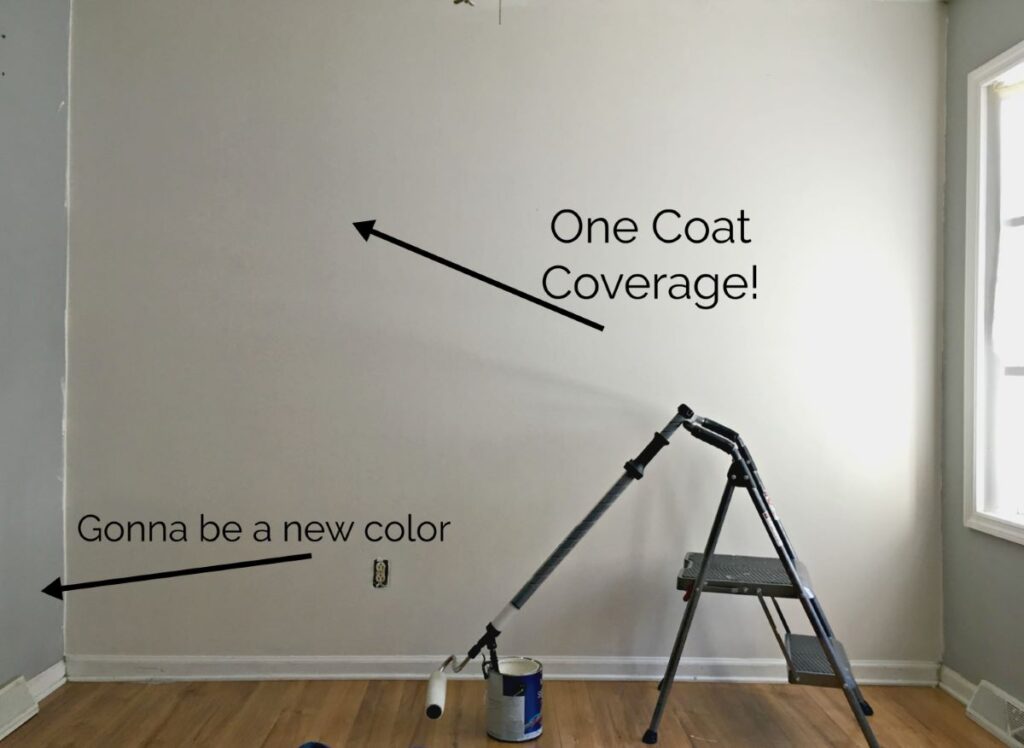
Once you’ve taken care of the sides, use your paint roller to fill in the rest of your wall. Wait until the paint has dried, and if needed, add a second coat.
5. Mark Your Shiplap Lines
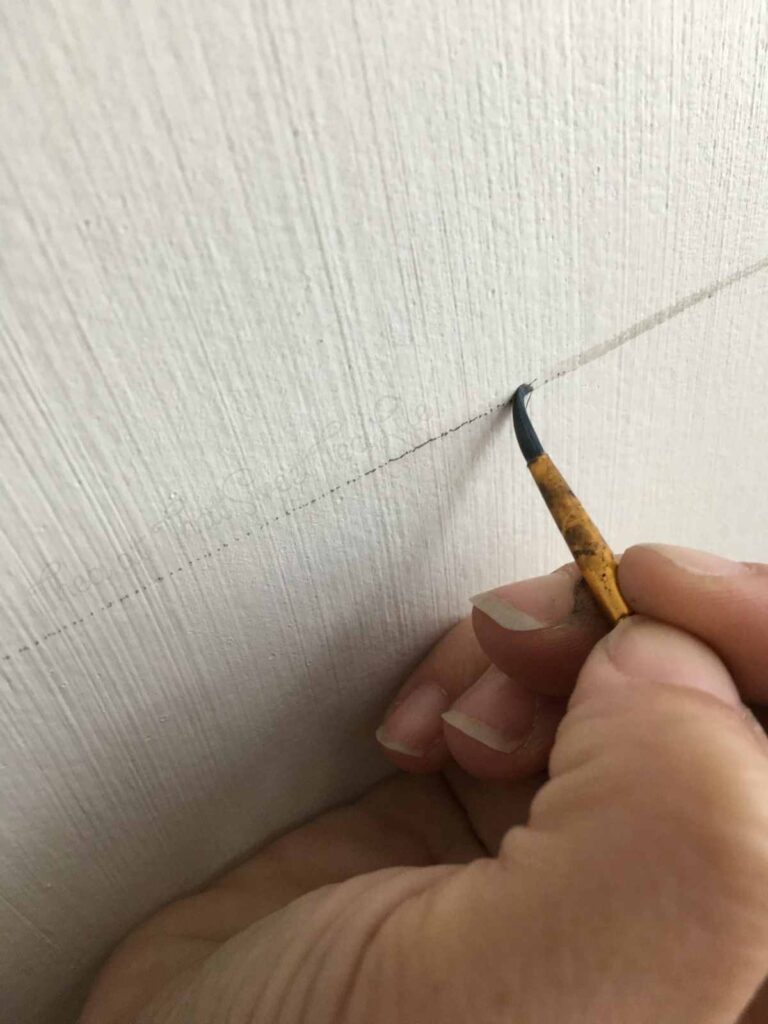
Once your paint is completely dry, vertically extend your measuring tape down the length of the wall. Using a pencil, make a gentle line every 6 inches to mark where your horizontal lines will go. Your lines can be closer or further apart than six inches, depending on the size you’d like your faux shiplap wall to be.
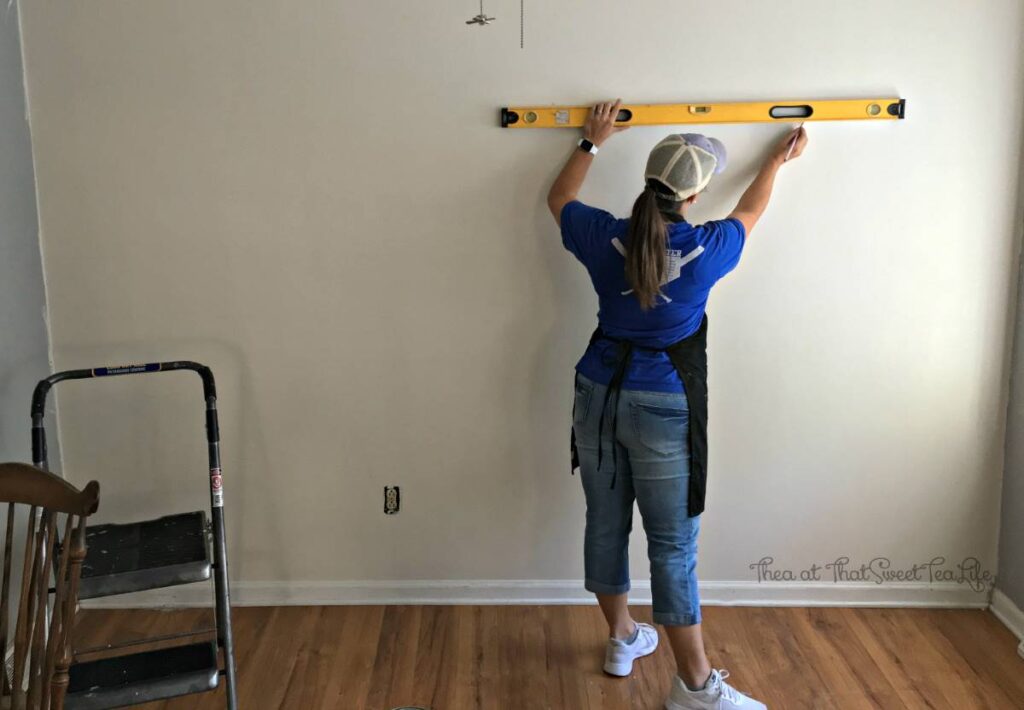
Using the yardstick and a level, draw a horizontal line across the width of your wall using your pencil marks to guide you.
After the lines have been drawn, take your painter’s tape and line the wall above and below each pencil line. Make sure to carefully smooth down the tape with your finger. The space between the pieces of tape should be about the width of a nickel.
6. Paint Your Shiplap Lines
Paint the gap between the tape the same color as your wall. This step ensures clean lines for your faux shiplap. Once your paint dries, gently paint over the top with black. Once the paint is still semi-wet, remove the tape at a 45-degree angle for the best results. Removing the tape when the paint is still wet lowers the risk of peeling your newly-dried paint off the wall!
For longer walls, vertical lines can be placed every 8 feet to mimic the look of actual shiplap boards. For this look, make sure to wait until your wall has completely dried. Vertical lines should be placed on every other row. Measure 4 feet from the side of the line and draw another vertical mark on the board above.
Repeat steps 5-6 to add tape to the sides of your lines and apply a coat of white and black paint. Be careful to not disturb the horizontal lines on your wall.
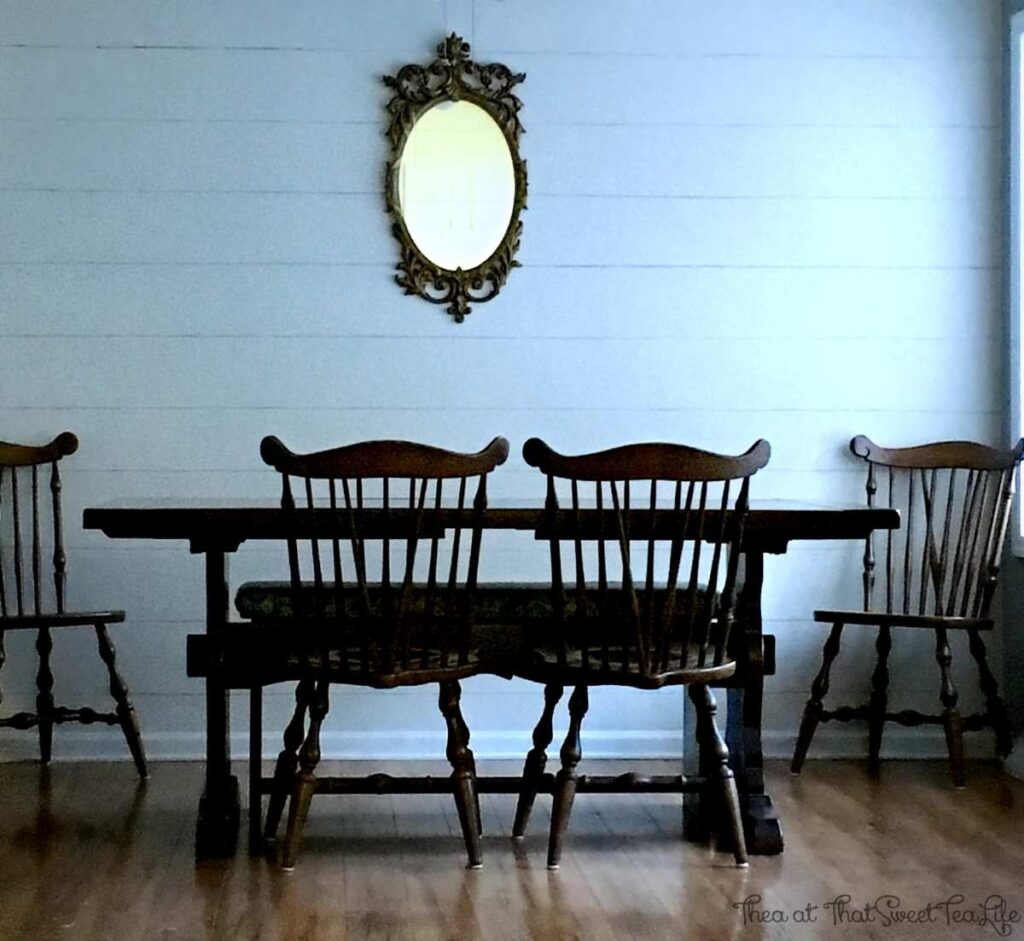
Once everything has dried, ta-da! You’re all done, and the only thing left to do is celebrate your brand-new faux shiplap wall.
The Magic of Painting Faux Shiplap
Now that you’ve got all you need to create a faux shiplap wall, the only thing left to do is get started! In a matter of no time your home will have a brand-new look that’s full of character and originality. Who knew transforming your home could be this easy and inexpensive?
Love DIY? Check out our blog posts on DIY Ideas for more inspiration on do-it-yourself projects around the house!

Alanna Singletary is a passionate DIY crafting and interior decorating enthusiast, whose roots in the Hudson Valley region of New York have deeply influenced her creative endeavors.
From childhood experiences of tending to lush gardens and making homemade tomato sauce, to her current pursuits in North Carolina, Alanna’s early exposure to nature’s bounty has fueled a lifelong passion for learning and exploring.
A graduate of a college in the Appalachian Mountains, she’s an avid outdoor enthusiast, enjoying activities like hammocking and kayaking.
Alanna blends her love for the outdoors with a keen eye for budget-friendly bedroom decorating and furniture painting, offering unique insights and ideas to her readers. Her work demonstrates that elegance and style in home decor can be achieved with creativity and resourcefulness, making her a go-to source for those seeking to enhance their living spaces.
Mary
Sunday 31st of May 2020
I agree. This looks beautiful. However, if you are a person who changes their mind often, please really think about using that glaze. The only way to repaint that wall is to sand off all of the glaze. That is a messy and tedious job.
Thea Osborne
Tuesday 2nd of June 2020
Thanks for the advice Mary! Actually Im not sure why you mention this as I am able to paint right over this. Perhaps our types of glaze are different?
Kim kelley
Tuesday 6th of March 2018
I’m wanting instructors on how to paint a wall in the earthstone cloudy application.. also is there a book that explains all the uses and when to use the glaze and the different products over the paint and easiest ways to blend etc.. please help!!!
Thea
Tuesday 6th of March 2018
Hey Kim! SO much of it is learned over time from project to project! I would recommend if you havent already-join my group and we can encourage you step by step https://www.thatsweettealife.com/chalk-paint-and-more-facebook-group/
Julie Nichols
Wednesday 24th of January 2018
Looks like the real deal! Turned out beautiful great idea!
Jeannee
Tuesday 23rd of January 2018
Looks realistic! must be the glazed lines! Awesome hack!Jeannee
Vanessa
Friday 19th of January 2018
This is an awesome idea, Thea. I love the way and the roller is awesome