Fall is a beautiful season with bright leaves and a slight chill in the air. The colder weather means you and your kids will be spending more time indoors. But that doesn’t mean you need to feel bored! Crafting projects, like fall tree crafts, are an excellent way to get everyone involved and allow creativity to flow.
So, keep reading to learn how to create some fall tree crafts that you and your kids will love!
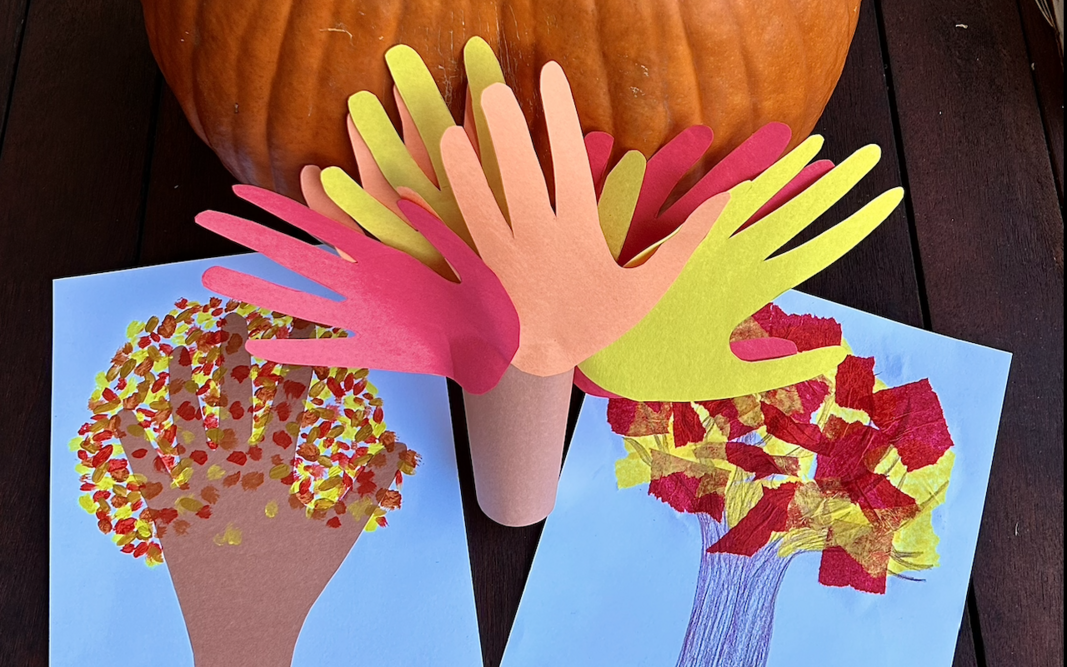
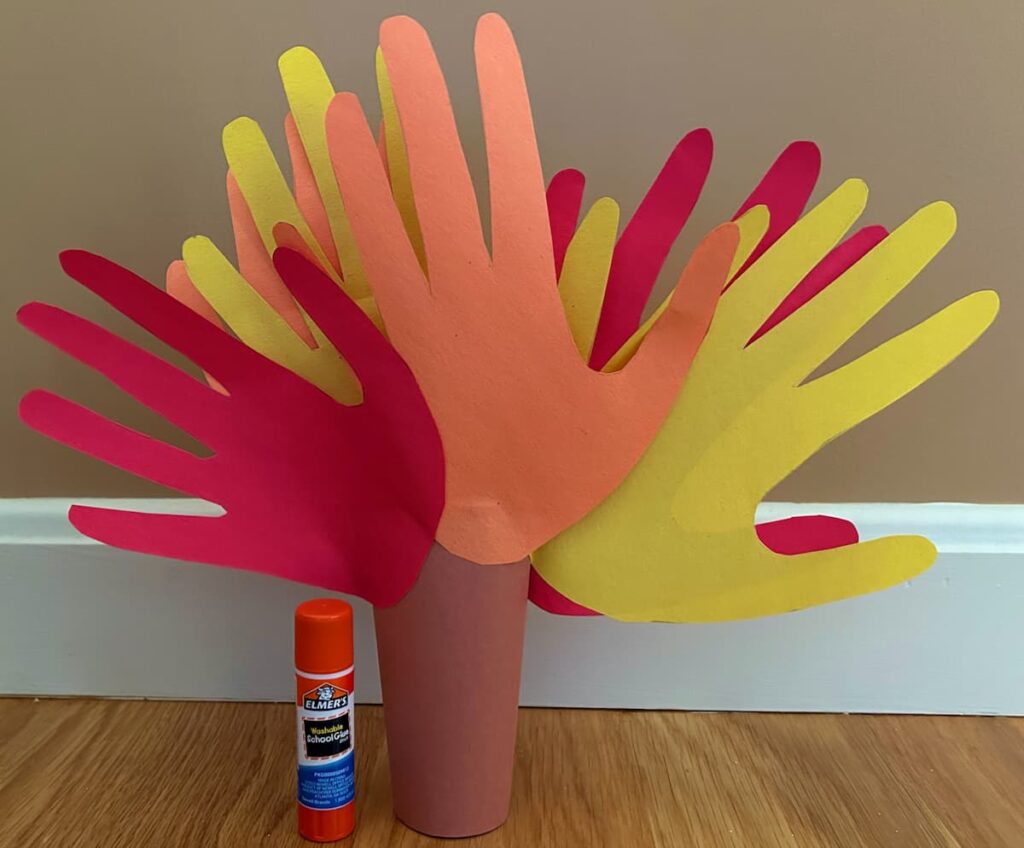
How to Make a Three-Dimensional Fall Tree Craft
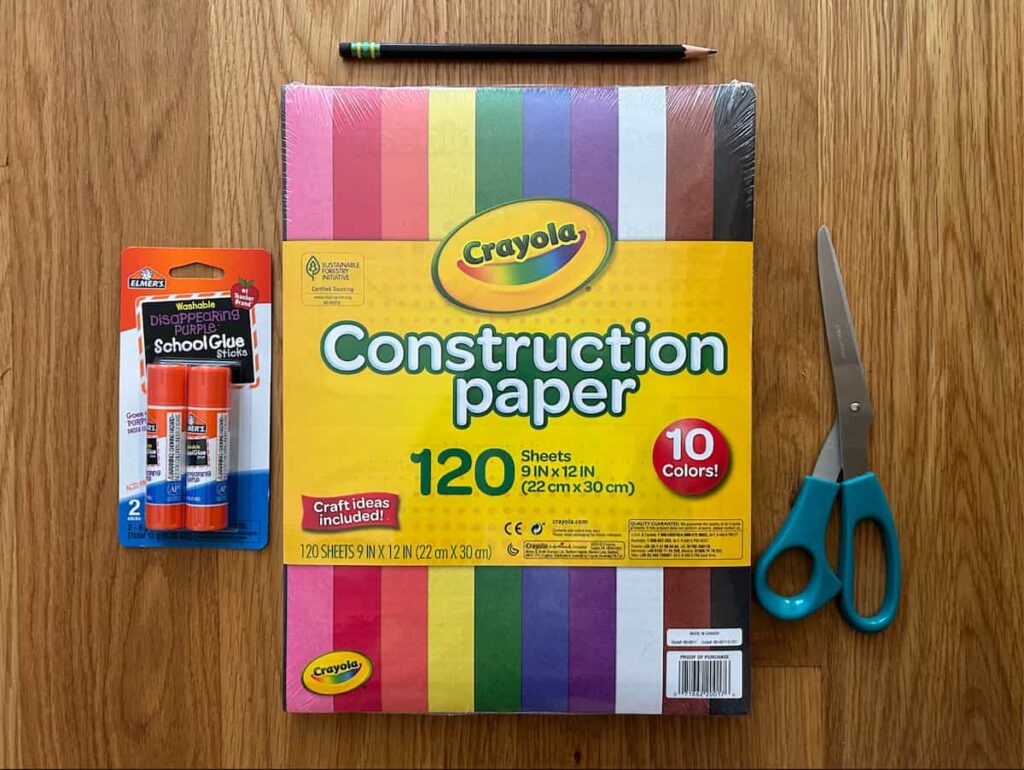
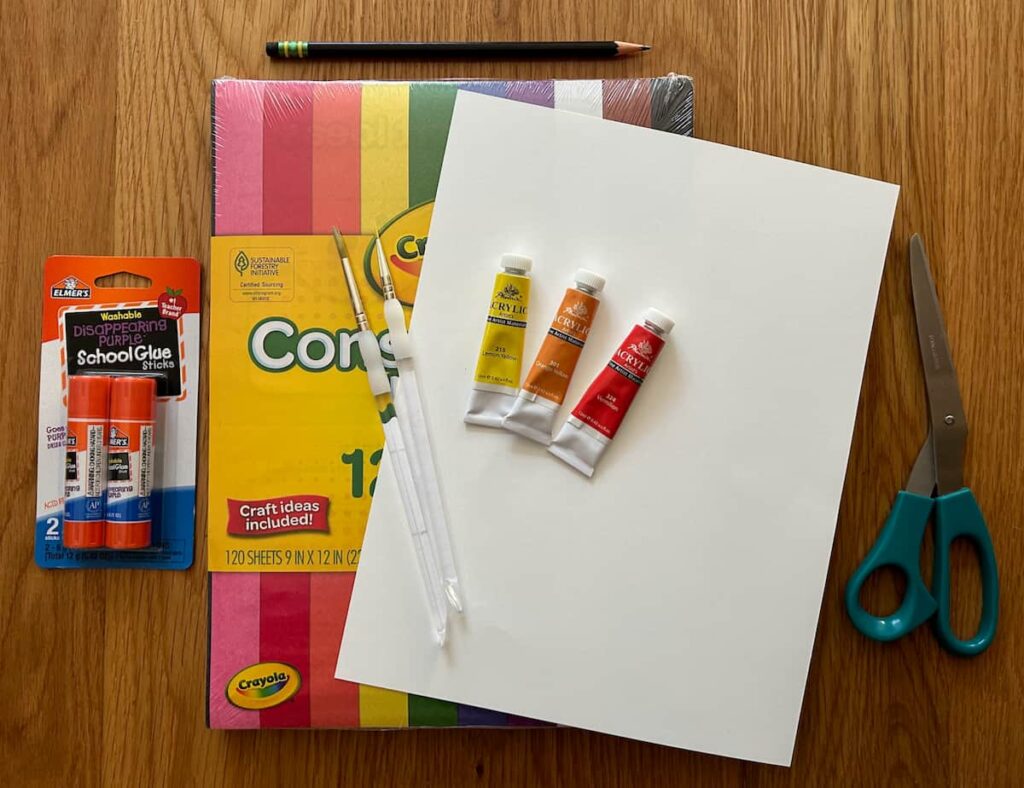
Materials
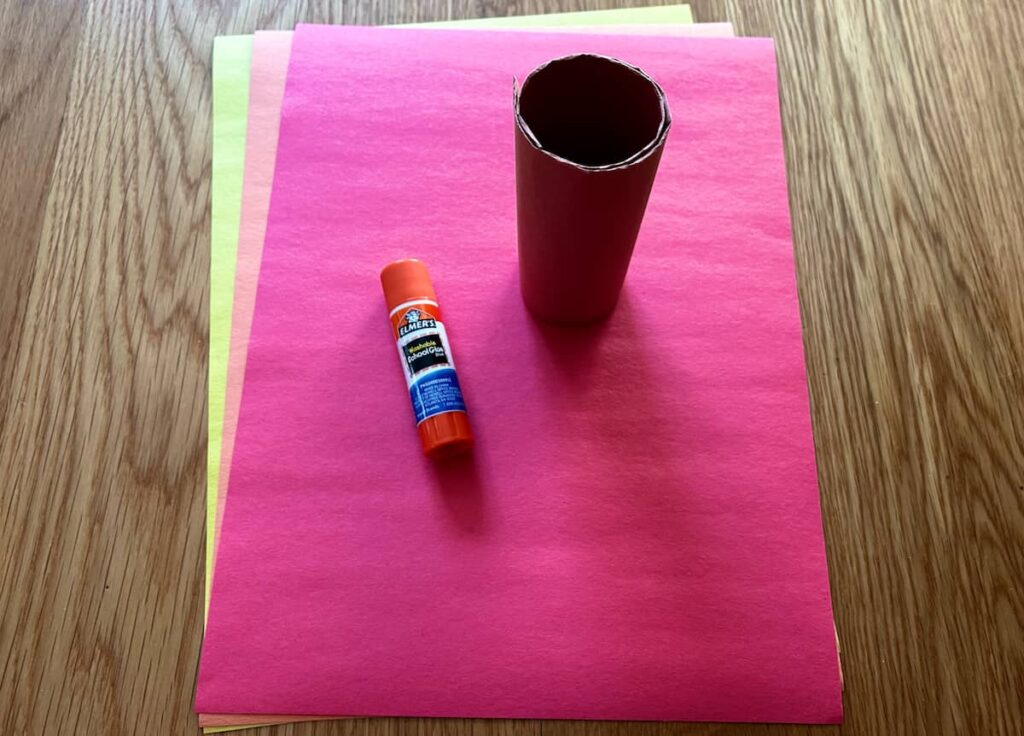
1. Create a Paper Cylinder Tree Trunk
Grab your construction paper and start looking for a brown or tan piece of paper. This will soon be your three-dimensional tree trunk! Simply fold the piece of paper vertically, or the long way, to make the paper skinnier.
After folding the paper, you can roll it to create a cylinder that looks almost like a toilet paper roll. Glue this together with a glue stick and allow it to dry. Your tree trunk is now ready for leaves!
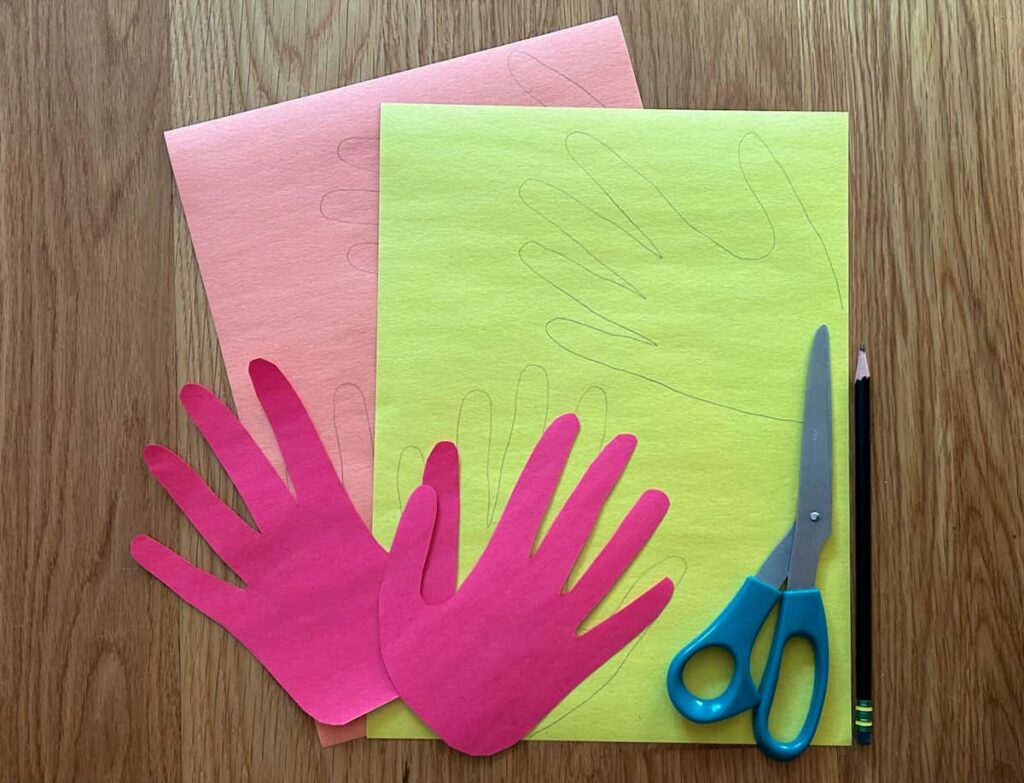
2. Trace Hands on Fall-Colored Paper and Cut Them Out
Look through your construction paper and find some fall colors. Red, orange, and yellow are typically the go-to colors. Place your hand on the paper and carefully trace around it with your pencil. You’ll want to do this twice for each leaf color you’re using for your fall tree craft. After you finish tracing, it’s time to cut the hands out!
3. Attach the Hands to Your Trunk for Leaves
By now, you should have your tree trunk and your leaves. It’s time to start gluing the leaves onto the trunk! Grab your glue stick and swipe it across the bottom portion of each hand leaf. Then, glue them around your paper tree trunk.
Let the glue dry. And just like that, your three-dimensional fall tree craft is ready to display! This makes an adorable homemade decoration, and your child will be so proud to show it off.
How to Make a Painted Fall Tree Craft
Materials
- Construction paper
- White cardstock paper
- A pencil
- Scissors or kids scissors
- Glue stick
- Round paint brushes
- Acrylic paint
- Paper plate (optional)
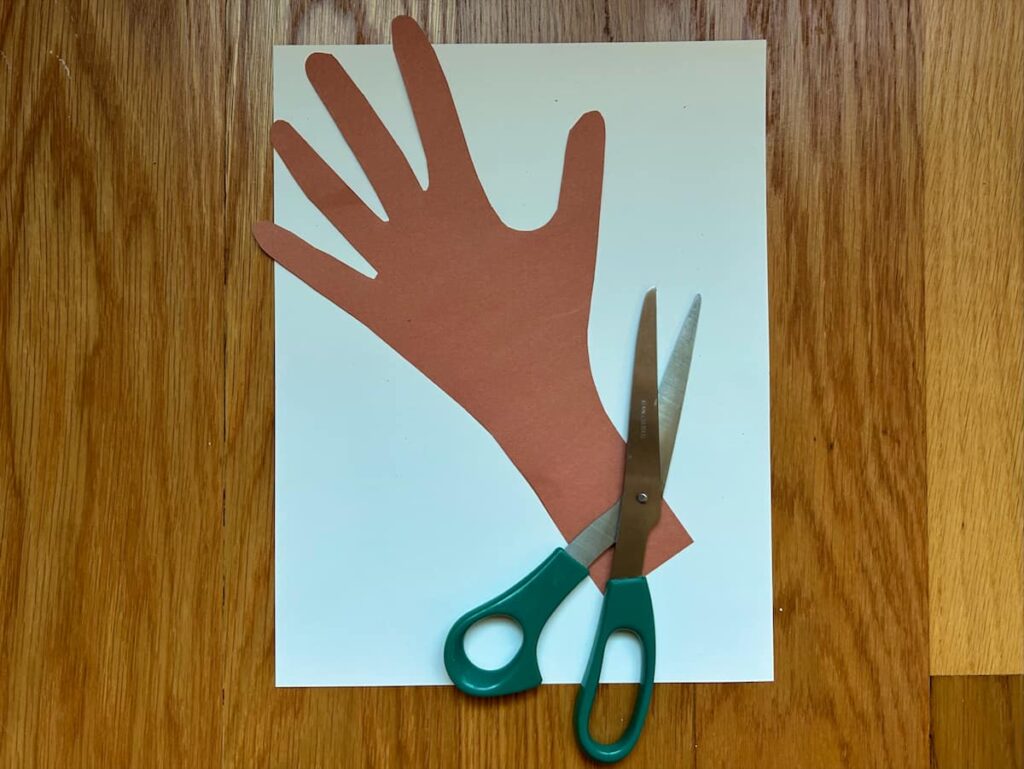
1. Trace Your Hand and Wrist on Brown Paper and Cut It Out
Painted fall tree crafts are rather easy to make, as there isn’t a lot of paper cutting. All you need to do for this step is trace your child’s hand and a few inches of their wrist. You’ll want to do this on a brown or tan piece of construction paper, as this will be their trunk. After tracing, you can cut the hand out.
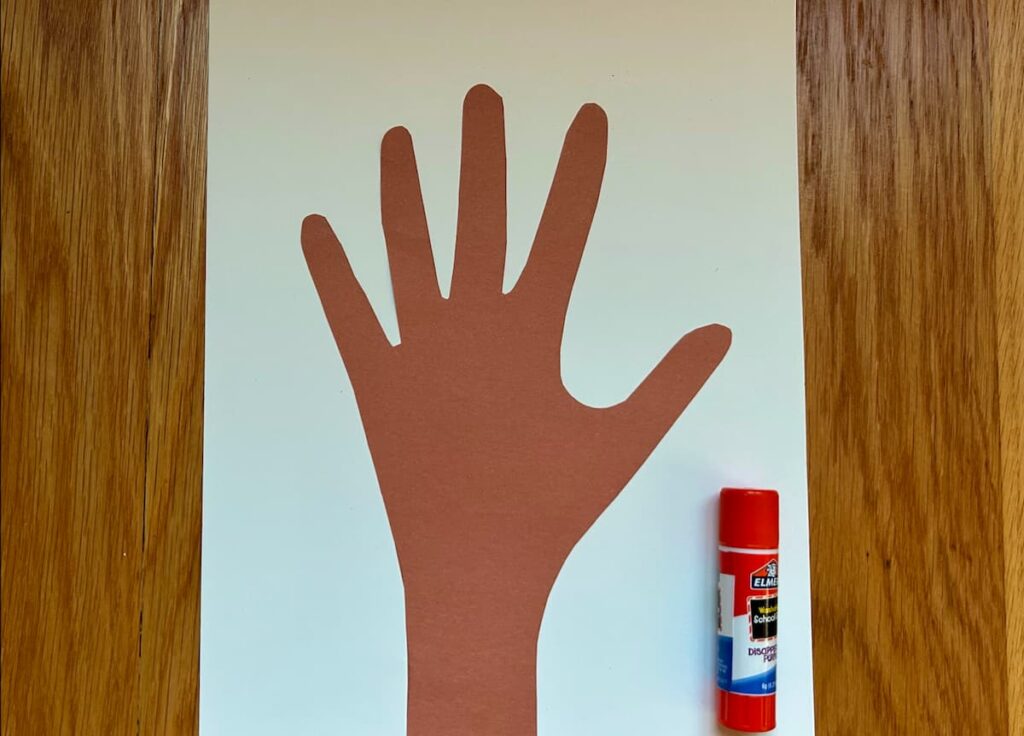
2. Attach the Hand Tree Trunk to a White Piece of Paper
It’s time to grab a piece of white cardstock and your glue stick! Have your child run the glue stick over the back of the tree trunk hand. And help them stick it to the white cardstock. You’ll want to ensure the bottom of the trunk is level with the edge of the paper. This is why you may need to help them with this part.
Press down to ensure the hand is completely glued down. And now the tree is ready for some beautiful leaves!
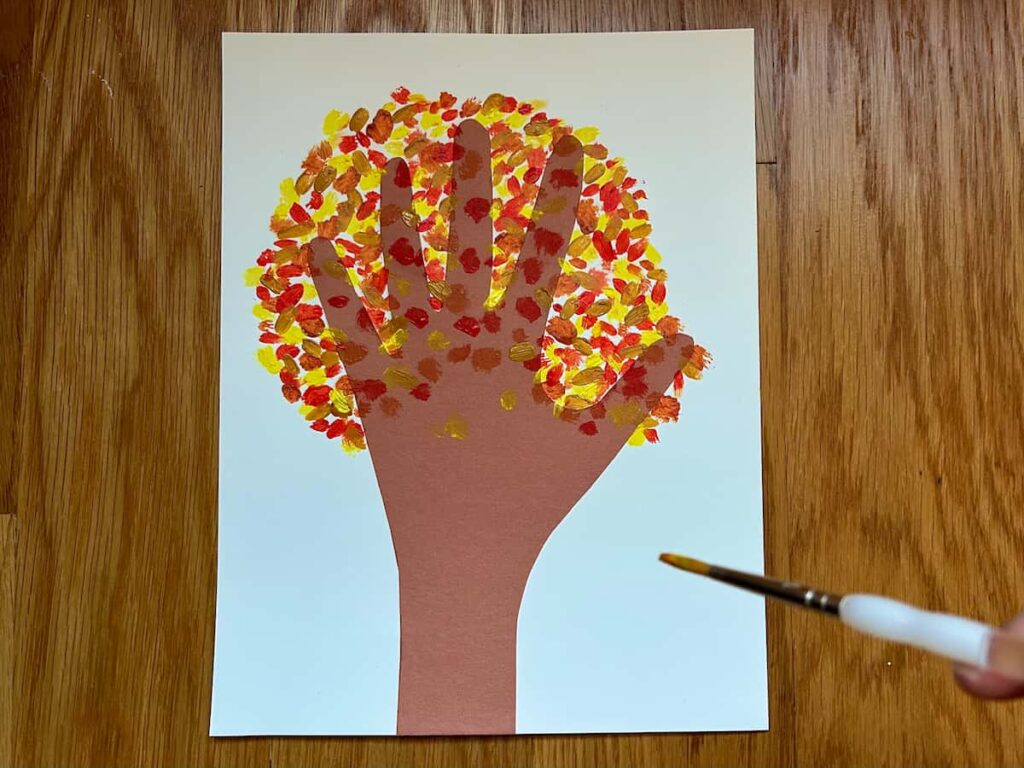
3. Paint Fall-Colored Dots for Leaves
Look through your acrylic paint set and pick out fall colors for your child. Red, orange, yellow, and even brown can make great leaf colors for a fall tree craft. You may want to squeeze out a little paint from each tube onto a paper plate or another flat surface.
Give your child some round paintbrushes and have them paint dots on their hand tree. Allow them to fill in all the branches until they have a stunning canopy of fall colors. Let the paint dry. And now you have a beautiful masterpiece made by your child that’s definitely fridge-worthy!
How to Make a Colorful Tissue Paper Fall Tree Craft
Materials
- White cardstock paper
- Colored pencils
- Tissue paper
- Liquid glue
- Flat paintbrush
- Paper plate (optional)

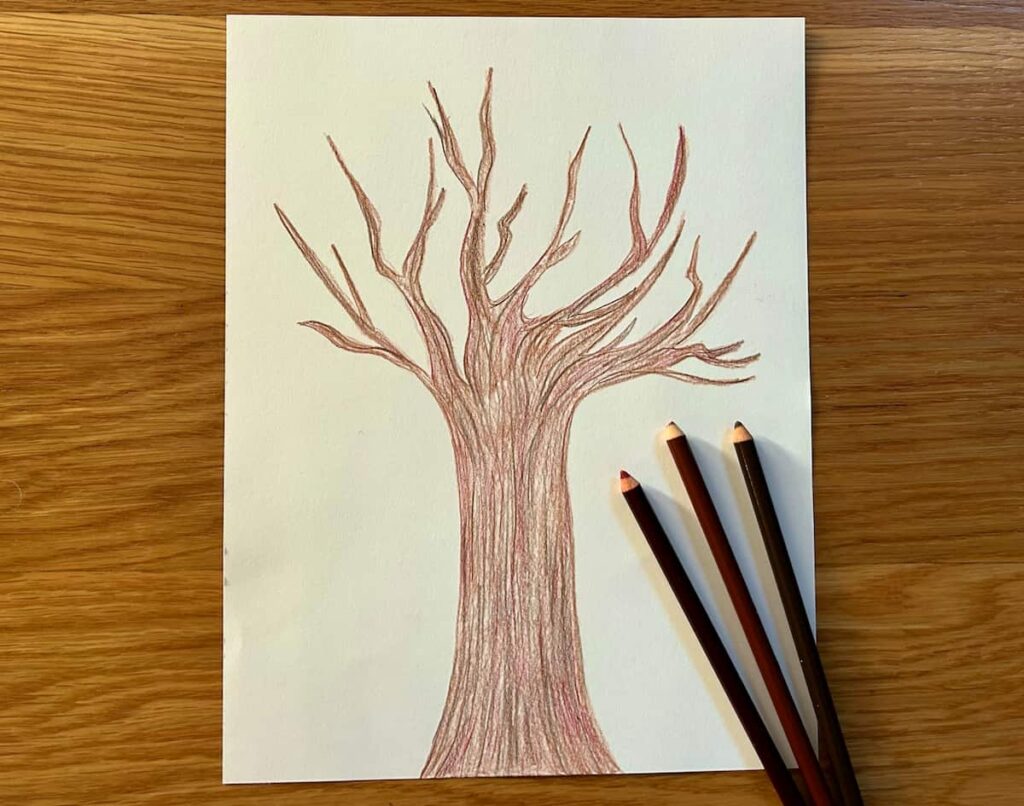
1. Draw a Tree Trunk on White Paper
For this first step, you’ll want to help your child pick out some colored pencils for a tree trunk. Find varying shades of brown, tan, and even red. When you find the perfect color palette, it’s time to get to work and draw on some white cardstock!
Have your child draw the tree trunk and branches. Or you can step in to help them out or do it for them. It doesn’t need to be a perfect or detailed tree trunk. Even a simple rectangle can suffice!
After drawing and coloring the tree trunk, it’s now time to move on to creating the leaves.
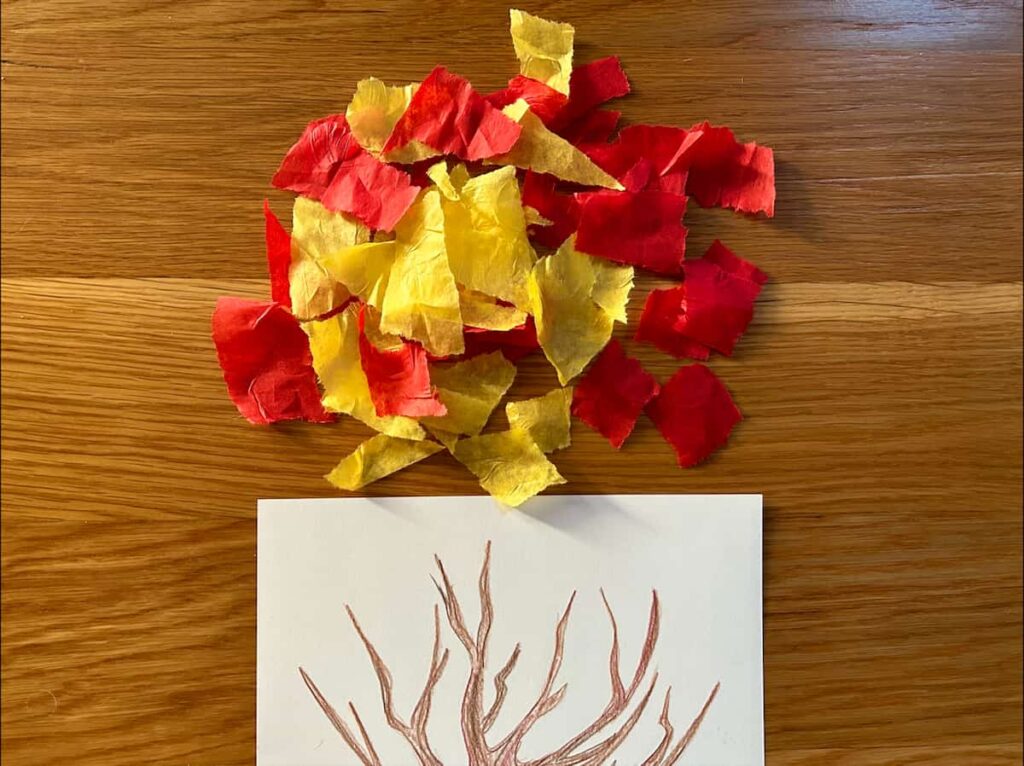
2. Rip up Some Fall-Colored Tissue Paper
Start looking through your tissue paper and pull out some fall colors.
For this fall tree craft, you’ll be shredding and ripping up these tissue paper pieces. Simply rip the tissue paper into strips and then rip those into little rough squares. Don’t cut them! You want the edges to look jagged, as leaves aren’t always perfect in real life. Make sure you have a bunch of squares for each color you picked.
Now, you can put your tissue paper pile to the side and get your glue ready!
3. Glue the Tissue Paper on the Tree Trunk
To start, you’ll want to pour some liquid glue out. A paper plate or a cup out of your cabinet will do just fine for this. Place one of the tissue paper pieces onto the tree. Then, dip the flat paintbrush into the glue and swipe it over the tissue paper. Continue to layer and paint glue over tissue paper pieces until the tree has a full canopy. Let it dry, and your child will have a vibrant tissue paper tree to display!
If you don’t have a flat brush, you can also use a filbert brush for this. The name might sound weird, but it simply comes from the shape of a hazelnut or filbert. It’s just a type of flat brush with a rounded edge.

Start Creating Some Fall Tree Crafts!
Involving the kids in fall tree crafts is an excellent way to welcome the beautiful fall season. They bring creativity and fun to your children and allow you to spend more time together. So, gather your supplies and your family, and get crafting!
Do you need more kid-friendly fall projects? Check out our post on Thanksgiving Hat Crafts for Kids for more fun and creative suggestions!

Ashley Masiello is a crafting fanatic, video editor, artist, general freelance writer, and a writer for That Sweet Tea Life. She has a bachelor’s degree in film/media and two minors in writing and art.
She loves to try out crafts, projects, and recipes in her free time. And she enjoys sharing fun and interesting artistic knowledge with others. Whether you like scrapbooking or cooking, there’s a fun learning process for everything!
Ashely can be reached at [email protected]