Beautiful quilts are all about precision. In order to piece together a detailed quilt top, each individual piece must be cut accurately. Miscalculating by even an eighth of an inch can throw off the finished dimensions of the entire quilt!
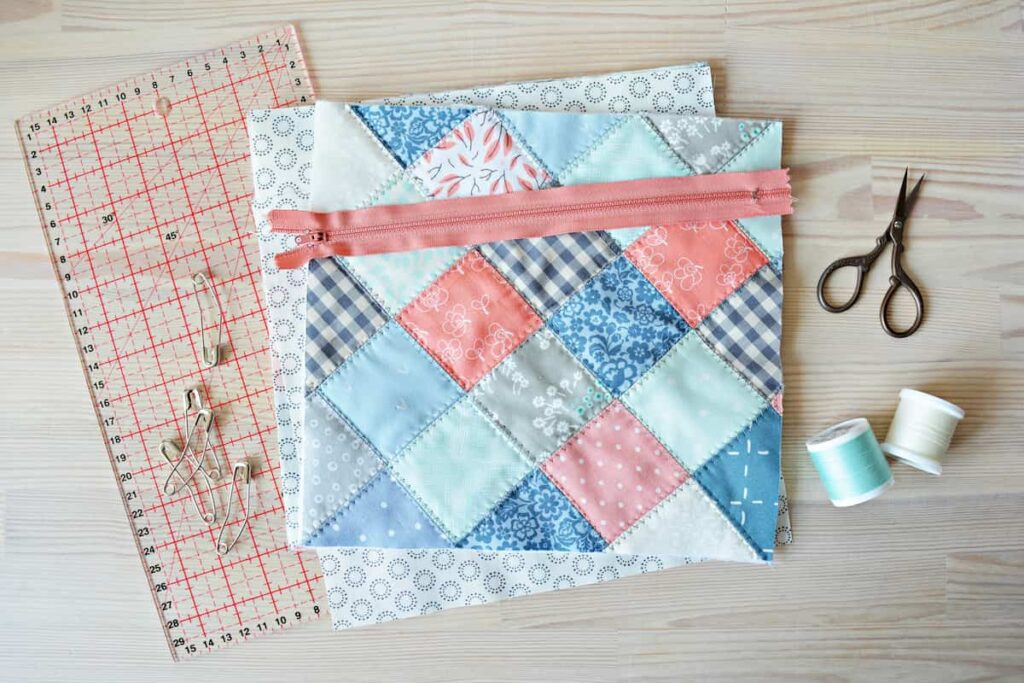
A quilting ruler is hands-down the best tool for making these precise cuts. These long, clear rulers have markings throughout the entire length and width. It’s easy to line up your fabric underneath the ruler and check for accurate measurements before you cut!
Read on for our best tips on using a quilting ruler.
4 Steps to Perfectly Precise Cuts
1. Find Your Mark
Quilting rulers are often labeled at the inch and half-inch intervals. If you need a quarter- or eighth-inch measurement, be sure to count the ticks carefully!
Double-check to be sure your measurements include seam allowance. Most quilters use a quarter-inch seam allowance, whether they are sewing by hand or machine. If you cut your pieces in two-inch squares, they’ll be only an inch and a half square after sewing them together!
Some quilt patterns help quilters out by noting the “cut” and “finished” sizes. If not, make sure you do the math yourself!
2. Line Up Your Edge
Press your fabric against a self-healing mat. Many mats also have measurements on them. This makes it easier to ensure your fabric is laying straight and flat underneath the ruler.
Next, make sure that the edge of your fabric is a clean line. If you are using remnants, you might need to square up the edge before cutting. When you line up your fabric, the entire length of the edge should match up to the desired marking.
Pro tip: sometimes, you may need to cut a strip of fabric that is longer than your quilting ruler. For example, suppose you want to cut a clean line across an entire width of standard quilter’s cotton. That should be a 42” long cut!
You can cut these long pieces 24” at a time, sliding your ruler down as you go. However, that’s going to take a long time. It’s much easier to fold your fabric in half or even in thirds. After cutting and unfolding the fabric, you should have a perfectly straight cut!!
3. Grip Your Ruler
Even quilting rulers with extra grips can slip while you’re cutting! You’ll be using some pressure when you run your rotary cutter along the edge. It’s best to use your fingertips to help brace the ruler.
To do this, hold the ruler against your fabric with your palm down and fingers spread. You’ll need to physically push the ruler down, putting more weight on your fingertips than on your palm.
For extra support, hook your pinky and ring fingers over the outside edge of the ruler. As you run a rotary cutter along the inside edge, your fingertips will hold the ruler firmly in place.
Protect your fingers while maintaining a strong grip on your quilting ruler with a double suction cup ruler grip. This tool will help you hold down the ruler without tiring your fingers.
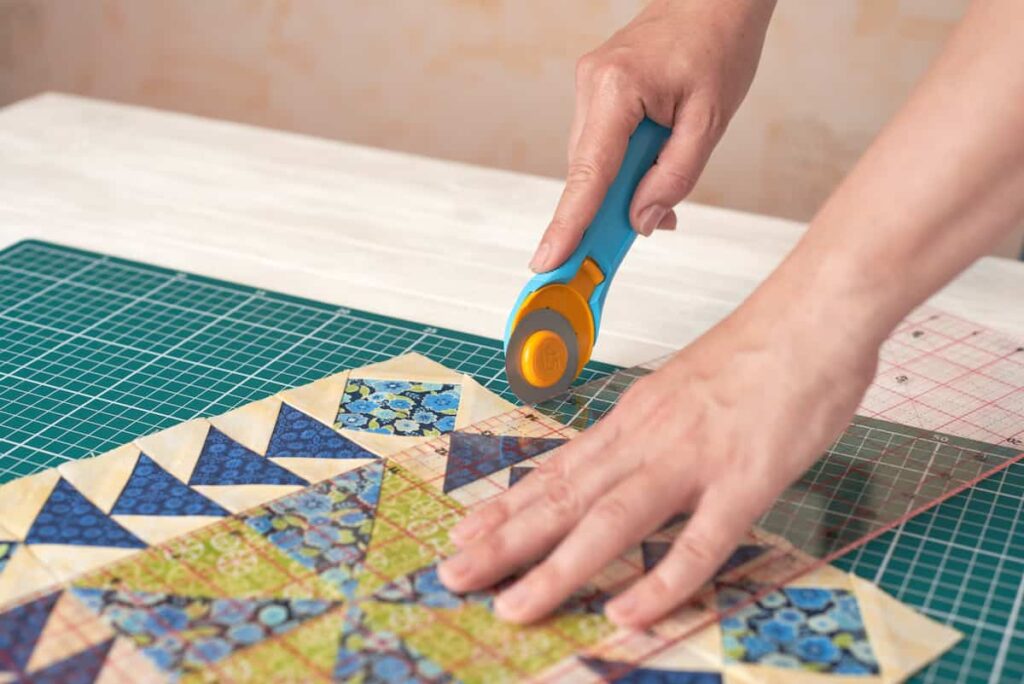
4. Make Your Cut
Finally, it’s time to start cutting! Roll your rotary cutter along the edge of the quilting ruler, always cutting away from yourself.
Ensure that the side of your blade stays flush with the edge of your ruler while you cut. As you’re pushing down on the rotary cutter, push it against the side of the ruler, too. If your blade strays from the edge, you won’t get accurate cuts.
Some rulers have a built-in guiding system. TrueCut quilting rulers are designed to work with a TrueCut rotary cutter for a no-slip cut every time. Check out more of the best rotary cutters for quilting!
If you’re using your quilting ruler for marking out your measurements, use the same technique with a sharp pencil. Angle your pencil so that the tip is right up against the ruler. You can also use tailor’s chalk for marking your fabric.
Frequently Asked Questions
What is the best size for a quilting ruler?
A 6” x 24” quilting ruler is versatile enough for almost any quilting project. It’s long enough to measure large pieces of fabric. At the same time, the six-inch width is narrow enough for smaller, more precise pieces.
A 12.5” square ruler is handy for projects with lots of squares. These rulers often include a helpful mark at a 45-degree angle, as well. That means it can do double duty by easily measuring out right triangles.
While just one ruler is versatile enough for most quilting projects, they’re handy and inexpensive enough to justify purchasing several. For example, suppose you’re going to cut yards of fabric into long strips and then each strip into small squares. Use a large quilting ruler to make your strips and then a small, 1” x 6” ruler for cutting the squares.
Do I need a quilting ruler if I don’t use rotary cutters?
Even if you prefer to cut your quilt pieces using fabric scissors, a quilting ruler is the best measuring tool. Mark off long strips easily by running a sharp pencil against the edge of the ruler.
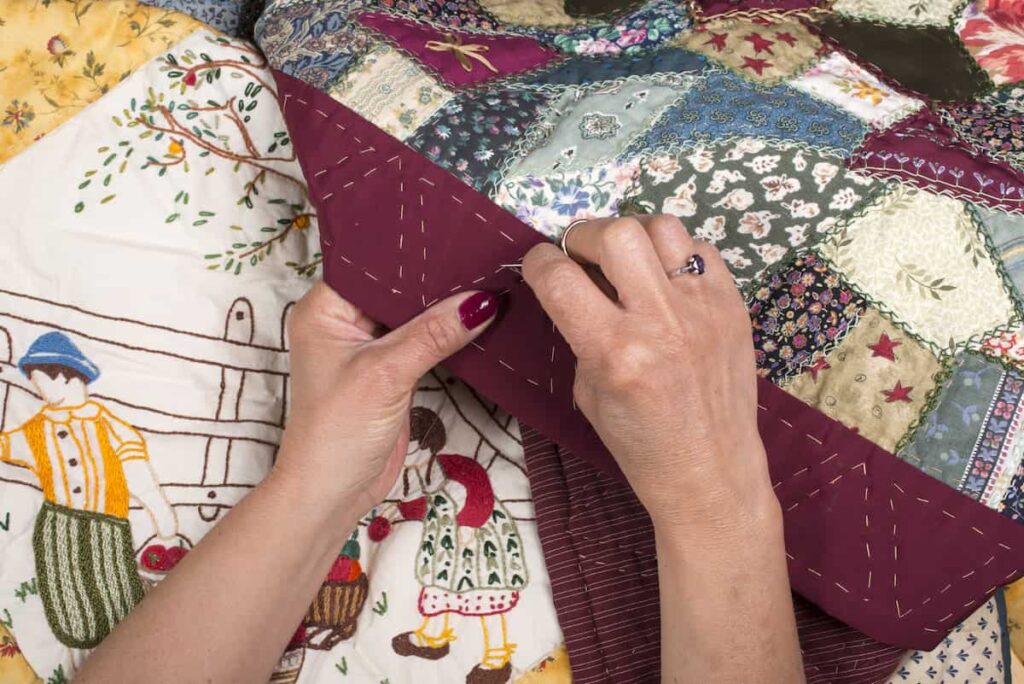
Bonus: if you’re hand-sewing the quilt top, you can mark your seam allowance at the same time! Just slide your ruler a quarter-inch in from your cutting line and mark again.
What’s the easiest way to make repeat cuts?
Some quilts use many strips or squares of the same dimensions in lots of different fabrics. Log cabin quilts, postage stamp quilts, and nine patches are all great examples.
If you know you’ll be measuring out the same dimensions many times, make your life easier by marking it on your ruler. We like using washi tape for this! Unlike masking tape, washi tape can be removed or repositioned easily without leaving residue.
Working With a Quilting Ruler
Using a quilting ruler is the easiest way to get accurate cuts every time. These handy tools are indispensable for new and experienced quilters alike! While just one large ruler is versatile enough for most projects, consider purchasing several in a variety of sizes.
If you’re just getting started as a quilter, be sure to check out our guide to choosing quilting supplies for beginners!

As a novelist, special educator, and freelance writer, Ellen enjoys unwinding with a variety of crafts. Whether it’s a quick sewing project or a long-term dollhouse remodel, Ellen loves to be creative whenever she has down time.
Ellen holds a bachelor’s degree in creative writing and psychology and a master’s in early childhood education. She enjoys learning new things, which is why she dabbles in many types of needlework and yarn crafts. With so many new techniques to try, Ellen rarely makes the same thing twice!
Originally from Virginia, Ellen can often be found with a glass of homemade sweet tea while she ponders her next project.
Ellen can be reached at [email protected]