Painting furniture makes it more personal and beautiful. However, your job isn’t done once the paint is dry! Protecting your work is a great investment in your furniture’s attractiveness and longevity. How should you go about it, though?
Luckily, we have the answer to that question. Let us help you learn how to protect painted furniture!
Materials You Need
Sealant or Wax
The most common options for protecting painted furniture are furniture wax and polycrilic sealant. The former is a natural product typically derived from trees, and it tends to make furniture look glossier and richer than sealant. However, if you’re more worried about durability, you may opt for a polycrilic sealant; it’s a synthetic material engineered to last.
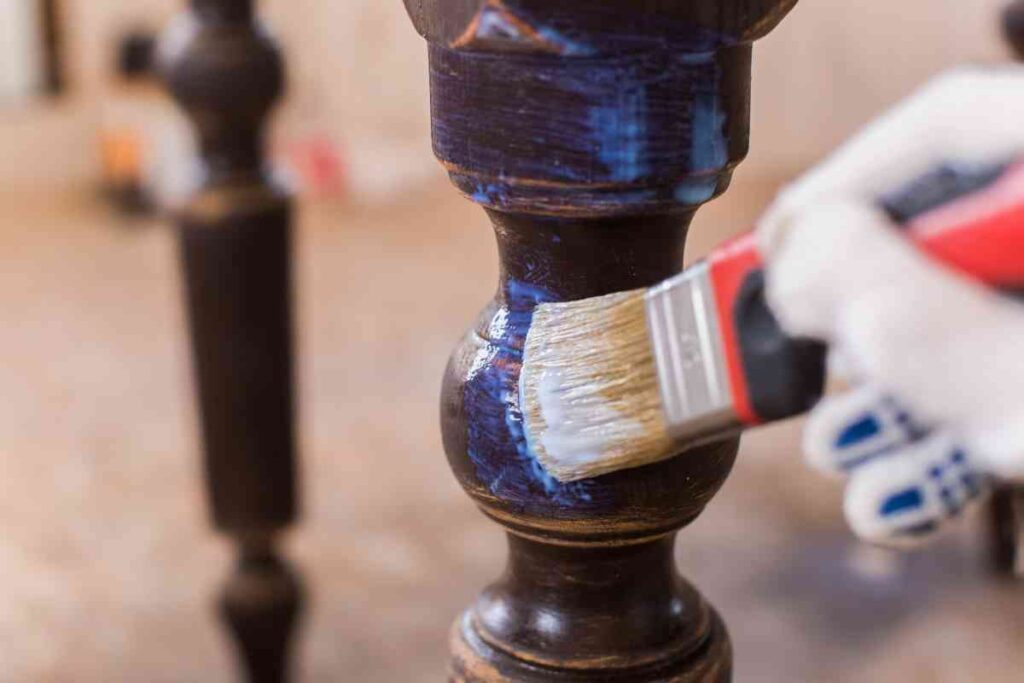
Paintbrushes, Rollers, or a Sprayer
To efficiently apply your sealant or wax, you’ll need a tool like a paintbrush, roller, or sprayer. You may like to have all three.
Furniture paintbrushes help reach small nooks and crannies in your furniture. Just look for soft bristles made from animal hair or synthetic fibers; they allow for the smoothest strokes.
Paint rollers and paint sprayers are helpful in covering large areas quickly and easily. One advantage of the roller is its ability to even out any lumps, splatters, or runs that the sprayer may leave behind. It’s a matter of preference, but some people prefer a smooth chalk paint finish and some prefer to see the brush strokes.
Tarp, Plastic Sheets, or Towels
One of the first and most important lessons in learning how to protect painted furniture is that there it’s always messy. Your flooring, in particular, could become stained or otherwise damaged. Before starting your project, order a tarp, plastic sheets, and/or towels to act as a buffer between the furniture and the floor.
Step-by-Step Instructions
Once you have everything you need, it’s time to get to work. Of course, if you don’t know how to protect painted furniture, you may benefit from having the process broken down into steps. That’s exactly what we’ve done here!
Set Up the Work Area
Even if you have a steady hand, there’s a good chance some sealant or wax will get on the floor. Lay something on your work area to prevent the sealant from damaging your flooring. That’s where your towel, tarp, or plastic sheet could come in handy.
Keep Everyone out
Interruptions could startle you, and kids and pets might be curious enough to touch the sealant, wax, and other tools. Either way, you’d find yourself with a mess at best and a sick or injured friend or family member at worst.
If you’re protecting your furniture in a separate room, close and lock the door. Otherwise, block access to your work area by surrounding it with a baby gate, tipped couch, or similar items.
Check the Temperature
If the air is too cold, most sealants and waxes will take a long time to dry, and they become less adherent than they’re meant to be. However, too much heat in the air forces sealant and wax to dry too quickly and cure poorly. Either way, the finish is weak and ineffective at protecting painted furniture.

Before you begin your project, ensure the room’s temperature is about 70°F. That’s the sweet spot for sealant and wax; it’s neither too hot nor too cold.
Take the Furniture Apart
All furniture comes with nooks and crannies that are difficult to reach while the pieces are still together. Using a screwdriver or any other tool you might need, separate all the pieces as much as possible. That way, you’ll have no trouble finishing every inch of the furniture.
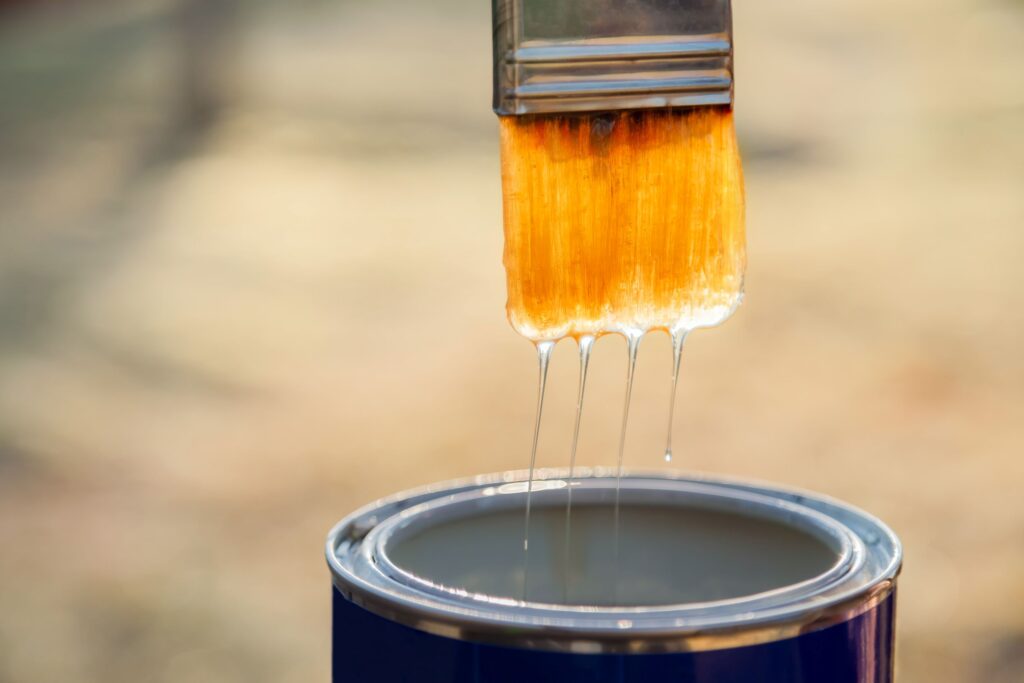
Apply the Sealant or Wax
Now that your wax or sealant is ready, you can begin applying it to the furniture. For a quick and smooth job, the paint sprayer or roller would be most effective. However, a paintbrush would be perfectly fine as well. You may even control the mess better that way.
If you choose sealant, prepare to use it by stirring, not shaking. Otherwise, you may create air bubbles, which are ineffective at protecting painted furniture.
Air Dry
Sealants and wax cure best when they’re allowed to air dry. The sealant you chose should have a label telling you how long the drying stage takes. As a general rule, though, plan to keep the furniture untouched for up to 24 hours.
Add More Coats
Once the first coat is done, repeat the whole process at least one more time. This makes the protection stronger and more durable.
In fact, most sealants and waxes do best with three to four coats altogether.
Why Should You Protect Painted Furniture?
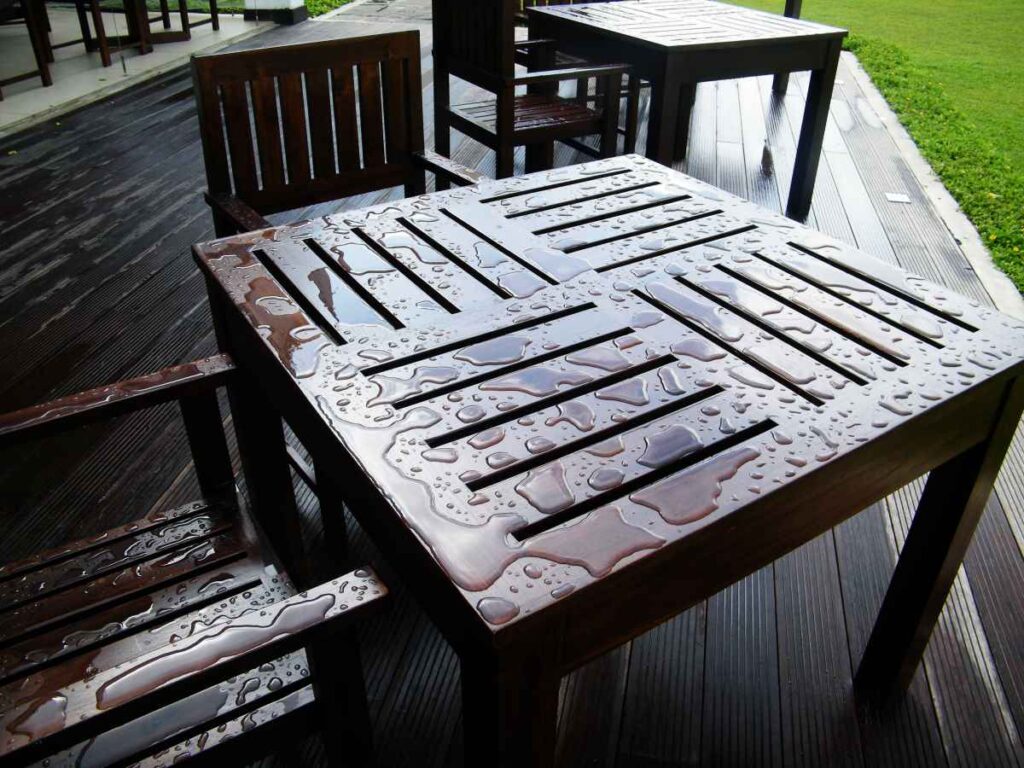
When the paint is freshly dried, you might easily imagine it staying that way for years to come. Unfortunately, due to water damage, exposure to sunlight, frequent usage, and the mere passage of time, paint becomes faded, discolored, and chipped.
This is especially true for outdoor furniture, which is constantly exposed to animals and the elements.
Nothing lasts forever, you can prolong the lifespan of your furniture and its paint job. In fact, there are several advantages to knowing how to protect painted furniture!
Maintains Home Environment
Pleasant aesthetics make a big difference in whether you feel comfortable and happy in your home. A neat paint job conveys a sense of organization and looks beautiful, which improves your mood, concentration, and clarity of mind.
Never underestimate the importance of protecting furniture paint purely for your own mental and emotional health.
Natural sunlight is lovely, but it can cause paint and wood to fade or become discolored, which compromises their aesthetic benefits. Knowing about protecting painted furniture can prevent such changes.
Supports Self-Expression
The way you choose to paint your furniture is often a demonstration of your tastes, values, or personality. It’s one of the many ways you can express yourself.

By learning how to protect painted furniture, you’ll ensure your voice is clearly heard for many years.
Makes Furniture Usable
Hardly anyone keeps furniture merely for decoration. It’s meant to be used for relaxing, enjoying hobbies, socializing with other people, etc. To fulfill its purpose, furniture must be strong, whole, and reliable.
Dry air and warm sunlight could dehydrate wood furniture, leading to splits, flakes, and cracks. Excess water and humidity cause wood rot, so the furniture may become too soft to hold anyone, and the mold would be a health risk.
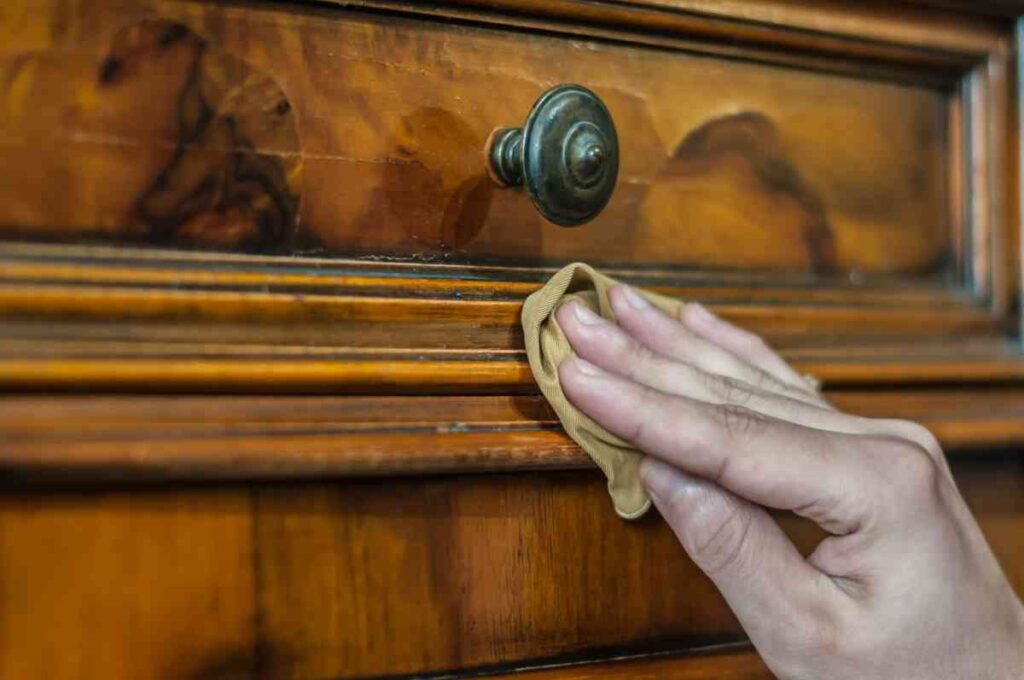
Ductwork, shoes, clothes, and animal paws can all track pollutants into your home, which then circulate the air and induce premature degradation in wood.
Issues like these make furniture unsafe and uncomfortable, so you would have to cover the costs of fixing or replacing it. Paint can only do so much to prevent these problems by itself.
The more you know about how to protect painted furniture, the longer it will last, so you can save money.
Creates a Legacy
Furniture is a common heirloom. Perhaps you’d like to pass your painted furniture to a beloved friend or family member someday.
To keep your most sentimental or valuable items in good condition for years to come, you must know how to protect painted furniture.
Helps the Environment
When furniture is no longer salvageable, you probably throw it away or take it to the dump. Landfills are still piling up faster than they can be resolved, so whenever you can avoid adding to one, it’s important to do so.
Protecting painted furniture is one way that you can be a responsible citizen and do your part to create a healthier environment for everyone.
Tips for Best Results
Even with all these instructions, there’s more to learn about how to protect painted furniture. As you go through each step, remember a few helpful tips for guaranteeing the best results possible!
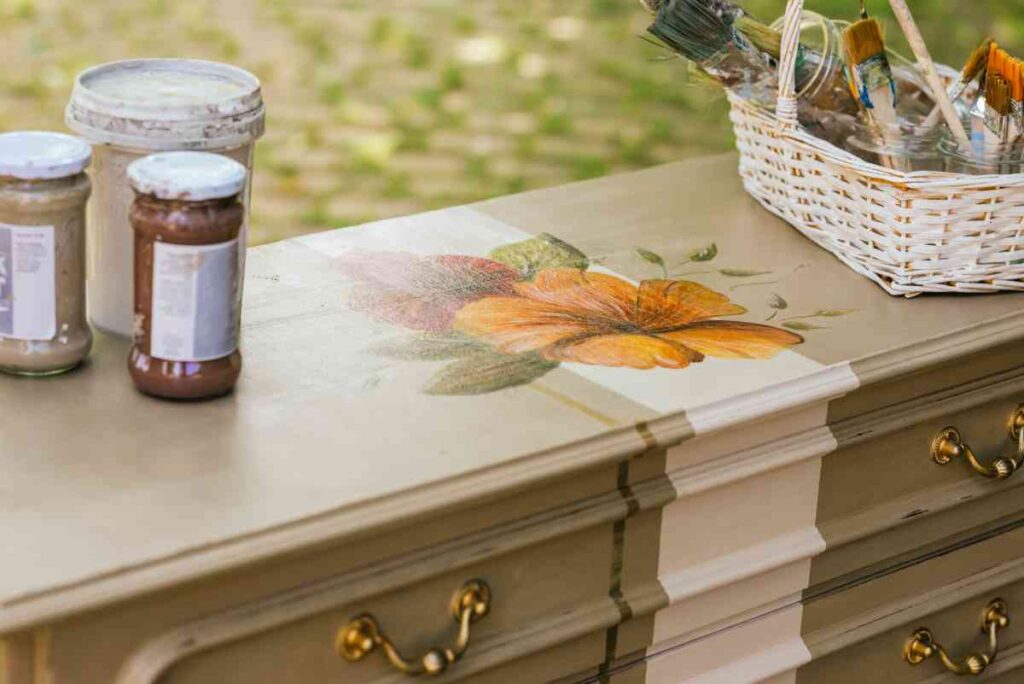
Consider Colors
Both sealants and waxes can change the color of your furniture either subtly or drastically. For example, though sealants are generally clear, polycrylic varieties may leave a milky residue, while polyurethane might cause the paint to turn yellow. Even the transparent sealants are likely to darken the wood at least a little.
Wax is frequently available in clear textures as well. However, you could also find it in light or dark colors in case you want to give your furniture some extra visual depth, richness, or flair.
As a general rule, wax looks best applied to paint colors that closely match its own hue. To get the shade you want, consider making your own wax with beeswax and raw umber.
Watch Your Strokes
You probably don’t want your wax or sealant to look uneven, don’t just make random strokes with your paintbrush. Get enough wax or sealant on the brush to let you make long strokes going steadily in one direction.
Wax may spread well with circular motions, too. Either way, try not to brush over any areas that are already dry unless you’re applying a new coat.
Reapply Regularly
Even the strongest sealants and waxes wear down over time, so one of the most important lessons in learning how to protect painted furniture is that your job is never quite done.
Indoor furniture can last about two years before it needs a new coat of sealant. Outdoor furniture should receive a new coat every six months or so.
As a natural product, the wax tends not to last as long as a sealant. Plan to reapply it every six to twelve months for indoor furniture and every three to six months for outdoor furniture.
Wrapping Up How to Protect Painted Furniture
Knowing how to protect painted furniture helps you hone new skills and enjoy your home in a responsible and resourceful way. There’s no doubt that you’ll feel happy and accomplished after completing a project like this, and you’ll see the benefits for years to come!
Of course, there’s more to master in the art of painting and protecting furniture. We’d love to help you further. Come check out our website’s section on painting furniture to get more details!

With a bachelor’s degree in history and several years of professional writing experience, Ashley Morales believes there’s a story in everything. It’s her passion to tell each one that she can.
For Ashley, the home is a sanctuary. It’s where she works, rests, and spends time with her family. She believes that everybody should feel the same about their own homes, which is why she loves contributing to That Sweet Tea Life!
Elizabeth
Thursday 13th of February 2020
This was a very great article as I refinish furniture and kitchen cabinets on a daily.. this is always the big question!! And even after painting all these years I still think 🤔 there has to be a better paint out there everything you mentioned is so true
Thea Osborne
Thursday 13th of February 2020
Thank you so much Elizabeth! I feel like we can always stand to learn little something,.. so I will always venture out to do just that!