You love your old furniture, but sticking wooden drawers can be a real hassle. If you are wondering how to make wood drawers slide easier, you have come to the right place. I bet you’re wondering, why don’t those drawers just slide like they used to? They clearly weren’t built to stick like that.

Actually, you’re right, they weren’t. But unlike other materials such as metal, wooden drawers can warp and change over time as they’re moved or otherwise exposed to the elements. Changes in the humidity in the environment can affect them as well as general heat (which causes expansion) and cold (which causes contraction or shrinking). As a result, many older wooden drawers are nearly impossible to open and may even have to be broken to get into them.
So, what — it’s just how things are now and your wood drawers will never slide right again? Not quite.
Luckily the usual fix for this sort of thing is generally pretty simple. Unless the drawer has been significantly warped or otherwise broken, you should be able to fix the issues in just a few minutes with supplies you can find in most hardware stores, or maybe even in your pantry! The trick is in creating a slick barrier between the wood of the drawer and the wood of the chest, reducing friction and making the drawer slider easier when pulled or pushed.
Here are a few ways I know to make wood drawers slide easier.
How to Make Wood Drawers Slide Easier:
Soap
Believe it or not, the answer might be as simple as that bar of soap that’s been sitting in your guest bathroom. This is usually option one for me just because so many people have at least one unused bar of soap in their house. This is a great solution since it’s pretty likely you already have it.
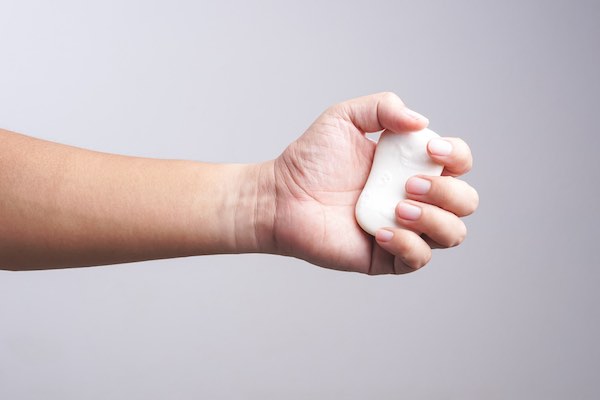
Just rub a bar of soap over the edges of the drawer and over any surface that touches the chest. Be sure to apply it as evenly as possible and avoid getting it too thick , as the drawer won’t close correctly if there’s too much of a layer between the side of the drawer and the side of the chest.
Ideally, use unscented soap for this, as that will keep it from attracting insects. If you don’t have an unscented bar of soap, just make sure you’re using a scent that you don’t mind smelling day in and day out, especially if you use the drawer in question a lot. If it’s safe to, meaning if you don’t have any kids or pets who may be negatively effected by the spray, you might also hit the area around the drawer or even the entire chest with a repellant.
Paraffin Wax
If you’re up for a trip to the store, you can always pick up a block of paraffin wax. Paraffin wax can also be ordered online. It’s used in a wide range of products and should be available at most local stores. To use paraffin wax to fix a sticking drawer, just pull the drawer completely out of the chest and rub down the sides, edges, and anywhere that the wood of the drawer touches the wood of the chest.
This is probably a good time to mention that if the drawer is completely stuck and taking it completely out is a no-go, then you can apply the wax in stages. Coat the parts of the drawer you can get to, then repeatedly close and open the drawer as much as you’re able to. The sliding motion will help push the wax into areas you couldn’t get to previously, eventually freeing the entire drawer.
Paraffin wax is a great thing to have on hand for a long list of projects, honestly, so if you’re thinking about doing more DIY furniture fixes, it’s not a bad idea to have some on hand.
Candles
If you’re looking to use things you already own to help make wood drawers slide easier, track down a white candle (either a stick candle or a tealight candle will work well) and apply the wax from it to the sides, corners, and anywhere else that the drawer touches the chest. Like with soap and paraffin wax, the candle wax will act as a slick barrier between the drawer and the chest, helping make wood drawers slide easier when pushed or pulled.
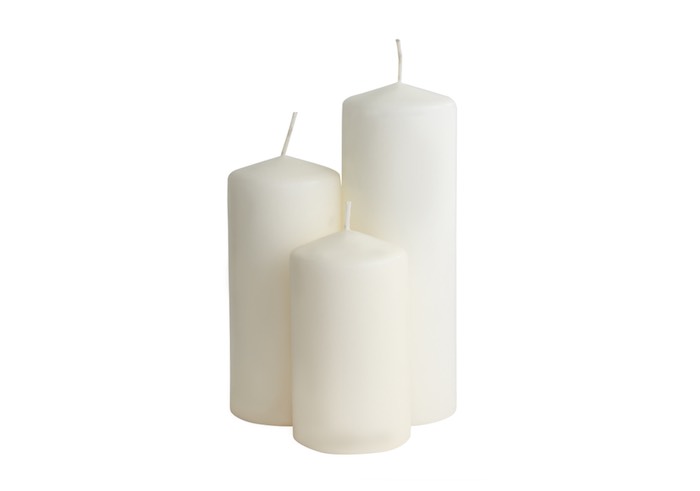
It’s best to use a white candle for this if possible, since it won’t leave any visible staining on the wood as it’s used. If you’re not concerned about that, then of course you can use any color candle you happen to have around. (Also, if you took them from one of your emergency kits, remember to replace them as soon as you can, so you have them in case of a prolonged power outage.)
Candles are a great source of wax for a long list of projects, in addition to being essential for emergency kits, so I make it a point to have several around the house. While it’s not always a great solution depending on what your specific project is, it usually works well in a pinch or until I can track down the sort of wax I actually needed.
Wax Paper
As the name implies, wax paper is coated in a thin layer of paraffin wax. If none of the other options listed here are something you want to do or have the ability to undertake, then wax paper is your next best bet. Rubbing the paper across the corners and sides of the drawer will leave some of the paraffin coating on the wood.
Be warned though: you’re in it for the long haul if you decide to just use the wax paper in your kitchen. It will take several coats to get the right amount of wax to stay on the drawer. I honestly wouldn’t recommend this way of tackling things unless you really don’t have any other options, just because it’s so time-consuming and labor-intensive.
Generally speaking, I opt for the simplest and easiest solution that will still get the job done right. I won’t tell you not to use wax paper, since it is technically a solution to the problem — just know that there are probably better solutions to make wood drawers slide easier out there for the work it requires.
Sandpaper
In some cases, the wood will be too bloated or warped to fit in the chest correctly anymore. If this is the case, to make wood drawers slide easier, sanding the drawer down is your best option for getting it to fit correctly again. Sanding will reduce the size of the drawer, making it easier for it to fit on its tracks again, and can even be used to correct minor warping if done carefully.
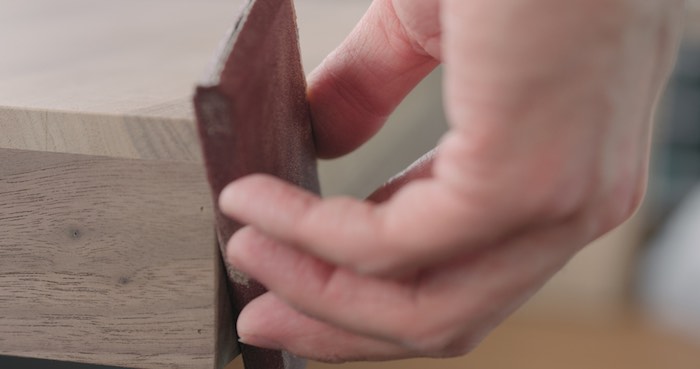
While this is a slightly more labor-intensive solution to the problem, it’s also a more permanent solution to it (more on that in a minute). If you find yourself facing a bloated or slightly warped wooden drawer, pick up some good fine or medium-grit sandpaper and start shaving off the excess wood. Remember that you can always remove more later if the fit isn’t quite right.
Once you’ve got the drawer sanded down to the proper size, apply a coat of wax or another kind of wood coating to help stop future expansion and contraction and give the drawer a low-friction slide.
And that’s how to make wood drawers slide easier!
Important Notes
Do keep in mind though that most of these fixes are temporary. Wood can be finicky to work with and maintain, and the wax (or soap) coating you’ve applied to the drawers won’t last forever, especially if these are drawers which see a lot of use day-to-day.
For best results, I’d suggest reapplying the wax coating every few months to make sure you don’t start to have issues with sticking again. While it’s not the most convenient thing in the world to have to keep redoing, it’s a simple enough thing to wrap into a cleaning and general maintenance schedule for your house.
Are You Ready to Make Wood Drawers Slide Easier?
I hope this has taken some of the stress out of the idea of fixing your sticking wood drawers. Like most DIY projects, it just takes the right knowhow and a willingness to jump in there and get your hands dirty.
In the end, while they’re certainly annoying, sticking wood drawers are a simple, common-enough problem with some pretty simple solutions, most of which can probably be fond around the house today.
If you’re looking for more projects to tackle, I have an entire category dedicated to DIY projects right here. If you are looking to redo furniture, then check out this section here. Head on over and see if anything catches your interest!
Let Us Know How it Goes!
Which of these solutions sounds like one you would try to make wood drawers slide easier? Are there any other common ones that I missed? Share them in the comments, so we can all build up our ‘creative solutions’ toolkit. And of course, if you have any questions or want to tell us how it went, you’re welcome to in the comments section as well.

I’ve been a professional painter for the last 20 years. That Sweet Tea Life is a place where I get to slow down and visit the craftier side of painting.
I’ll share with you everything I’ve learned painting hundreds of pieces of furniture and sets of kitchen cabinets.