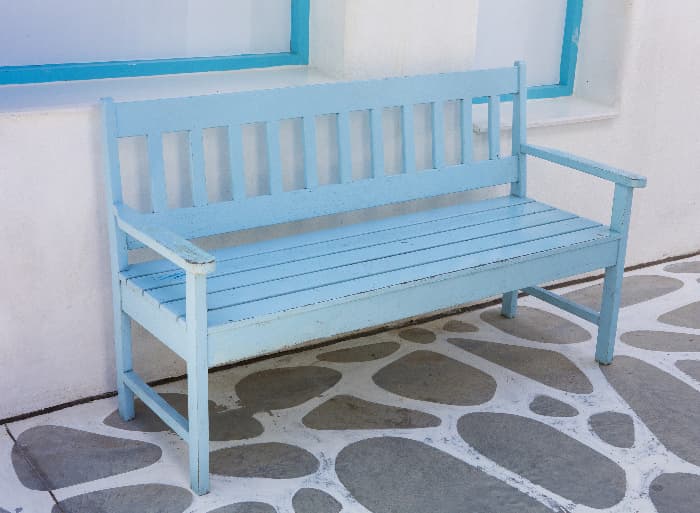
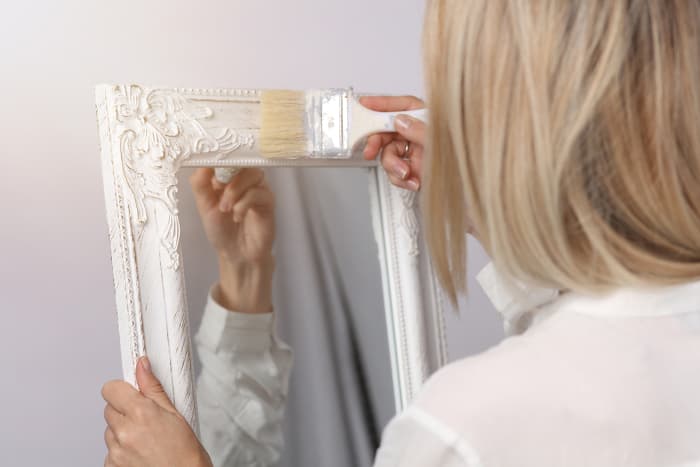
We all have some furniture at home that we know needs a makeover. Going to a furniture restorer might not be in the budget. As a DIYer, why not do it yourself? There are lots of clever ways to give furniture pieces a new look and new life in your home. One popular method is chalk painting.
If you’re a first-time chalk painters, this is the guide for you. In this post, we’ll explore all you need to know for how to chalk paint furniture.
What Is Chalk Paint?
You may have heard the term “chalk paint” mentioned, or even liked some chalk-painted furniture pieces you have seen. But you may not know what, exactly, chalk paint is.
Chalk Paint is an actual brand of paint that was invented over 26 years ago by Annie Sloan, a fine artist who then became a decorative paint expert. The paint she developed with a Belgian company was a huge success because of its unique look and how easy it was to use. It didn’t take long for other paint manufacturers to come up with their own versions of chalk-style paint. Today, there are many brands on the market for DIYers to choose from.
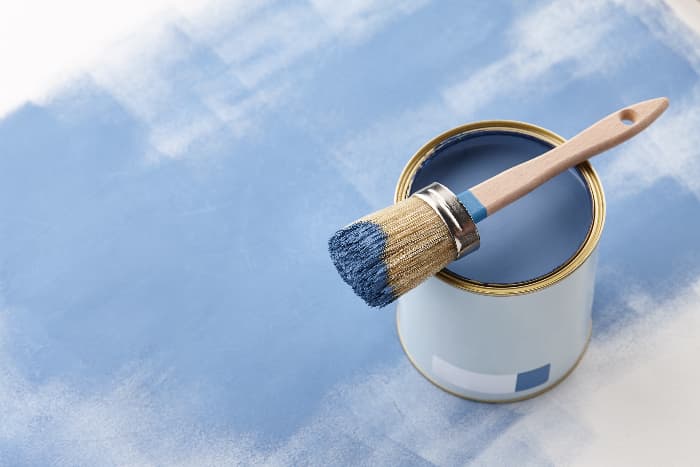
Most chalk paint is water-based — for project cleanup, this means brushes can be cleaned with soap and water, instead of mineral spirits. The consistency is thicker than regular paint which means 1) less drips and 2) a little bit of chalk paint goes a long way (two more things for DIYers to love). Being water-based also means that chalk paints tend to be very low VOC (volatile organic compounds).
Chalk paints contain aggregates, which are ingredients that give the paint the “gritty” texture it’s known for. Calcium carbonate, plaster of Paris, diatomaceous earth, actual chalk, or similar finely ground substances can be found in different chalk paints. Aggregates in chalk paint act as binders that allows the paint to stick to surfaces. They also give the dried paint finish a powdery texture.
Finally, different pigments give the paint specific shades of color. And that, in a nutshell, sums up what chalk paint is.
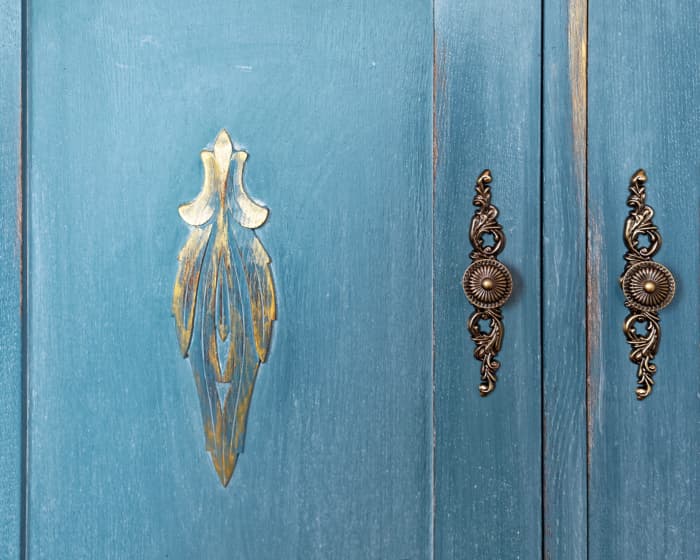
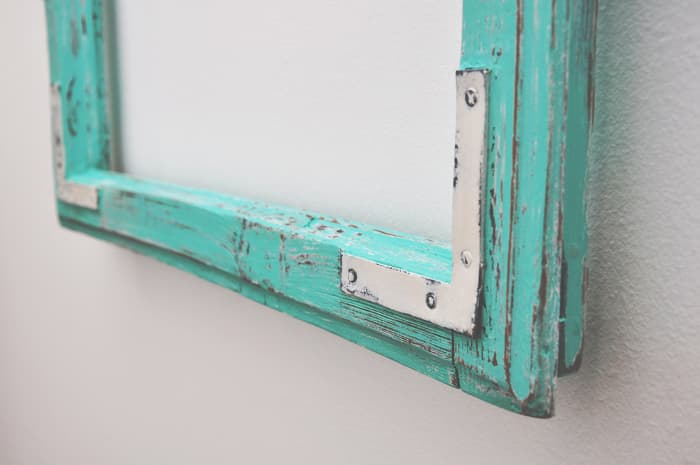
Chalk painting is a painting method that leaves surfaces with a soft, “chalky” appearance. It lends a vintage charm to furniture by creating the look of a well-worn, aged piece. Chalk paint adheres very well to many surfaces and dries to a velvety, matte finish. Chalk paint should be sealed with either wax or poly sealants to guard against dirt, fingerprints and the paint chipping due to use. But some prefer to leave chalk painted projects unsealed for the full effect of the chalky finish.
Chalk paint is not used just for furniture. You can use chalk paint for all sorts of home makeover projects. It sticks to a wide range of materials, such as cement, metal, wood, plastic, or brick.
You can combine chalk paint with waxes and finishes to create finished looks that run the gamut from rustic to bohemian to modern. Whichever decorating style you prefer, chalk paint is up to the task.
The Benefits of Chalk Paint vs Latex Paint
Latex paint, while also water-based, is manufactured from acrylic resins. It’s useful for large paint projects such as walls, ceilings, floors, or exterior painting for houses, sheds, gazebos, etc.
For smaller projects, chalk paint has a few advantages over regular latex paint:
- Chalk paint does not require much prep work. A typical paint process begins with the daunting job of preparing surfaces by stripping/sanding/priming (sometimes all three) before painting begins. With chalk paint, there’s no prep work needed besides cleaning the surface you’ll be painting (standard procedure for any paint project).
- Chalk paint dries quickly. It dries to the touch in as little as 15-20 minutes and a second coat can be applied the same day as the first coat.
- Chalk paint is thick and, as mentioned before, a little goes a LONG way. This means you need less paint to cover the surface. Most projects will need just two coats of paint (latex paint projects need 2 or more coats to avoid bleedthrough).
- Chalk paint has low volatile organic compounds since it is primarily water-based. Some paint brands barely have any odor. You can clean spills and drops can easily by wiping, which can save you the work of scrubbing using thinners.
- Unlike temperature-dependent latex paint, minerals in chalk paint such as lime and clay make chalk paint an excellent option for areas with hotter or colder temperatures. Chalk paint has adequate pore space that allows the paint or surface to expand and contract without peeling or flaking when exposed to fluctuating temperatures and humidity levels.
Click here to read more reasons why you should use chalk paint over regular paint.
The Drawbacks of Chalk Paint
As good as chalk paint is, it has a few drawbacks and it’s helpful to know what to expect if you decide to paint your furniture using chalk paint. You can weigh these drawbacks against the advantages. Still, we’d advise you to consider chalk paint as an option for painting furniture.
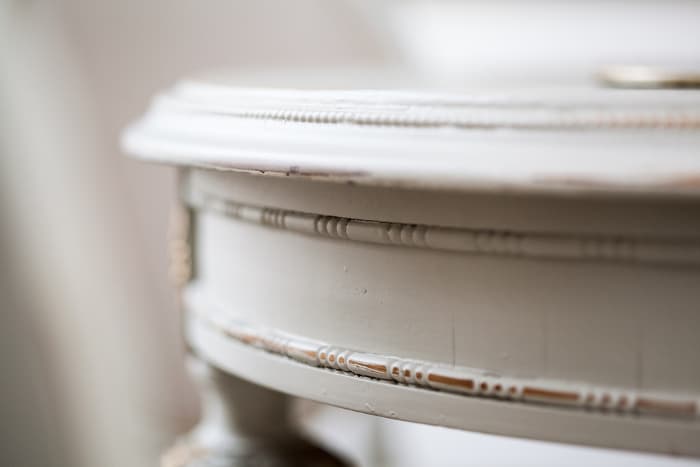
- Since chalk paint is thick, it leaves brush marks on the surface, and a completely smooth surface may be hard to get for the finished look. It also means that decorative elements you paint may lose some of their fine detail because the layers of paint cover them up.
- It requires know-how to mix different paint shades to get an exact color you want. Brands such as Annie Sloan do not offer the option of custom colors.
- Brown tannin stains in certain types of wood can be a challenge to cover when chalk paint is used over a sanded area and not sealed. Tannin bleedthough is especially troublesome with lighter paint shades. This means that you’ll need to use more coats of your chalk paint, or have to apply a primer before you begin painting.
- It’s easy for beginners to apply a coat of chalk paint unevenly on a project and it takes some time and practice to get used to how the paint spreads on surfaces.
- If chalk painted items receive heavy use, the paint can peel, chip, and flake off.
- Sealing with wax or poly sealants adds labor and time to your project. Skipping a sealant puts the chalk paint at risk of dirt and unsealed chalk paint is extremely hard to clean.
- Chalk paint tends to cost more than regular kinds of paint.
Where You Should and Shouldn’t Use Chalk Paint
Chalk paint can be used on almost all surfaces. While mainly used for furniture painting, some DIYers also use chalk paint on metal surfaces, glass, marble, fabric, melamine, and flooring. Some surfaces will need some prepping in order to get the paint to stick, but all that’s usually required is a very light sanding and wipe-down before painting.
Chalk paint isn’t recommended for painting walls, ceilings, or exterior house painting. Chalk paint doesn’t have the durability that projects like room and house painting require. Because chalk paint should always be sealed, it’s also not the best option for very large outdoor items or structures such as garden sheds, gazebos, play sets, etc.
Getting Started: Tools Needed
Before you begin chalk painting, there are some tools you should have on hand:
- Chalk paint: There are several chalk paint brands which we will discuss later. Annie Sloan is the most well-known brand for chalk paints.
- Paint can opener. Screwdrivers, bottle openers, and knives are not recommended substitutes because they can warp the can’s lid or opening. This puts leftover paint at risk of drying out or leaking from the can when you put the lid back on after you’re done with your project. Paint can openers are usually given free with paint purchases, so be sure to ask for one.
- Paint stir stick(s). You should always have your paint shaken by the store at the time you purchase it. But if there’s a delay of more than a few days between the day you buy your paint and when you actually use it, it’s always a good idea to stir your paint well before getting started. Like paint can openers, wooden paint stir sticks are typically free if you ask for them.
- Drop cloth: You need the drop cloth to cover your workspace. It will help you avoid messing up the floor or room you’re working in with paint. You can reuse a drop cloth without the need to clean it.
- Degreaser or cleaner: The degreaser or cleaner will clean the surface of dirt, grease, oils, dust, and spills. Taking the time to give your piece a thorough cleaning will help you apply a coat of chalk paint that looks its best.
- Screwdriver: You may find you don’t want to paint hardware, functional attachments, or decorative parts of your furniture. You’ll need a screwdriver to remove any items you don’t want to get paint on. Cleaning paint off them afterward may damage the surrounding coat of chalk paint..
- Protective gear: All paints have some element of toxicity. Even chalk paints can cause dizziness when inhaled for long periods. You can wear a face mask to avoid inhaling the fumes as you work. Better still, is to work in an environment where there is good airflow. You can protect your clothing with an apron (although wearing clothes you don’t mind messing up may be the best option). Gloves will keep your hands and nails free of paint and any primer you may use.
- Painter’s tape: Painter’s tape comes in handy when you wish to cover some areas of your project you do not want to paint. You can also use it to produce distinct patterns, such as stripes of different shades. Some hardware on the furniture may also refuse to come off and can be covered using painter’s tape. Painter’s tape comes with various widths you can use for different applications.
- Brushes: There are brushes created specifically for chalk paint, but regular paint brushes work too. An advantage to chalk paint is that you don’t need to be perfect — for rustic or farmhouse-style projects, brush strokes actually lend themselves to the overall look. If you don’t want brush strokes to be visible in your finished project, either use a chalk paint that self-levels to remove brush strokes or give the final coat of paint a light sanding prior to sealing it.
- Wax or Poly Sealant: A sealing product provides the paint with a layer of protection against dirt, moisture, spills, and wear. It also adds sheen and often produces a richer color of paint.
Prepping Your Workspace
Your workspace is the area in which you will chalk paint your furniture piece. Before you begin, open all windows or use a fan to provide air circulation.
Clean and organize your workspace before you begin painting, making sure you have enough room to move easily and that the tools you need are within reach.
If the item you are painting cannot be moved because it’s too large or fixed in place (such as cabinets), then you’ll need to cover nearby walls, floors, or other items. If the piece needs repairs, do them before you paint.
Chalk Painting Steps
Now that you have your workspace prepared and your tools in place, it’s time to get down to the actual work.
Step 1: Choose your piece
If this is your first time chalk painting, you may want to practice with a small piece. Chalk paint does behave slightly differently than regular paint and it may take a few projects to get the hang of producing the exact result you want. Once you’re comfortable with chalk paint, move to bigger pieces.
Step 2: Clean and prep your piece
Thoroughly clean the surface of your item. You may use soap and water, but be sure to allow adequate time for the wood to dry.
Prepare the piece by doing repairs in this step. Use fillers to fill holes or gaps. Sanding is optional, as is removing old paint. Some dark woods or even knots in lighter woods may “bleed through” the paint, even with multiple coats. To prevent this, use a primer to save yourself time and paint.
Step 3: Prepare to start painting
You can now open the cans of paint and blend them if you wish to. Use a can opener for this. Check your brushes and test the brush on a paper towel or piece of cardboard before you begin.
You can also use painter’s tape to cover areas you do not wish to paint on, straighten up edges, or even produce striped or checked patterns. Get creative!
Step 4: Paint
Before you begin painting, soak the brush in water to remove any particles that may have stuck onto the brush, and also get the brush wet beforehand. Wipe the excess water off with a paper towel.
Stir the paint and if you find it’s too thick, add some water and mix to the desired consistency.
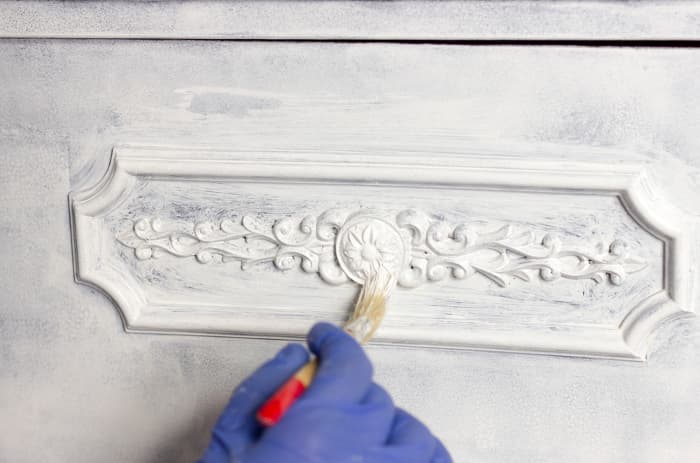
Begin painting by applying the first coat. We can’t stress this enough — just a little chalk paint goes a long way! You won’t need to get nearly the amount of paint on your brush as you would if you were using regular paint. Be conservative with your brush dipping in the beginning until you get the hang of how chalk paint spreads when you brush it on.
Some surfaces will take just one coat, while others may require two coats. In rare cases, you may need to apply a third coat.
To get a smooth finish, lightly sand between coats. Give the paint some time to dry before applying the next coat (at least an hour is recommended).
Step 5: Apply wax or poly sealant
Wax or poly sealant protects chalk paint from dirt and helps prevents chipping or flaking. It also adds a layer of sheen to the surface of the paint, often producing a deeper, richer color.
Use a wax brush and a buffing cloth to apply a wax sealing coat, or use a brush to apply a poly sealant product. Don’t use wax on surfaces where you will place hot objects, such as kitchen furniture or counters.
Some Of the Best Chalk Paint Brands
Here are just a few favorite chalk-style paints:
- Annie Sloan Chalk Paint: Made by the original inventor of chalk paint and is a favorite for most DIYers. The paint also requires a topcoat and is thick. You can thin it using water.
- Cece Caldwells: It is a non-toxic and natural chalk paint. The brand also has brilliant color combinations.
- Rustoleum Chalked Ultra-Matte Paint: It has a low odor and also requires some topcoats.
FAQs
Is chalk paint durable enough?
Chalk paint can stand up to most normal household wear and tear when it’s properly sealed and not used on items that are exposed to extreme temperatures or moisture. It can be used on furniture or decorative items used in outdoor locations, but the paint will require exterior grade poly sealant products to protect against the elements and UV exposure.
Chalk paint is best used for painting indoor items. Because of the need to seal the final coat, it’s not recommended for interior room painting (ceilings, walls, floors), nor is it recommended for exterior house or outside structure painting projects. You’ll want to use paints manufactured specifically for those uses.
Is chalk paint durable all on its own?
No. Some people do opt to leave chalk painted projects unsealed for the maximum chalky finish effect. This works best for decorative items that don’t get handled or or most chalk painting, you should use wax or poly sealer. This will extend the life of your chalk paint job and make cleaning dirt, fingerprints, scuffs, or spills easier.
Conclusion
Once you get the hang of it, chalk painting can be a great way to breath new life into some pieces in your home. With this guide on how to chalk paint furniture, we hope you discover a new hobby.
For inspiration and ideas, check out our ultimate guide to painting furniture.

I’ve been a professional painter for the last 20 years. That Sweet Tea Life is a place where I get to slow down and visit the craftier side of painting.
I’ll share with you everything I’ve learned painting hundreds of pieces of furniture and sets of kitchen cabinets.