A paint-your-own nativity set is more than just a fun crafting opportunity. It’s a way to make lifelong memories for adults and kids alike.
You want the best nativity set to fit your crafting needs…and we’ve got you covered. Check out our roundup of easy nativity scene painting kits, other materials you may need, and all the details to help bring this timeless scene to life.
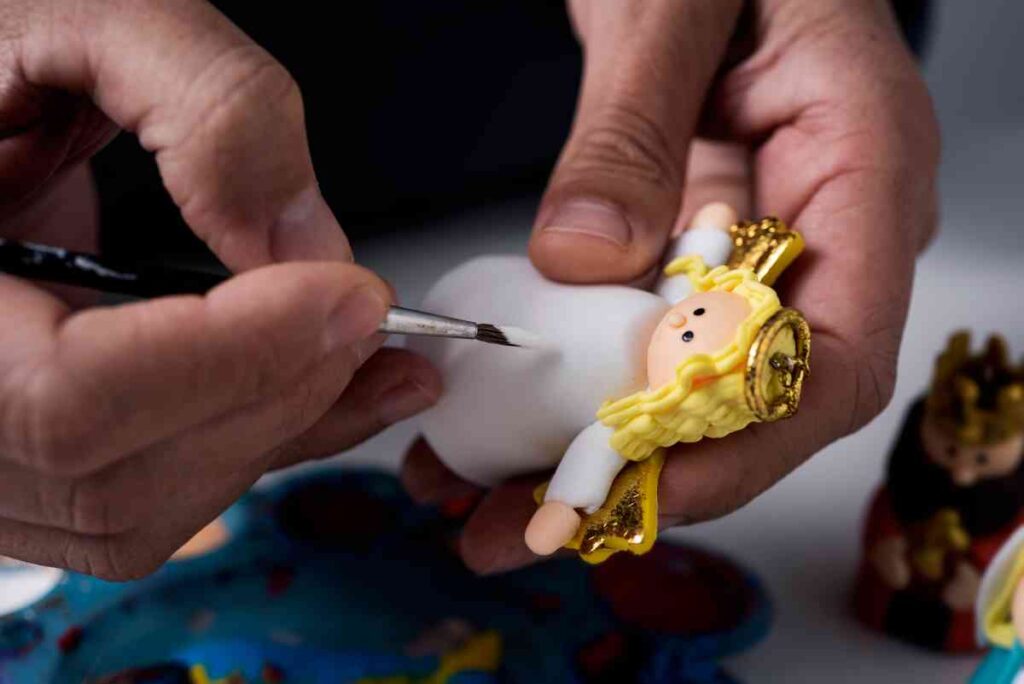
Lifelike Bisque Nativity
When you’re on the hunt for a paint-your-own nativity set, there are a lot of factors you might want to take into consideration.
The material used is a huge one. You want a paint-your-own nativity set that is durable so that you can enjoy it for many Christmases. You also want the type of material that is going to absorb paint well so that you’re not dealing with tacky or running paint.
You may also be looking for a nativity set that’s more realistic, one that has a good number of figurines for the cost, and one with good-sized figures as well.

Taking all of these factors and more into consideration, we recommend this bisque ready-to-paint nativity by 9Lives Ceramics from Etsy as our best overall paint-your-own nativity set. This set offers fantastic value and high quality at an affordable cost.
The ceramic figurines in this set are handmade with realistic features. The tallest figurine comes in at 6″ tall. The set includes Jesus, Mary, and Joseph, two shepherds, three wise men, an angel, seven animals, and a drummer boy.
If you’re looking for the best paint-your-own nativity set at the highest value, you don’t want to pass up on this one!
Budget-Friendly Wooden Nativity
Paint your own nativity sets can be expensive. All sorts of things can factor into the cost, including material, detailing, the number of figurines in the set, and more.
For folks who are looking to enjoy a quality paint-your-own nativity set without going over budget, we recommend the Bright Creations Wooden Nativity Set. This set is made of unfinished wood, which takes well to all sorts of craft paint.
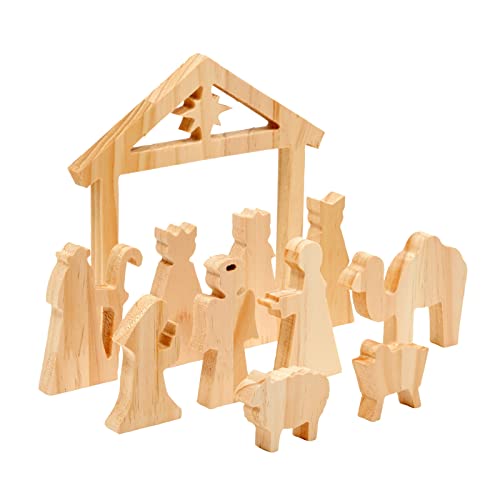
The set comes with 11 pieces featuring Jesus, Mary, and Joseph, three wise men, two shepherds, an angel, and two animals. There is also a stable with the Star of Bethlehem.
One of the best qualities of this budget-friendly paint-your-own nativity set is that you can make these pieces as detailed as you want. This can be great for older kiddos to decorate for family members, or a Sunday School class or family might paint them together as a group project.
Kid-Friendly Nativity
There’s no reason why the littlest decorators should be left out of all the fun of decorating their own nativity set! For folks looking for a safe, low-mess option for younger kids to do a paint-your-own nativity craft, we recommend the Haooryx Wooden Nativity Set.
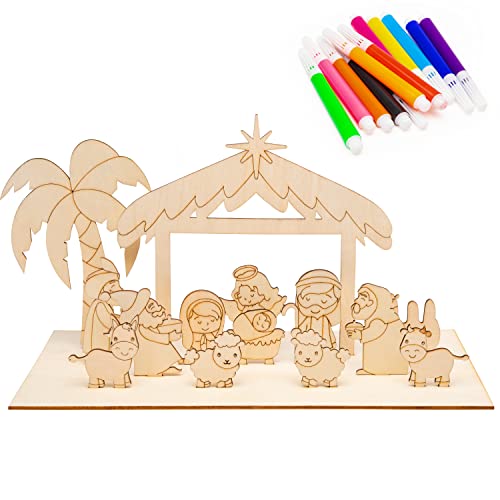
These adorable, cartoon-style wooden pieces come with their own nontoxic markers. Once an adult or older kiddo removes the pieces from the backing, little kids can happily use the included markers to bring life to this nativity set with their own colorful imaginations.
This nativity set comes with Jesus, Mary, and Joseph, three wise men, five animals, and an angel. There is also a palm tree piece and a stable with a Star of Bethlehem above it.
This nativity set is ideal for a family coloring day, Sunday School crafts, a fun Christmastime activity, and even for kids to color in as a gift for parents and grandparents. It’s a great way for kids of all ages to let their creativity flow.
Personalized Nativity
Looking to give the gift of a paint-your-own nativity set to someone else? You can’t do any better than a Personalized Peg Nativity Set from Pioneer Playsets sold on Etsy!
This is a great little nativity set made of printed pegs that you can customize with paint choices to your heart’s content! The kit features Jesus, Mary, and Joseph, three wise men, a shepherd, an angel, various animals, a star, and a stable. The stable is engraved with the words O Holy Night.
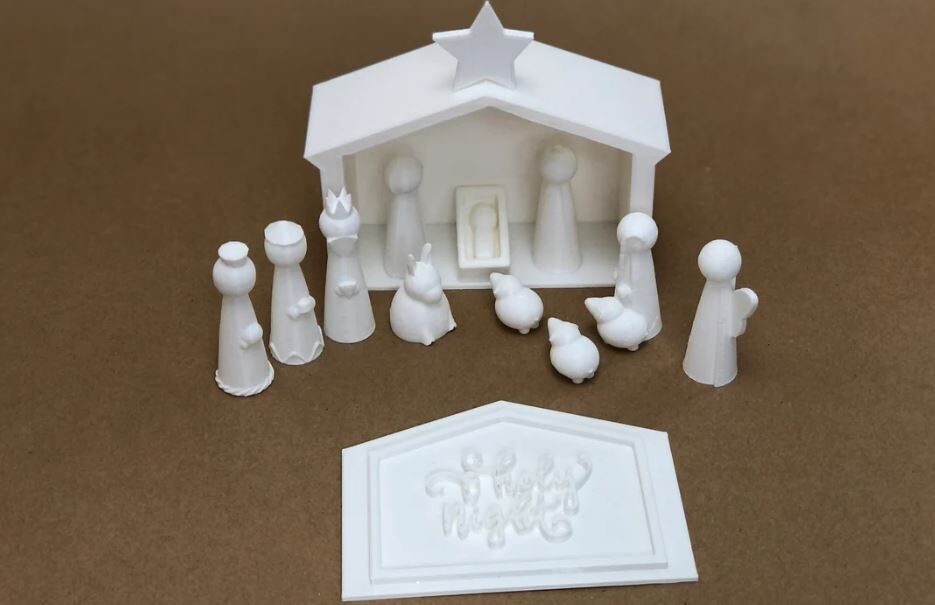
As an added bit of charm, not only does the stable double as a convenient storage box for the set but the base can also be personalized with the recipient’s name etched on the bottom. This marks the whole set as a timeless, heartfelt gift that can even become a generational heirloom!
Depending on your budget, you also have the option to purchase just the figurines, the figurines and stable without any personalization, or the full kit with the engraved bottom of the stable as well.
Wooden Puzzle Mechanical Nativity
If you’re a puzzle person — who isn’t? — you’ll love this wooden puzzle mechanical nativity set.
This 3D puzzle nativity comes laser engraved on plywood, ready to punch out, paint, and assemble. All of the pieces fit together with no glue and have sprockets that connect the moveable pieces.
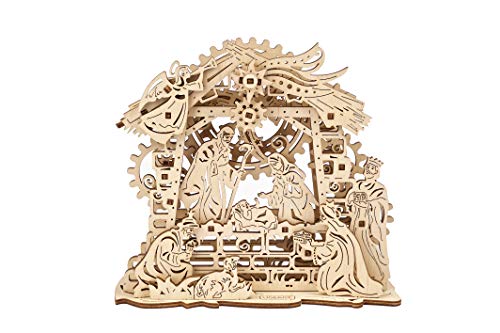
This set includes Mary, Joseph, and Jesus, three wiseman, a lamb, and angel, as well as a stable and decorative moving components.
Because this is a puzzle that has to be punched out and assembled, it would be best for older kids or an adult to take over that part of this nativity. However, there are plenty of components for the smaller kids to personalize by painting.
Diamond Painting Nativity
For a completely different paint-your-own nativity, how about diamond painting? If you’re not familiar with diamond painting, it’s kind of similar to cross-stitch except with beads (diamonds) instead of floss.
Instead of sitting on your mantle or side table, this DIY nativity will hang on a wall when complete.

This diamond painting kit includes Mary, Joseph, and Jesus on a canvas with a color-coded chart, much like a cross-stitch chart, colored diamonds, and all the necessary tools. Instructions are included, or you can find plenty of how-to diamond painting instructions on YouTube.
Once complete, this diamond paint-your-own nativity will be a stunning addition to your other Christmas decor.
One Other Thing to Consider
Not all of these sets come with paints or markers, so you’ll have to purchase your own. One of the best types of craft paint is acrylic paint, which works well with the various types of paint-your-own-nativity set styles mentioned above.
You might consider more neutral-tone acrylic paint, such as this FolkArt paint set if you’re going for a more realistic color scheme. Or, if you want to go wild and have fun, try these nontoxic GOTIDEAL 18-Pack acrylic paints!
Wrapping up the Best Paint-Your-Own Nativity Sets
Excited to make a paint-your-own nativity set part of this year’s Christmas festivities? Don’t let the fun stop there! Be sure to check out more of our Christmas section for ideas on how to make fantastic home décor and lots of memories this holiday season and beyond.

Renee Dugan is a lifelong writer, professional editor, and work-from-home-mom.
A Midwest girl born and raised, Renee has a passion for hands-on work, a self-made environment, crafting, and creating seasonal aesthetics (especially at Christmastime).
Now that she’s added motherhood to her repertoire alongside a lifetime of writing and editing, Renee continues to grow and expand her love for creating spaces that feel like home. That’s why she’s so excited to share ideas for how to make your space feel magical on That Sweet Tea Life!
Renee can be reached at [email protected]
Betsy @ Happily Ever After, Etc
Wednesday 14th of November 2018
Peeling off the vinyl to reveal the crisp clean lines is always my favorite too! It looks so pretty!
Kenya Rae
Tuesday 13th of November 2018
This is awesome! I would totally do this is like a metallic or copper
Thea Osborne
Wednesday 14th of November 2018
Oh that would be lovely!!
Lidia
Tuesday 13th of November 2018
Thea this sign is so sweet!!! And I love the blue you used!
Thea Osborne
Friday 28th of February 2020
Thank you Lidia!!
Thea Osborne
Wednesday 14th of November 2018
Awe, Thank you so very much! I do love my blues.. lol
Toni | Girl Just DIY
Tuesday 13th of November 2018
I love the reverse stencil idea, and your stencil is adorable! The blue is the perfect color for the night sky.
Thea Osborne
Friday 28th of February 2020
Awe thank you Toni!!
Sarah
Monday 12th of November 2018
This is a beautiful sign, great tips for stenciling it too.