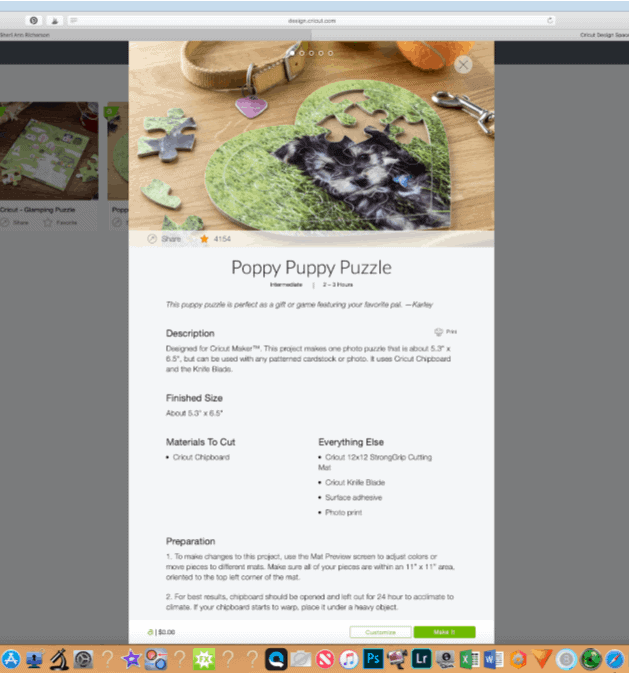
Valentines Day is coming! I love trying to think of ways to DIY gifts that say I love you or simply inspire the heart! Of course we will be bombarded with Valentines Day decorations and Valentines Day candy the moment we walk into the stores on January 2nd if not before! But there is something so sweet and special about creating DIY Valentines for people we care about that can be customized with special photos or quotes! Since becoming more familiar with my Cricut and the Cricut Family I have begun to realize how they have really made the gift making process so fun and easy! Within moments of logging into Cricut’s Design Space I was able to choose an adorable DIY Valentines Day gift to create AND knew exactly what I needed! (This means a few less things sitting in my “craft stash” unused!) I chose a DIY Puzzle in the shape of a heart to show you something you can personalize with your favorite photo, quote, or picture!

I really love that this is a chance to share a special message or scripture they can enjoy for the life of the puzzle! They can also be made in batches with the kids for their friends or as a special gift for a teacher or group leader!
So, on to how to do this right? Remember you can find all of the simplified directions on Cricut’s Design Space too! Each item here is a clickable link so you know what I recommend and where you can find it online if you can’t find it locally. Some are also affiliate links which means if you shop through them I may earn a commission. (To which I say THANK YOU SO MUCH!)
What you will need to DIY your Heart Puzzle:
2mm Chipboard
Printer
Printer Paper
Cricut Maker
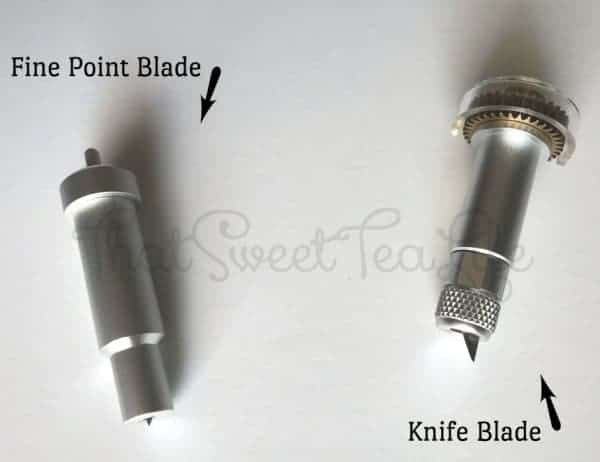
Knife Blade
Fine Point Blade
Acid Free Adhesive
Double Sided Tape (optional)
Light Grip Cricut Mat
Strong Grip Cricut Mat
Wide Width Masking Tape or Frog Tape
Cricut Spatula
Elmers Glue Pen
How to DIY your heart shaped puzzle:
This is a sponsored conversation written by me on behalf of Cricut. The opinions and text are all mine.
Gather your materials.
Choose the heart puzzle design in Cricut Design Space.
Upload your premade design into Design Space and insert in into the design pattern. Remember you can adjust each layer to move forwards or pack wards if need be!
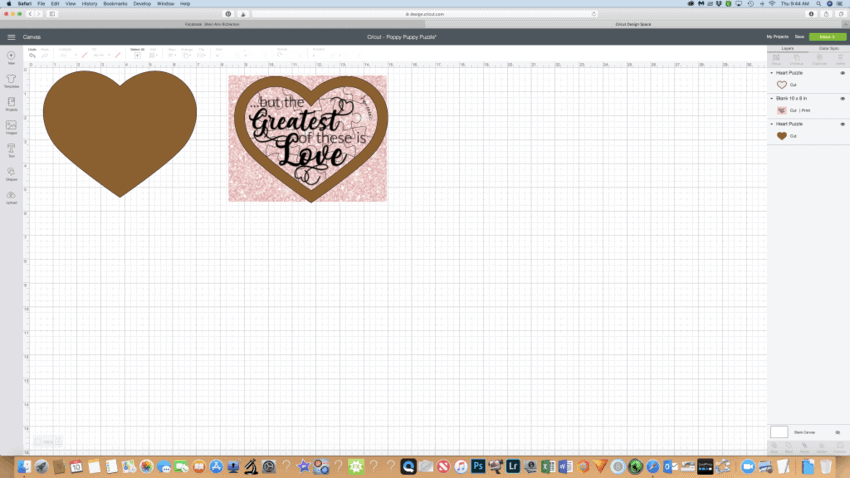
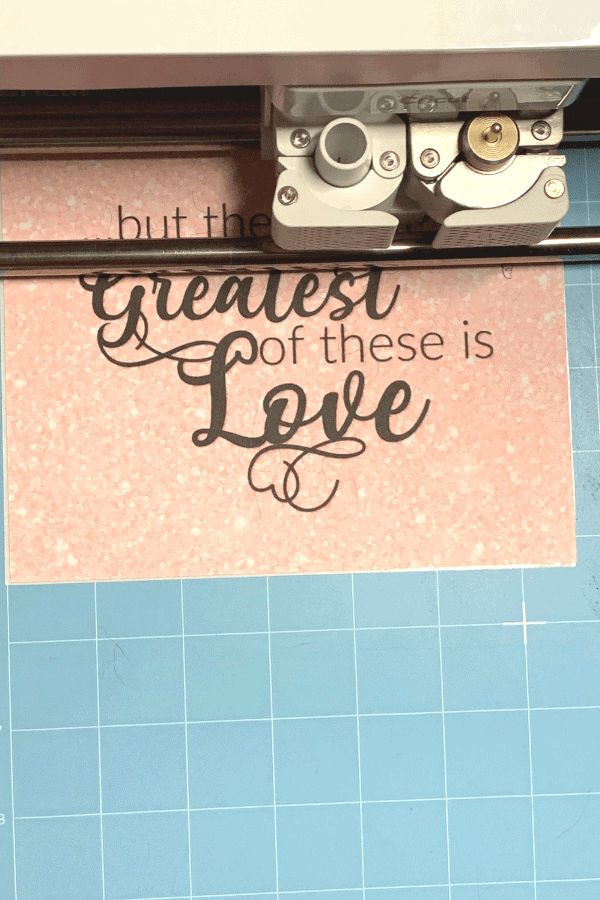
Print two your design twice! If you are like me and have words on a back ground, you will want to print one sheet with just the back ground and another with the words. The plain sheet will go on the puzzle back board and the full design will be on the pieces.. So I printed one glitter sheet and one glitter sheet with all the words.

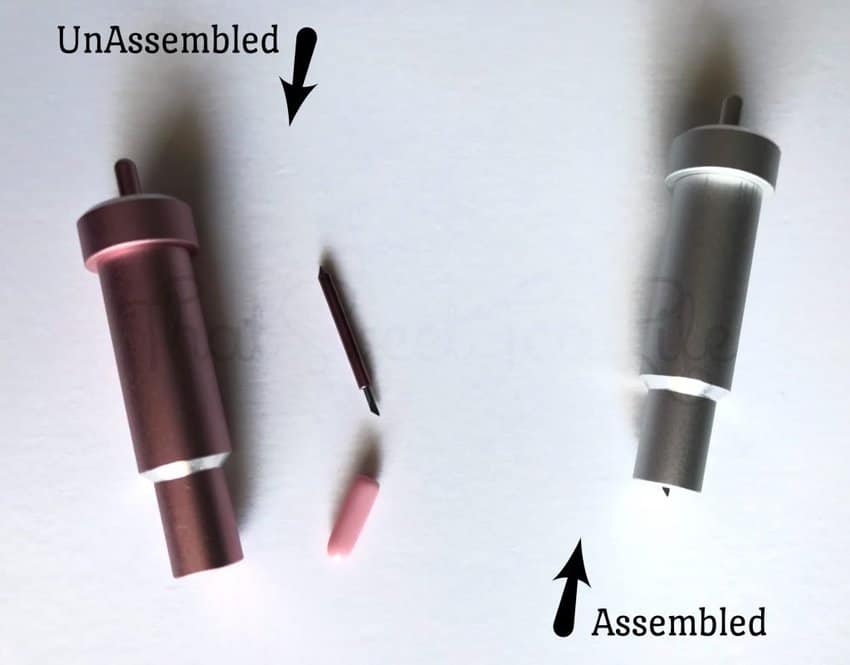
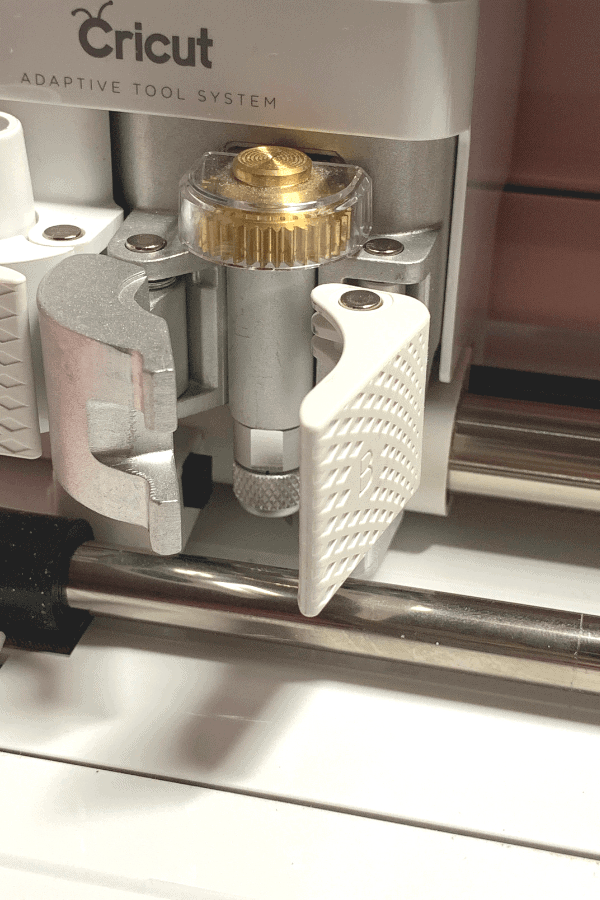
Install the fine point blade in the Cricut Maker. Remember that is the blade that really just looks like a tiny exacto blade!(Not quite as large as the knife blade) Yours may already be assembled or you may find you have the housing and a tiny blade with a plastic sheathe over it. Its magnetic, so if you remove the sheathe the little needle like knife will slip right into the housing from the bottom.
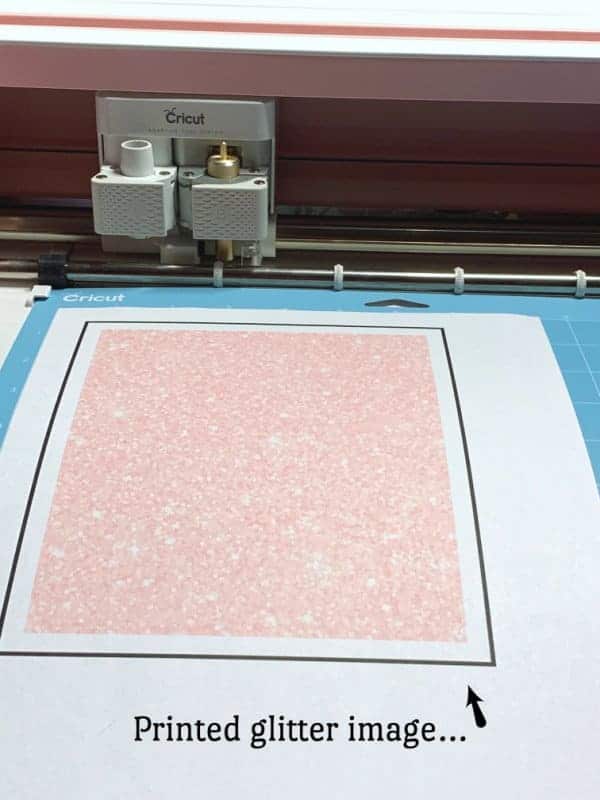
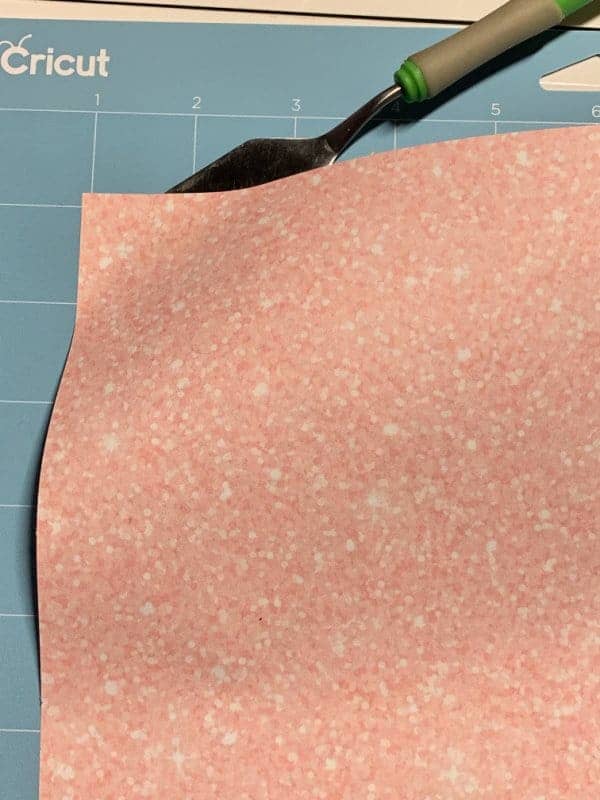
Place the plain printed paper on the light grip Cricut mat and cut them using the Cricut. Do not cut the patterned paper at this point! (If you decided to use a background/foreground image)
Using the Cricut Spatula carefully remove the heart shapes from the Cricut Mat so they do not roll.
Set the cut hearts aside and Prepare your maker to use the knife blade! Slide the white star wheels on the roller to one side and or the other. You will not want them to roll over the chip board once it is placed.

Remove the fine point blade and install the knife blade. The knife blade is larger than the fine point blade-similar to an actual exacto blade.
Calibrate the knife blade if prompted to do so in Design Space. They make it SUPER simple-just follow the prompts!
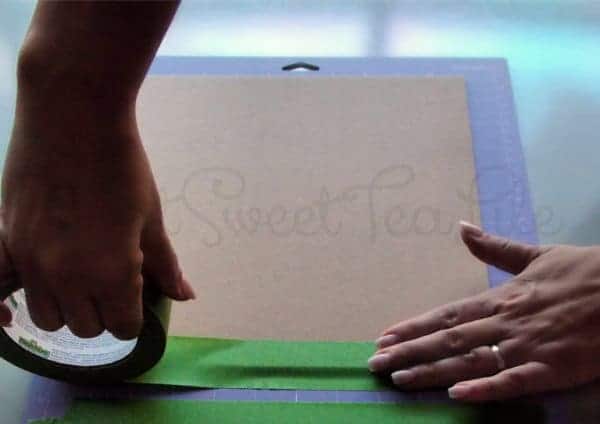
Now to prepare the chip board! Using either a wide width masking tape or frog tape, tape the chipboard to the strong grip Cricut Mat. Be sure to tape all four sides. Bend any excess tape over the edge and onto the back of the Cricut Mat.
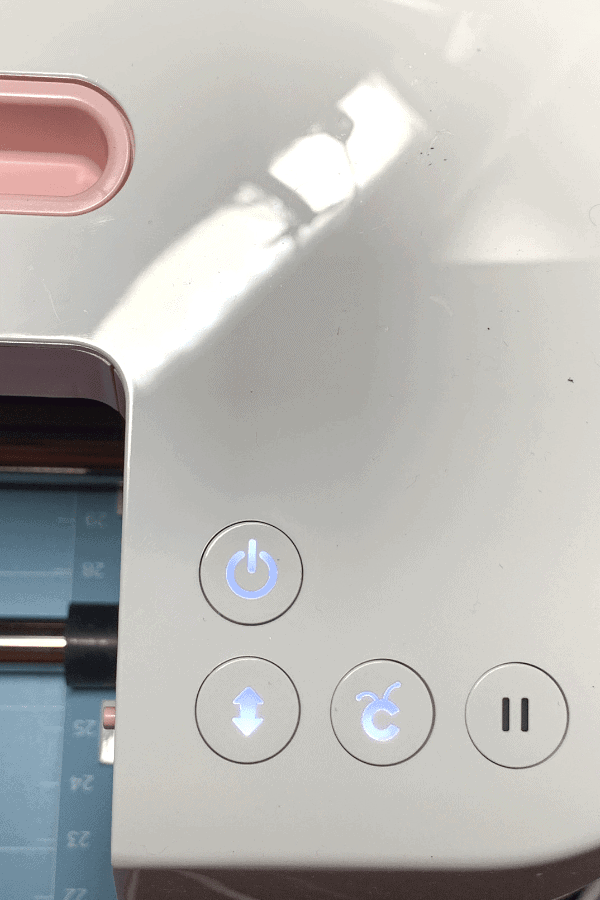
Insert the strong grip mat containing the chipboard into the Cricut Maker. Be sure the mat against the maker before pressing the feed button and follow the on screen prompts. Once the C button lights up, go ahead and press it to start the cut.
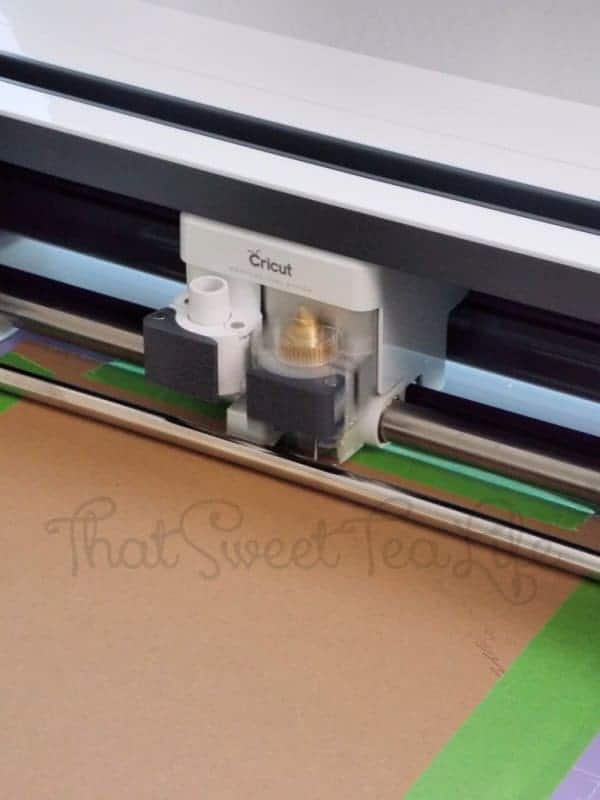
This cut does take a while,.. You will think its finished,.. it is not. Chip board is a thick, dense material! So, to be sure cuts are smooth, your Cricut Maker will make several passes over the ENTIRE DESIGN. …walk away. This is a great time to clean up, organize, or get other things ready.
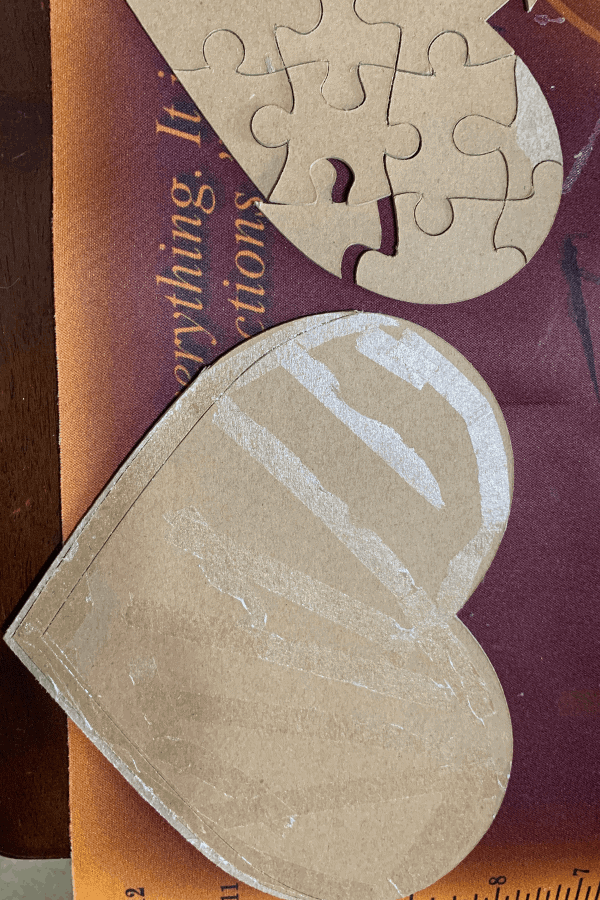
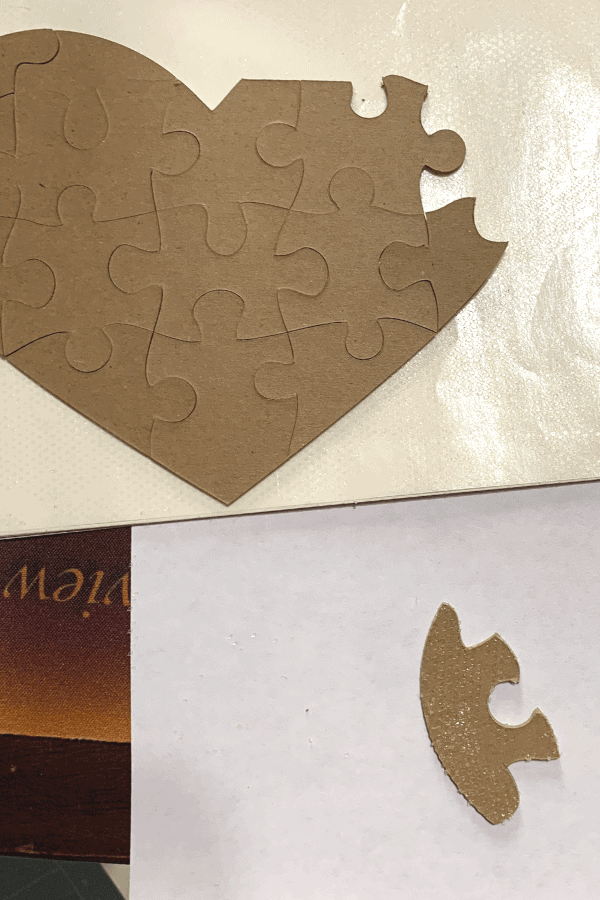
Once the chipboard is cut, remove the single heart shape from the mat.
Now lay the single heart shape over the top of the heart shape with all the puzzle pieces and turn the mat upside down so the puzzle pieces fall onto the solid heart piece.
Set this aside.
Remove the knife blade from the Cricut Maker.
Install the fine point blade.
Slide the white star wheels back into their original position.
Now go back into design space and place the design over the top of the puzzle piece and attach them to one another.
Place the patterned paper on the light grip Cricut Mat.
Insert the mat into the Cricut Maker and press the C to cut the puzzle design.
Do not remove the design from the mat at this point.
Using either double sided tape or the acid free sticky dots adhesive, attach the heart shaped papers to the front and back of the large solid chipboard heart.
Now use the glue pen to put a thin layer of glue on one side of the chipboard heart outline and glue it to the edge of the large solid heart.
Set this aside to allow it to dry.
Once it is dry, use either double sided sticky tape or the acid free sticky dots adhesive to glue the patterned paper heart outline to it.
Place the heart puzzle pieces upside down on the acid free sticky dots adhesive sheet.
Pick up one puzzle piece at a time and make sure it is covered with adhesive. If not, place it on a different area of the adhesive sheet and give it a light press to make sure it picks more adhesive up.
Once you are satisfied that is has enough adhesive on it, set it down on a craft mat or piece of paper and then remove the matching piece of paper from the Cricut Mat using the Cricut spatula so the paper remains flat.
Press the matching paper puzzle piece onto the chipboard puzzle piece making sure they make good contact with one another.
Set the piece aside and continue the process until all the chipboard puzzle pieces are covered with the matching paper puzzle piece.

Do not try to put the puzzle together at this point! Instead set it aside making sure none of the puzzle pieces touch one another and allow it to dry overnight. You may even want to lay something heavy over the top so they dont bubble or curl.
The next day assemble the puzzle. The pieces fit very tightly, so expect to use a little pressure to get them to lay flat inside the base.
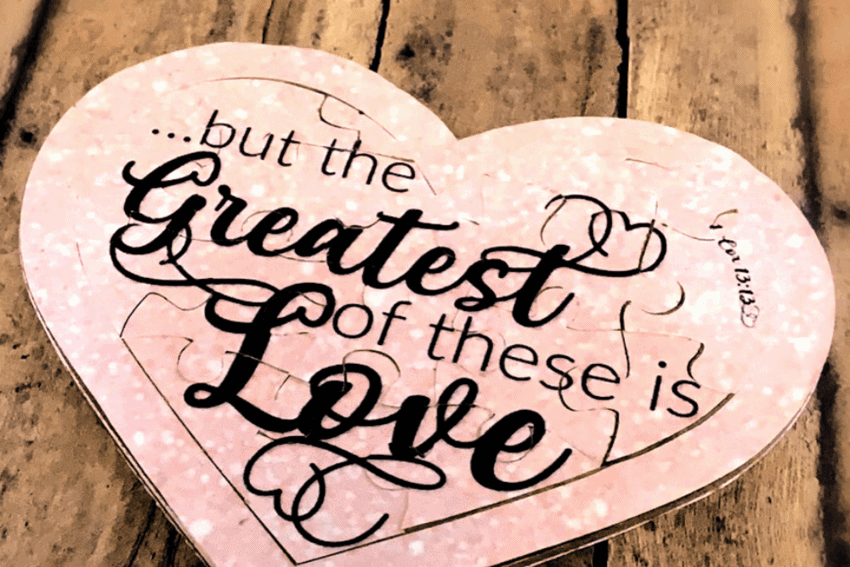
And there you have it! Imagine all the different things you can put on there! A special photo from years ago, an old vacation destination, you name it! This is why I love the creating gifts for Valentines Day with Cricut! With so many ideas I love in design space and all the guess work removed, I can put my work into personalization and enjoying the process! Make a puzzle? I wanna see it! Email me or post on social media and tag me! Id love to share them! Till next time friends!

Thea Osborne is a celebrated blogger renowned for her expertise in DIY and paint techniques. With a keen understanding of Southern culture, Thea’s commitment to producing engaging and informative content, coupled with her detailed tutorials, inspire her readers to embrace their own creative pursuits.
Thea’s passion and creativity have left a lasting impact in the DIY community, transforming “That Sweet Tea Life” into a thriving and cherished resource.