Whether you’re talking about installing new tile in a bathroom or updating the floors elsewhere in your home with wood, wood laminate, vinyl tile, or even just a coat of paint, any do-it-yourself flooring project can seem intimidating.
Read on for some background, some help, and some ideas on DIY flooring projects and how you might undertake a project to bring some new life into your home with some new flooring.
Basics of DIY Flooring Projects
There are, of course, any number of options for DIY flooring projects to refresh the floors in your home, with painting or the installation of peel-and-stick tiles among the easiest and cheapest ways to get the job done.
But even more advanced DIY flooring projects, from installing ceramic tile in your bathroom or kitchen to installing vinyl plank or laminate flooring elsewhere in your home, aren’t out of the question. And, of course, one of the most attractive things about advanced DIY flooring projects is the money you’ll save.
However, to ensure that you get professional results with your DIY flooring project, it’s important to recognize that you’ll need to be scrupulously accurate with measuring your material and cutting it to the proper lengths and at the proper angles.
The Right Tools are Key to DIY Flooring
You’ll also need to have the proper tools for installing the type of DIY flooring you’ve chosen. For tile flooring, you’ll need a wet tile saw to cut the material. You’ll also face the task of mixing and using mortar and grout to keep tiles in place and space them correctly.
For wood, laminate, or vinyl plank flooring, you’ll also need special tools, including a table saw, a miter saw, a 4′ level, a T-square, glue, and tape.
Happily, most of the special tools you’ll need for this DIY flooring are available for rental. In terms of time, expect to spend two to three days tiling your bathroom or installing hardwood flooring. Laminate and peel-and-stick flooring typically take no more than two days to install.
Now that you have at least a quick idea of what it takes for a DIY flooring project, let’s explore some easy and inexpensive ideas for revamping all or part of your living space with new floors.
Painting a Wood Floor
If all or part of your home’s flooring is old, faded, scuffed, or otherwise problematic wood, you should consider painting it as a relatively easy but hugely transformative DIY flooring option. To make the project manageable, you may want to tackle it on a room-by-room basis.
To get the floor ready for painting, sand it lightly with a floor sander. Then, vacuum and mop the floor, give it a final rinse, and tape off baseboards to keep paint off of them. Let the floor dry overnight before painting.
Paint the areas around the baseboards with a brush, using a roller for the rest of the floor, and apply a second coat if needed.
Ideas for Painting Wood Floors
You can choose any color to paint your wood floors; just make sure you use paint that is designed specifically for floors.
If you want to add a design, try using stencils with a coordinating paint color, or switch it up a little bit and use a contrasting color.
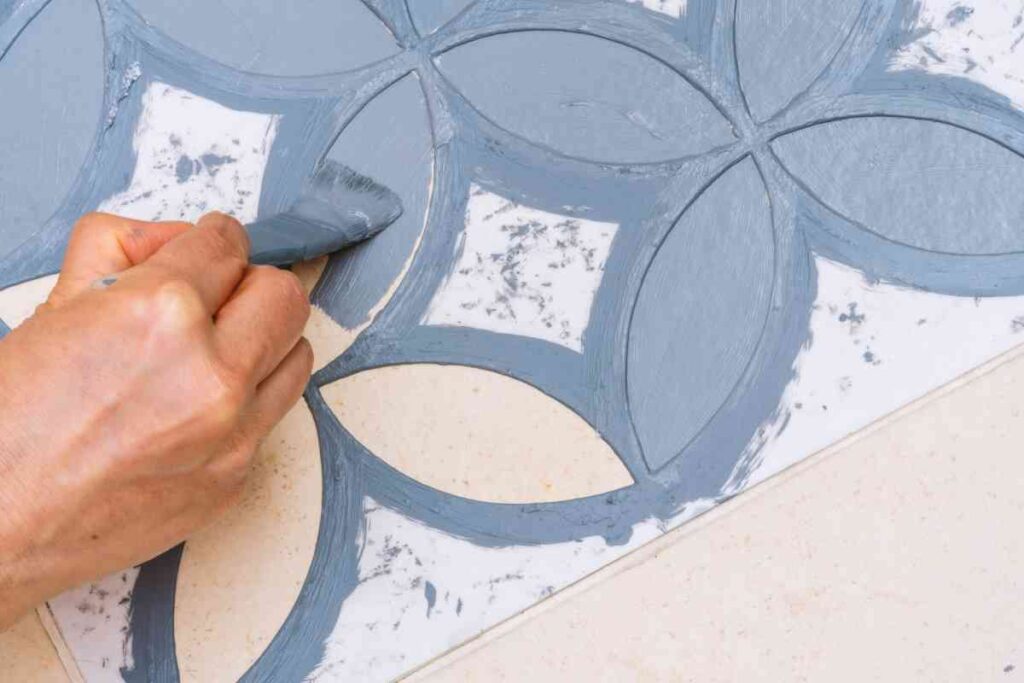
Another idea is to paint a rug-style pattern in a family room around which furniture can be arranged. You can try whitewashing existing wood flooring for a dramatic effect or painting a floor to look like water as an unexpected design idea.
If you’ve just had another flooring like vinyl, ceramic tile, or carpet taken out of your home, you can paint the subflooring until you’re ready to replace it or as a permanent solution.
For inspiration regarding how to use paint to transform your home with DIY flooring, check out Family Handyman, where you’ll see ideas for everything from using stencils to paint designs atop an existing floor to painting checkerboard and chevron patterns to mimic tile.
Installing Vinyl Floor Tile
Installing peel-and-stick vinyl floor tile, many examples of which come in interesting patterns designed to spark creativity, is another easy DIY flooring option to transform your home.
As with painting a floor, a key to a successful vinyl floor installation is preparing the floor on top of which the tile is to be placed. In addition, you’ll need to let the vinyl tile sit, in its boxes, inside your home for 48 hours to get it acclimated for installation.
You can install vinyl tiles directly over wood, concrete, and even existing vinyl flooring. However, the surface must be clean and well-leveled for the tiles to adhere firmly to the adhesive. If you have a ceramic floor, it is best to remove these tiles before laying the vinyl.
Creating a Smooth and Level Surface for Vinyl Floor Tiles
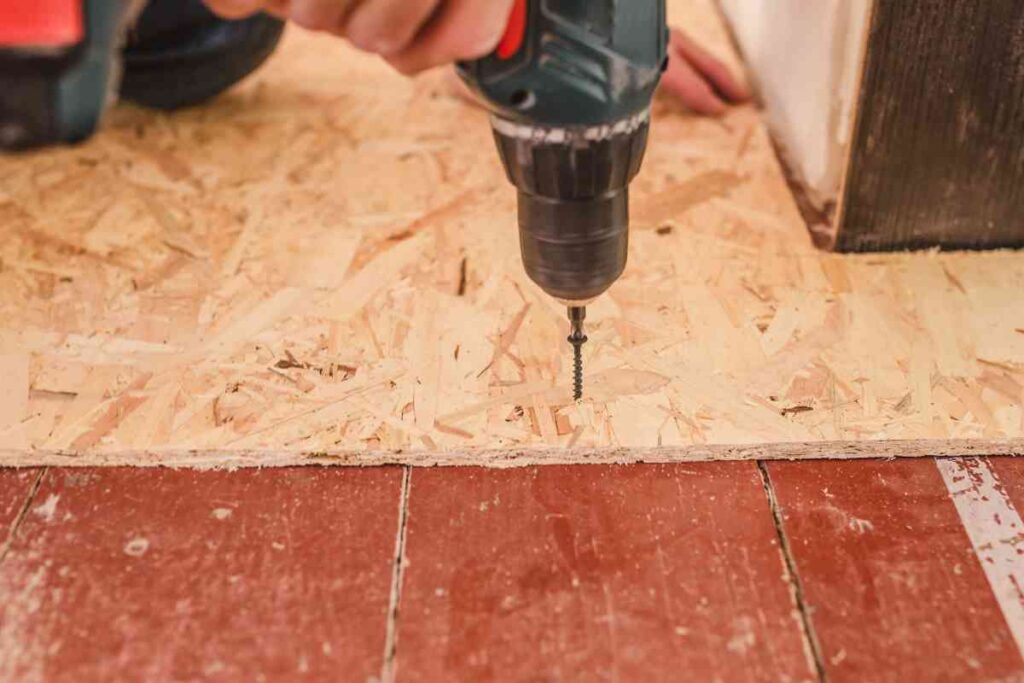
To ensure that floors are free of imperfections before beginning your DIY flooring project with vinyl tile, you should consider installing the tiles atop an underlayment. Using sanded plywood or luan installed over the existing flooring or over the subflooring will ensure a smooth surface and the best outcome.
Similarly, if your DIY flooring project involves installing vinyl tile over an old vinyl floor, you could use an embossing leveler. This is a compound a lot like mortar and is applied in the same way to help smooth out the floor. As a much easier alternative, you can install a layer of plywood, as mentioned above.
If you’re tiling over concrete, you may be able to simply fill in and smooth out any cracks or imperfections before installing your vinyl tile.
Making sure your floor is level is also essential. You can check this with a 4′ carpenter’s level. If you live in an older home where the floor is really off-level, or if you have any serious trouble spots with your subflooring or concrete, there are plenty of online tutorials.
Keep in mind there is no shame in calling in an expert to make sure your floor is level and ready for your DIY flooring project.
Ideas for Using Vinyl Floor Tiles in Your Home
For some ideas on how vinyl floor tiles can improve your home, take a look at Homes & Gardens for some ideas on how geometric and more intricately patterned vinyl tiles as DIY flooring projects can elegantly transform your bathroom.
Another vinyl floor option is luxury vinyl, which can create a convincing and versatile stone look, perfect for upgrading a bathroom or even a kitchen.
As an added bonus to complement your floor, the peel-and-stick material approach is now being applied to kitchen backsplashes and bathroom accents.
DIY Flooring Projects with Ceramic Tile
One of the most daunting DIY flooring projects for the do-it-yourselfer interested in changing up the flooring in their home is the installation of ceramic tile.
Even a look at the materials you’ll need to tackle a ceramic tile flooring project — chalk line, grout, tiles, tile spacers, waterproof backing (for bathroom or kitchen projects), construction adhesives, and floor leveling compound — can be intimidating.
And that’s before you even get to the tools you’ll need for the job — a wet tile saw or tile cutter, trowel, a power screwdriver, and a level — which seem to add yet more mysterious complexity to the job.
How to Install Ceramic Flooring Tile
Yet even amid all that seeming complexity, installing ceramic flooring should be within the capabilities of most, if not all, DIY enthusiasts. As a start, there are many online tutorials available, and your local building supply store staff also can help with your project.
As a general guide, the first step in installing a ceramic tile floor, once the old floor is removed, is to ensure that your floor is within a quarter-inch of being level across its length and width.
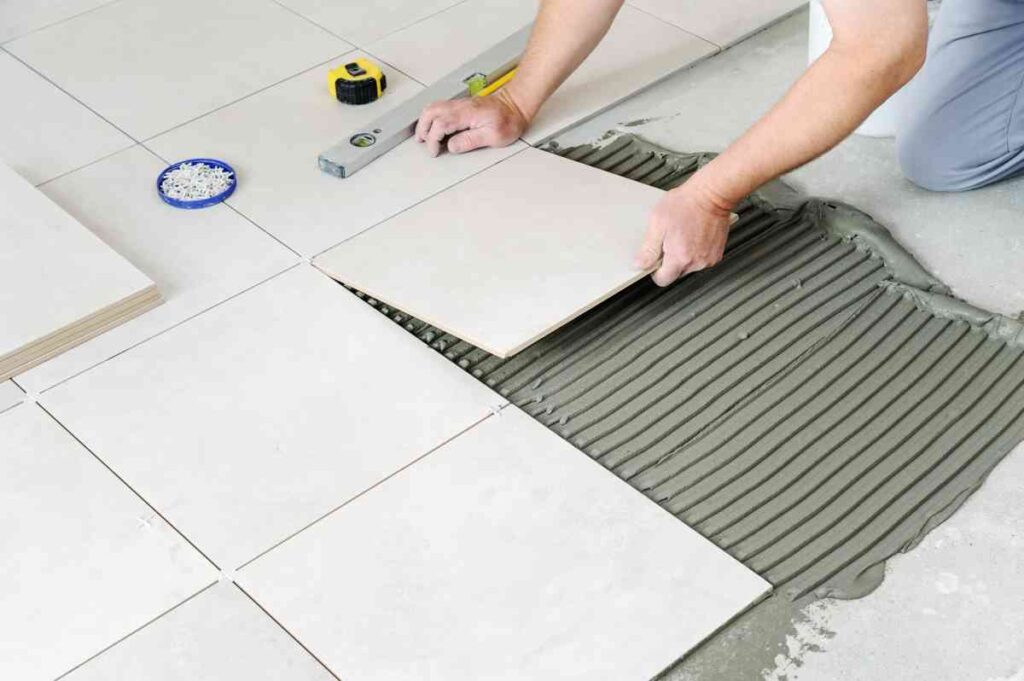
Next, you’ll want to snap two chalk lines diagonally from opposing corners of the room. The lines will intersect at the center of the room. After applying tile adhesive to the floor, center your first tile and press it into place.
From there, you’ll use tile spacers to continue setting other tiles in place, using your tile cutter to fit pieces along walls and corners. The final step will be grouting the spaces to secure the tiles.
Transforming Your Home with Ceramic Flooring Tile
Ceramic flooring tile provides a wide array of layout options that can create any number of effects. As just one example, laying ceramic tile diagonally in a typically square or rectangular room can add a dramatic design element.
Checkerboard or chevron-style layouts of ceramic tile also can add visual interest anywhere within a living space, as can a host of other easily achieved patterns, from the perennial octagon-and-dot arrangement to the windmill pattern.
If you need inspiration about what you can do in your home with ceramic flooring tile, DesignTrends has ideas for using it in many areas. One of their ideas is to use ceramic flooring tile next to wood flooring to create a stunning home entry.
Using Carpet Tiles as DIY Flooring
On the opposite end of the DIY spectrum of perceived difficulty from ceramic tile flooring is using carpet tiles to freshen up your living space or to handle practical problems like deadening sounds that are reflected from other flooring surfaces.
While installing rolled carpet as flooring is likely a job best left to professionals, using carpet tiles as a DIY flooring project is exceedingly easy. There is a wide range of choices among carpet tiles, from budget-friendly options all the way to luxury carpeting.
Installing Carpet Tiles
After taking up your old flooring, you likely won’t need to do anything to the exposed subflooring to begin installing your new carpet flooring. A word of caution, though: you can’t install carpet tiles atop painted, varnished, or waxed floors.
Carpet tiles will either come with their own adhesive backing or can be secured to the floor with double-sided carpet tape. As a bonus, it’s easy to cut carpet tiles to fit the space you’re enhancing, as they can be trimmed with a utility knife or even scissors in some cases.
Carpet Tile Project Inspiration
If you can’t quite envision what you might be able to do to enhance your living space with an easy and quick carpet tile makeover, there’s plenty of inspiration available.
For example, at Houzz, you’ll find nearly two dozen ideas and suggestions, from checkerboard patterns to mixing bold patterns and colors in the same space. They also have ideas like arranging different colors of carpet diagonally or sticking with the simple elegance of a single-color installation.
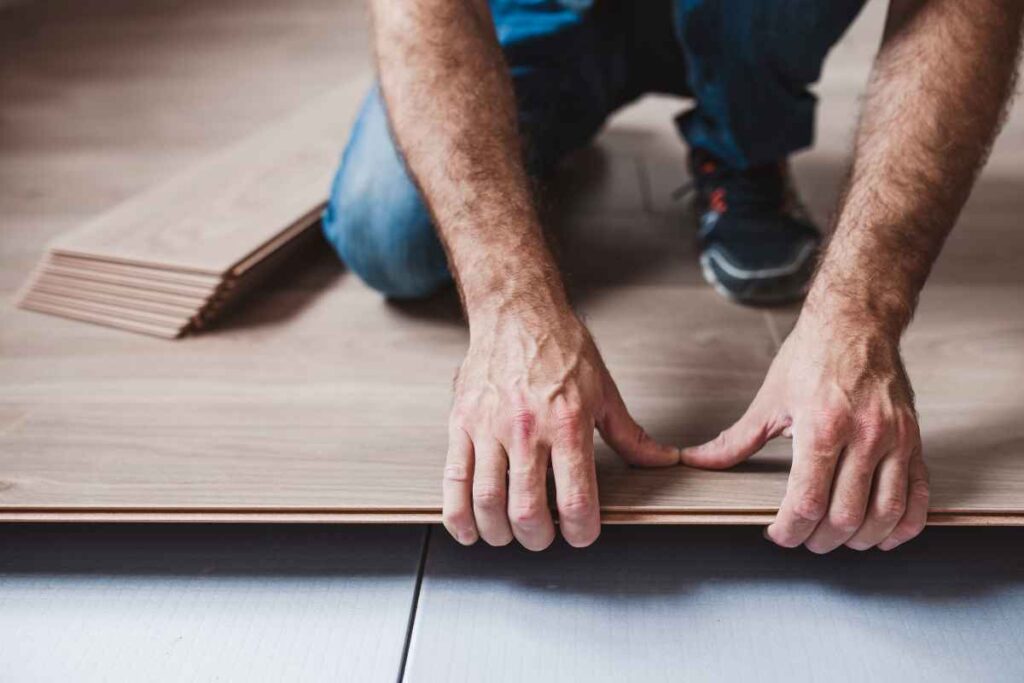
Wood and Wood Laminate DIY Flooring
Both wood and wood laminate also are popular options for DIY flooring. By way of explanation, wood laminate is created from plywood and composite materials such as plastic to create the look of wood without the added expense.
Installing Wood and Wood Laminate Flooring
Installing wood flooring and wood laminate flooring are both well within the capabilities of most do-it-yourselfers, but the instructions are particularly detailed.
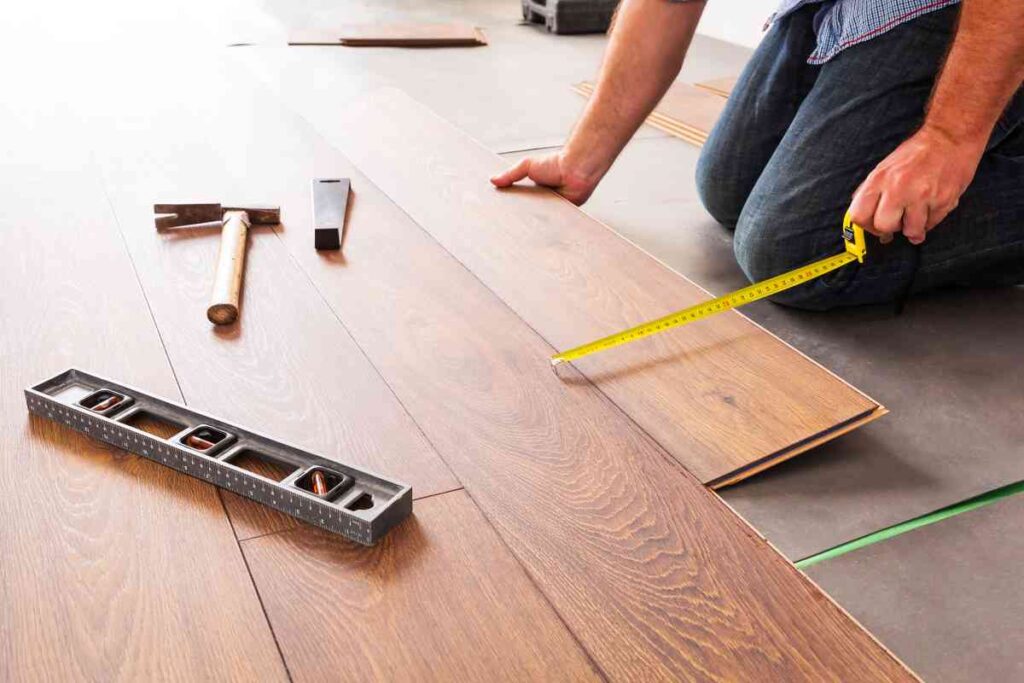
For a video tutorial on how to install wood laminate flooring, check out Lowe’s. As far as wood flooring is concerned, This Old House offers instructions on how to install it.
Inspiration for Using Wood and Laminate Flooring
For a look at how wood flooring can create a new feeling in your home, check out Homes & Gardens, where you’ll learn about its ability to bring a sense of character to your living space.
With regard to wood laminate flooring, you’ll certainly be inspired by Design Cafe, where you’ll see how various colors of laminate, combined with various layout patterns, can bring a new dimension to your home.
Wrapping up DIY Flooring
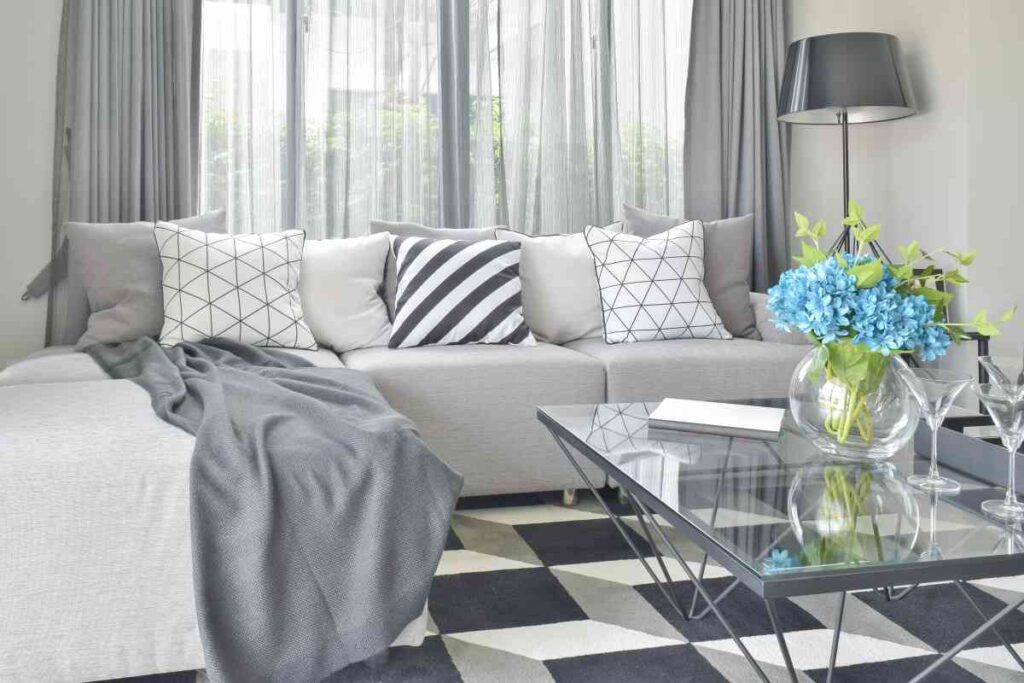
We hope this post has taught you something about DIY flooring installation and has provided you with some ideas and inspiration for trying it out at your home, office, or elsewhere. Now that you have your fabulous new floor installed, you’ll need inspiration for how to decorate your room.

I’ve been a professional painter for the last 20 years. That Sweet Tea Life is a place where I get to slow down and visit the craftier side of painting.
I’ll share with you everything I’ve learned painting hundreds of pieces of furniture and sets of kitchen cabinets.
Lyndellray
Tuesday 28th of April 2020
Flooring DIY projects are very rewarding. For future projects, consider flooring supplies and flooring materials from Rustic Lumber Co.
Thea Osborne
Wednesday 29th of April 2020
Perhaps a collaboration then? Let me know if you would be interested in a project!
Sonya
Wednesday 11th of September 2019
Did you have to leave gaps for expansion?
Thea Osborne
Tuesday 8th of October 2019
At the edges I left 1/4" gaps! Yes. thats a good idea.
Bianca
Thursday 6th of June 2019
Besides the two saws, what tools are used to install the floor?
Thea Osborne
Thursday 6th of June 2019
Hi Bianca! Aside from just the nippers I used to pull up old staples and such that is really it! Hope that helps!
Robin
Friday 8th of March 2019
Awesome! We’ve pulled nasty carpet room by room...living room and hallway has new hardwood over top of subfloor...now we’re in my sons room...carpet pulled and painting almost finished...this idea is perfect! Did you do any cutting? I don’t have tools but need to know if I’ll need to get a saw, or whatever😊
Thea Osborne
Friday 8th of March 2019
How exciting!! Yes, you have to cut the lengths, and I used a miter saw like this one... ( https://amzn.to/2EI636O Affiliate link) and I also had to use my jig saw ( https://amzn.to/2SPBst6 affiliate link) for some small cuts
Jeanne Crider
Monday 26th of November 2018
Beautiful! I would have expected driftwood to be grey. I love it! Can't wait to get the rest of my icky carpet pulled up. Yeah! Should be before the end of the year!